Showing posts with label Art. Show all posts
Friday, November 23, 2012
Gallery Wall Pt 3 - Wall Shelves
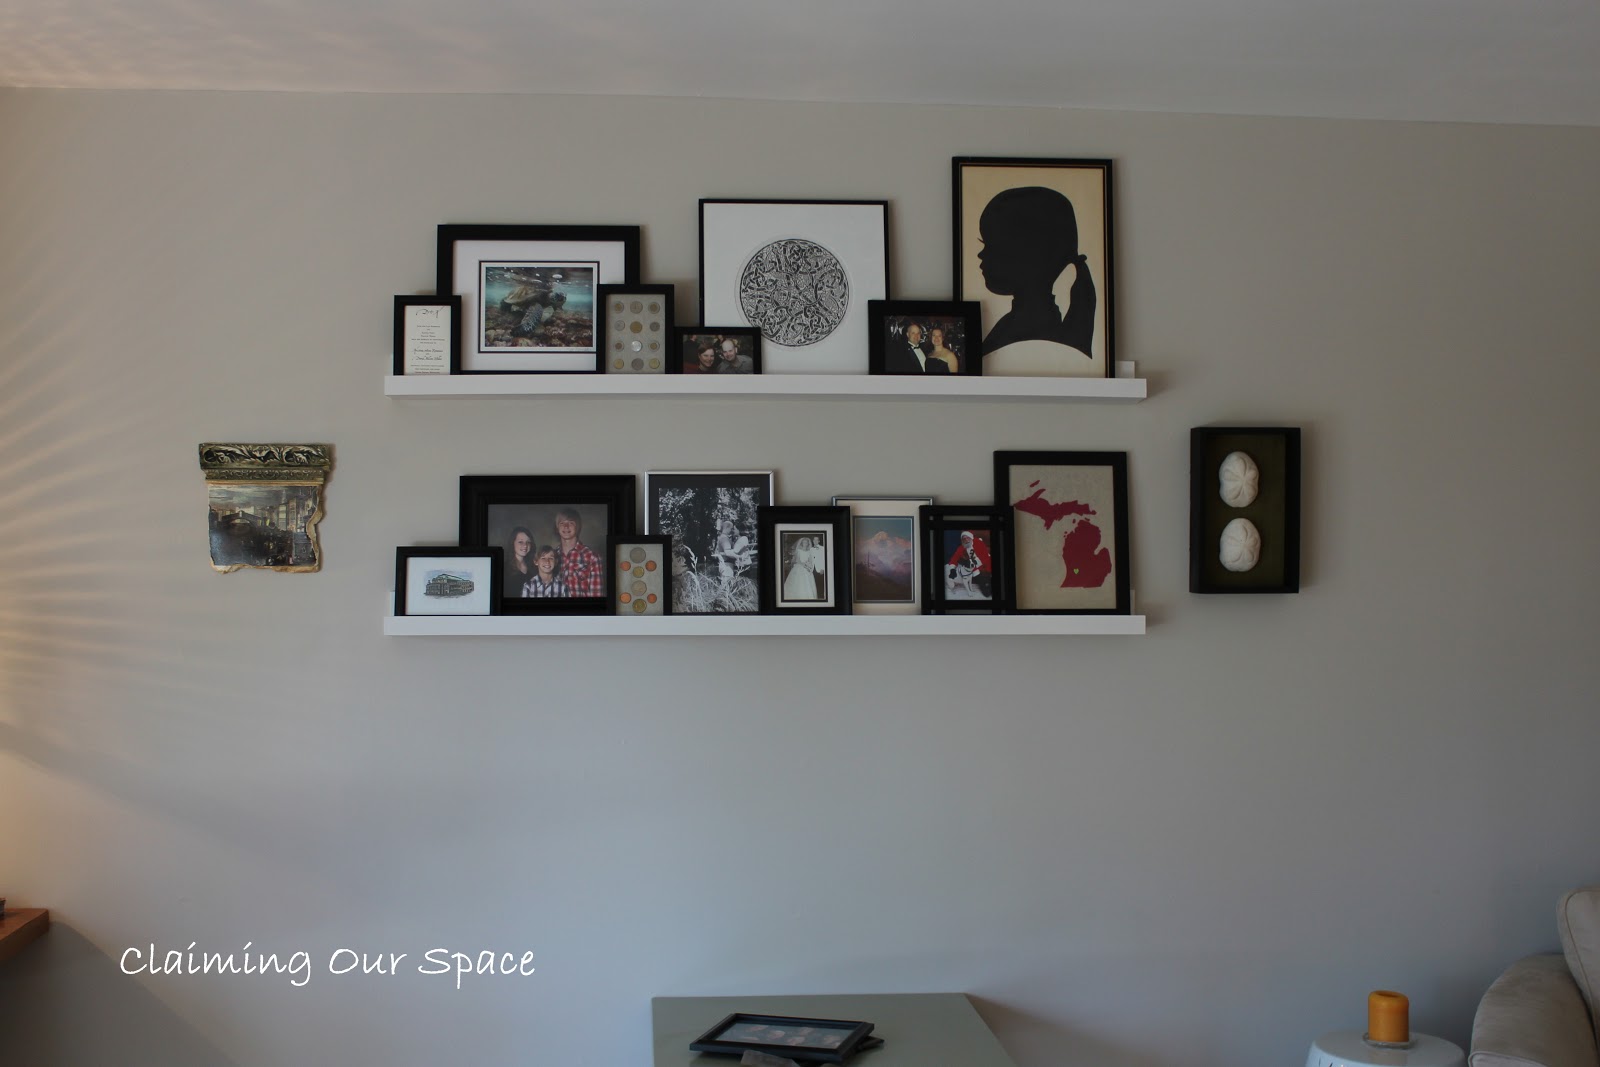
Check out our Gallery Wall Shelves! I decided that we needed to jump on the wall shelf bandwagon since I loved the idea of being able to swap art work in and out at will. Plus, the reality is that I was being too pokey about figuring out the layout to actually hang the art and this seemed like a way to actually get something on the wall before 2013.
You can see that the coin art and the sea biscuit shadowbox are included in the mix. I also added some family photos, a silhouette of me from kindergarden, a rubbing from a church in London and some state love art (tute coming for that soon).
I used Ana White's Ten Dollar Ledges as the start for my project. Though I modified it to fit our needs.
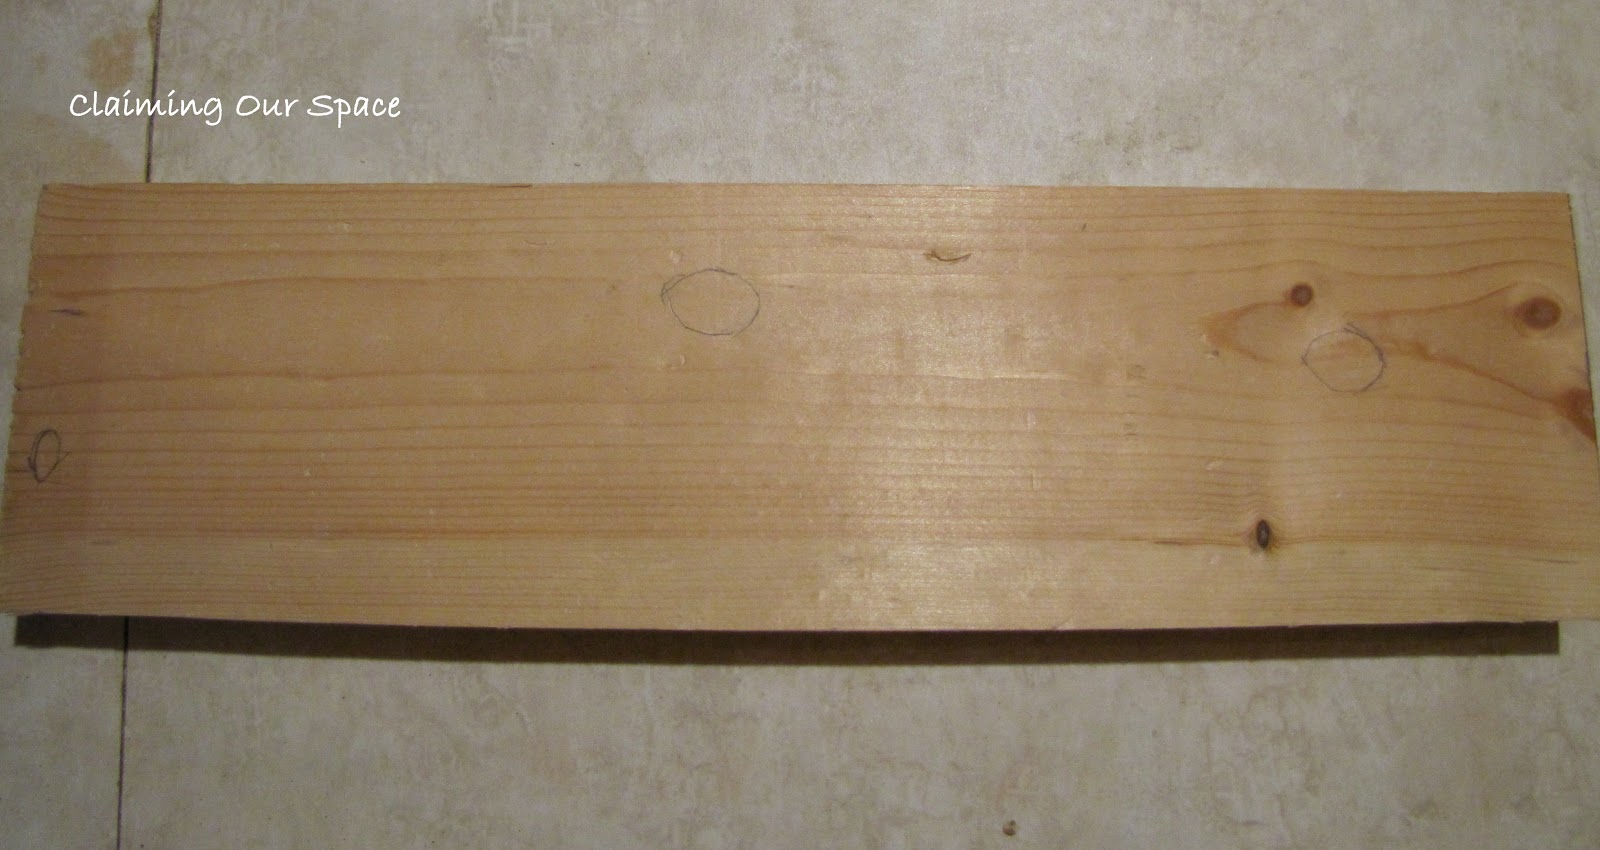
Our ledges are 5 feet in length and I used 1x4's, 1x3's and 1x2's. While I used cheaper wood for the 1x4's and 1x3's, I splurged on 1st quality 1x2's so I wouldn't need to worry about knots.
I used our Kreg jig so I could hide the fasteners making the finishing that much easier.
Some wood glue, screws and caulk - and I had 2 gallery wall shelves. (it is the table that is wonky crooked, not the shelves)
I gave them each several coats of white semi-gloss paint and then they were ready to hang.
Some help from D to get a couple of long wood screws into the studs and we were ready to go.
It fills up the space perfectly.
We hung it high enough so that we can put chairs, a bar or a small bookcase underneath without any problem. There is space on either side soany pieces that need to be hung, like shadowboxes, can easily added.
Sunday, June 10, 2012
Mother's Day Plaque

I know Mother's Day for 2012 has come and gone but we thought this project was too good to hold until next year. Plus, I think it would be a good project for a mom's birthday or any other special gift giving occasion during the year.
This was the gift for D's mom and she loved it so much it made her cry. So I got to tease him for making his mom cry for the rest of that week.
Before we begin, this project took time over a couple of days so if you make one of your own make sure to plan accordingly.
First gather all your materials
This first set of materials were purchased at Hobby Lobby
- heart shaped wooden plaque
- flower shaped photo frames
- narrow dowel
- paint (green and various flower colors)
- saw tooth photo hanger
- hot glue gun
- drill and drill bit
- dark brown stain
- Green paper or vinyl cut using a Cricut
Paint flowers, stain plaque and dowels
- Cut the thin stem off the flower shaped photo frames
- Paint frames in flowery colors
- Cut dowels into 2 lengths (I think these were cut at 5" and 7")
- Paint green
- Sand plaque lightly and wipe down
- Stain (we used a random dark brown we had that no longer has a label)
- Let dry
Mark and drill holes for dowel in the top of the plaque
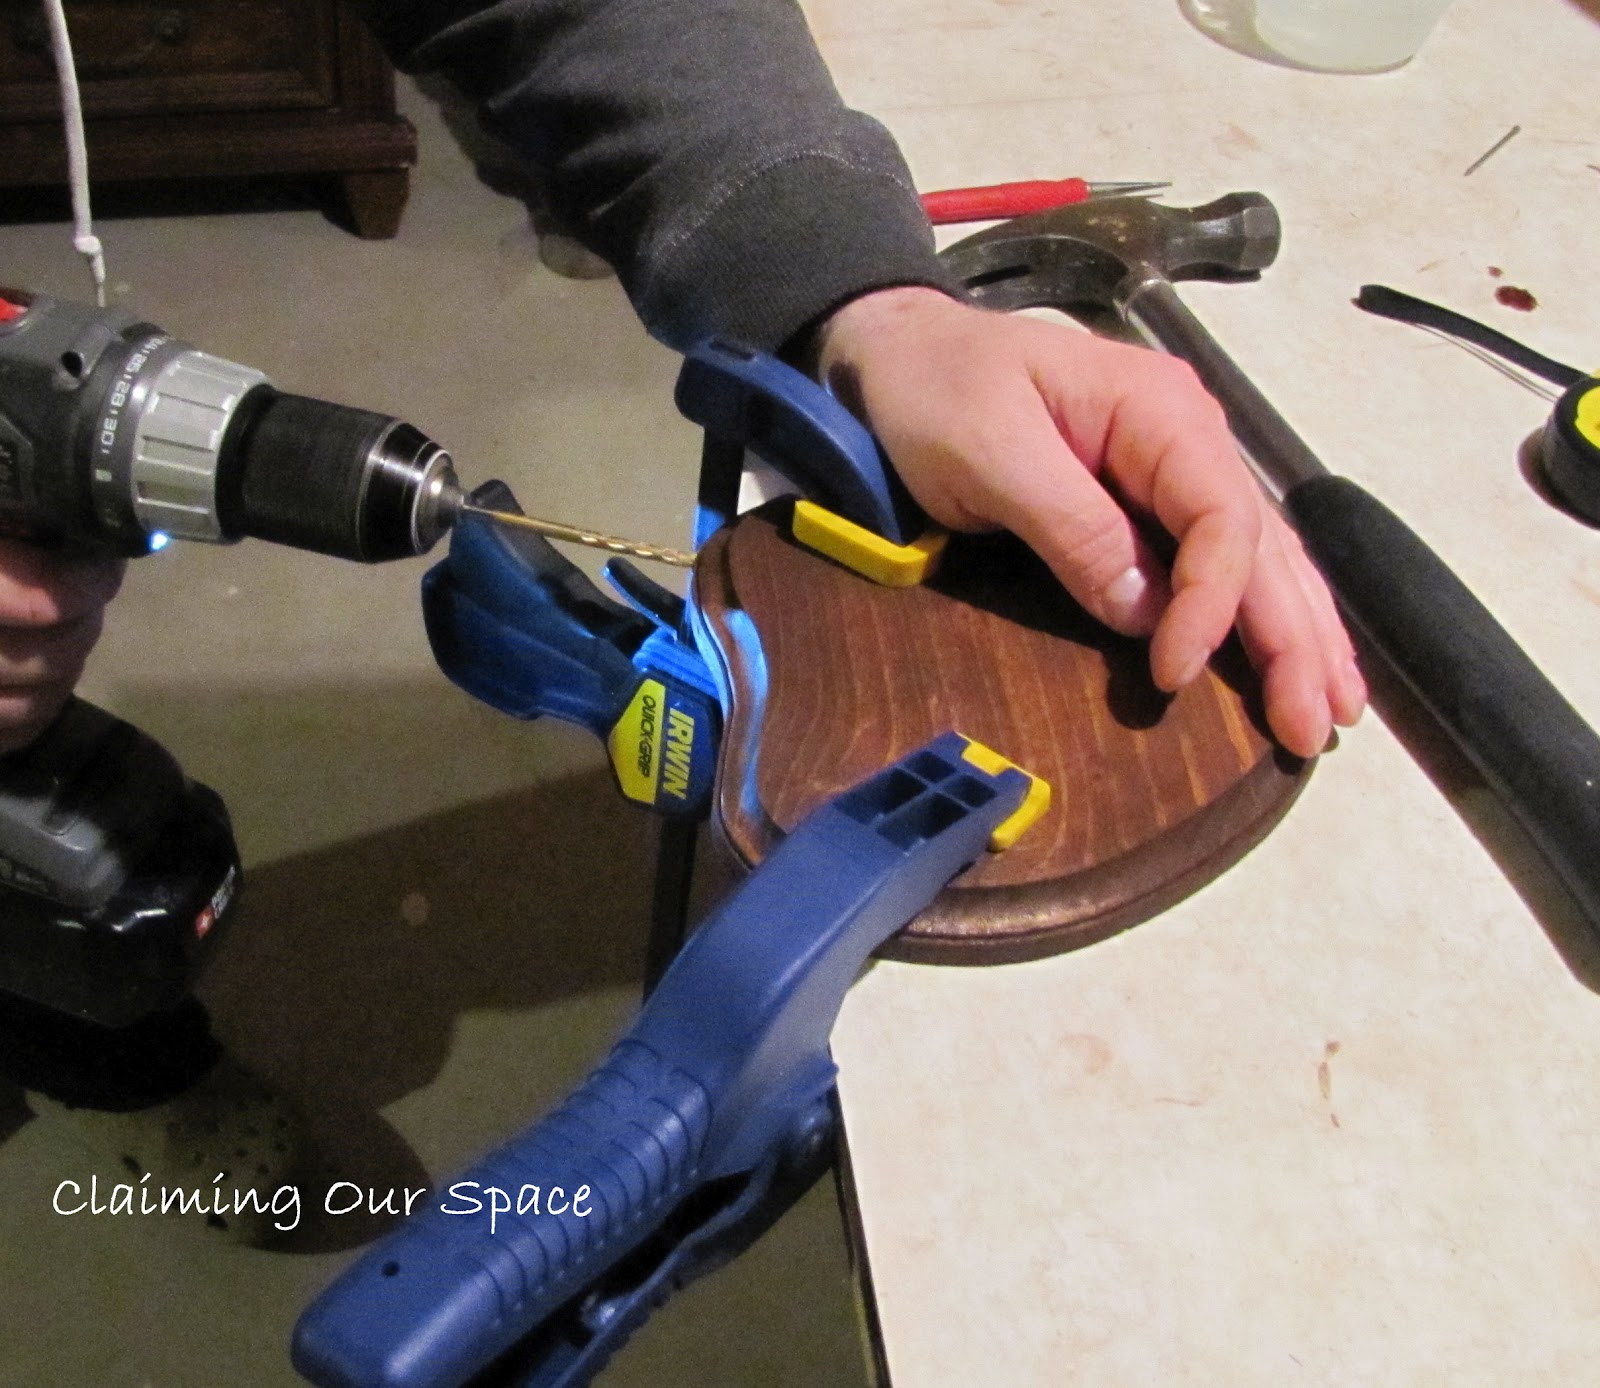
Drill the holes so that the "flowers" end up looking like they are growing out of the top.
D used a nail set to mark the location of the holes
He then used a drill bit that was the same size as your dowel
I am not sure how to explain this so check out the photo at the top of the post to see the angles he drilled at
Hot glue the painted green dowels to the back of the painted flower photo frames
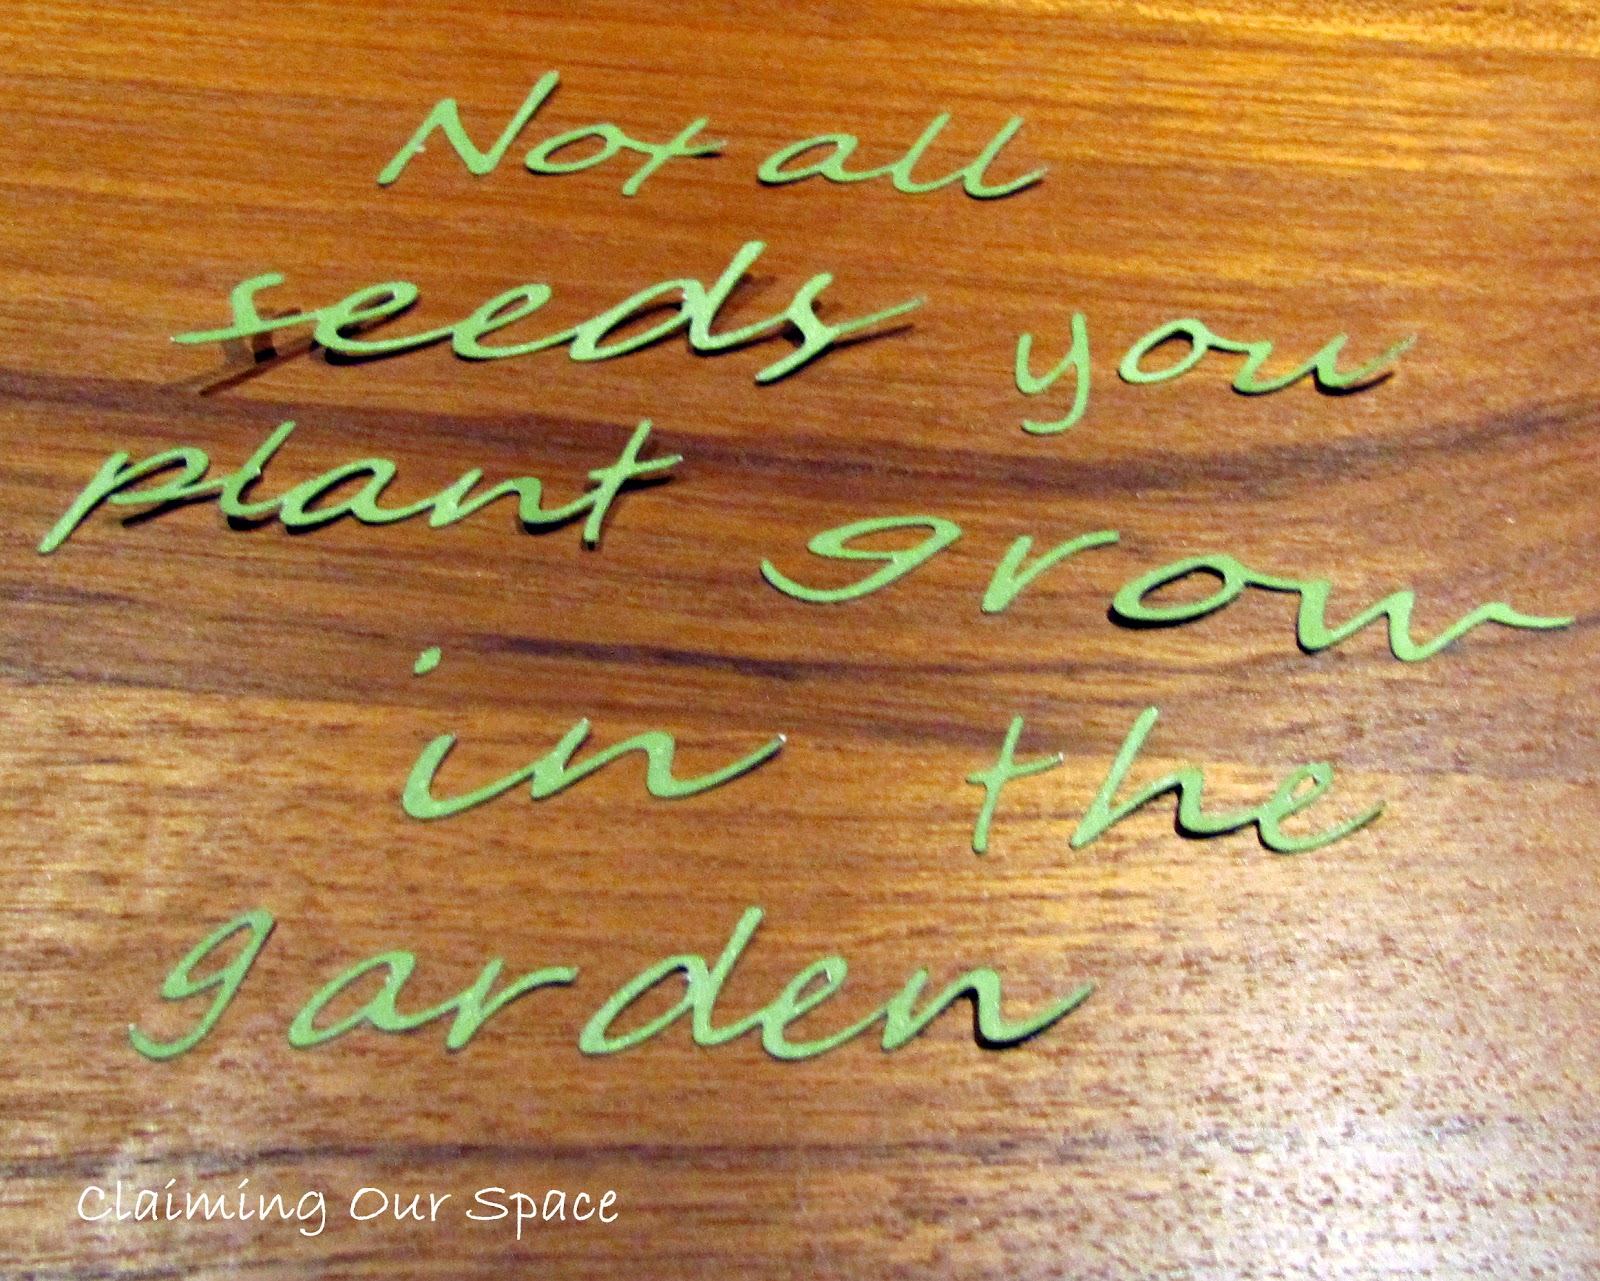
Cut out your saying.
I used my Cricut and my SCAL software.
I had to use paper since I didn't have any green vinyl.
The phrase we used was "Not all seed you plant grow in the garden."
We thought this was a perfect phrase for a gift that includes pics of all her grandkids.
Glue the letters to the plaque.
I used Elmer's glue brushed lightly on the back of the letters and a set of tweezers to place the letters onto the plaque.
I then brushed lightly over top to make sure they were sealed in place.
Let dry.
Seal with a couple of coats of poly spray.
Let dry completely (this step took about 12 hours)
Add a saw tooth photo hanger to the back.
Attach the flowers and insert the photos
Put a bit of wood glue in the holes you drilled at the top of the plaque and insert the green dowels
Cut your photos to size and place in frames
Let dry and you are all set to hang
I think this turned out really cute and it wasn't that difficult to put together, just a bit time consuming. After seeing the look on D's mom's face when she opened the package was totally worth every minute.
Check out the places I party.
And don't forget to enter our "We've Made It To 100" giveaway.
Sunday, May 20, 2012
Gallery Wall Pt 2 - Sea Biscuit Shadowbox
I was so happy to do this project a guest posting over at Makin My Apt a Home as part of the Trading Blogs party hosted by Serendipity & Spice.
I finally whipped up another piece for our gallery wall.
It all started a couple of months ago my mother-in-law showed up with a tin. When D opened it up, he found two sea biscuits that his grandmother had brought him from Florida over 30 years ago. MIL had been toting it from place to place since he was a kid. (Sea Biscuits are similar to sand dollars but are more puffy looking)
I knew that I had to come up with something special to display them so they wouldn't live in another 35 years in that tin. Plus, it was a cool old Coca-Cola Santa tin that I wanted to be able to use in my decorating next Christmas!
First, I had to bleach them. I added some bleach to warm water and soaked them for 10 minutes. Once they dried, they were nice and white.
Then it was time to make the box. Mine was about 7.5 by 10.5. I cut down some scrap and nailed it together with some brads.
A quick sand then onto priming and painting.
Once everything was dry, I needed to find a backing board. Luckily I found another scrap piece that would work.
A quick trim and it was starting to look like a shadowbox. Well, an upside-down shadowbox.
Then it was onto fabric. First I spray painted the edges of the backer and let it dry. Using spray adhesive, I applied the fabric to the backing piece. Since I wanted to make sure that no fabric could be seen sticking out between the side and back, I trimmed the fabric just a bit, then let it dry for about an hour.
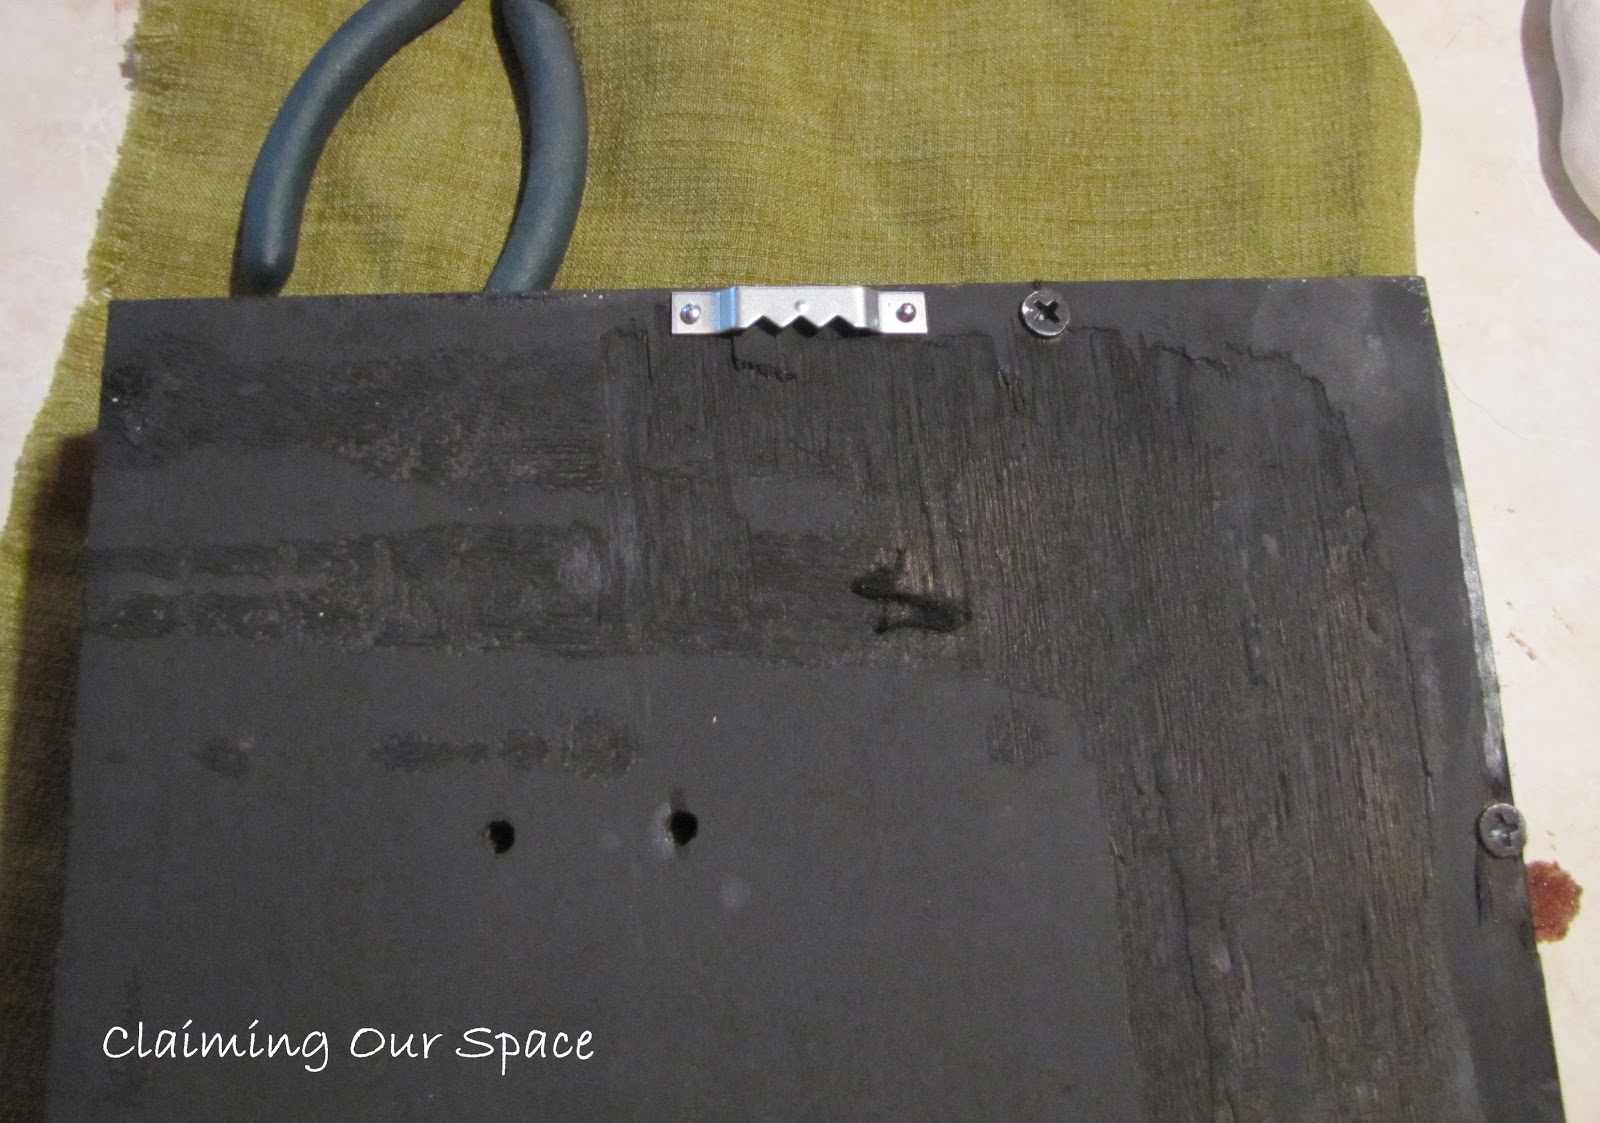
Now it was time to attach the back. I predrilled the holes for the screws. 2 holes on each side, 1 on the top and 1 on the bottom.
Once everything is screwed down and the back has gotten a coat of black spray paint, I attached a tooth hanger. I don't think that is actually what they are called but hey, it is descriptive and you knew exactly what I was talking about before you saw the pic didn't you?
Now it is time to first up the hot glue gun. Since this is ultimately going to be hanging on the wall, I didn't want there to be any chance of anything coming loose.
No pics of the actual gluing since that stuff starts to harden so quickly. But I applied a generous bead of glue about 3/4" from the outer edge and then pressed it firmly to the fabric.
I think it turned out great.
Right now it is living on my half stripped mantle. But it still looks pretty darn good. My mother-in-law teared up when she saw the "biscuits" displayed so nicely. D thinks it looks pretty nice but is still not convinced about how the gallery wall is going to look.
I am so happy I was able to share my Sea Biscuit Shadowbox with Arod's readers.
If you would interested in trading posts with us sometime in the future, let us know. D would be thrilled because it might get me working on the million projects I have half finished in the basement!
Check out the places I party!
There is still time to sign up for my Blog-a-Pal-Loosa giveaway for a set of 4 hand stamped travertine coasters, a set of 4 Celtic stamped slate magnets and a set of 4 dragonfly stamped magnets. Click here to enter.
I finally whipped up another piece for our gallery wall.
It all started a couple of months ago my mother-in-law showed up with a tin. When D opened it up, he found two sea biscuits that his grandmother had brought him from Florida over 30 years ago. MIL had been toting it from place to place since he was a kid. (Sea Biscuits are similar to sand dollars but are more puffy looking)
I knew that I had to come up with something special to display them so they wouldn't live in another 35 years in that tin. Plus, it was a cool old Coca-Cola Santa tin that I wanted to be able to use in my decorating next Christmas!
First, I had to bleach them. I added some bleach to warm water and soaked them for 10 minutes. Once they dried, they were nice and white.
Then it was time to make the box. Mine was about 7.5 by 10.5. I cut down some scrap and nailed it together with some brads.
A quick sand then onto priming and painting.
Once everything was dry, I needed to find a backing board. Luckily I found another scrap piece that would work.
A quick trim and it was starting to look like a shadowbox. Well, an upside-down shadowbox.
Then it was onto fabric. First I spray painted the edges of the backer and let it dry. Using spray adhesive, I applied the fabric to the backing piece. Since I wanted to make sure that no fabric could be seen sticking out between the side and back, I trimmed the fabric just a bit, then let it dry for about an hour.
Now it was time to attach the back. I predrilled the holes for the screws. 2 holes on each side, 1 on the top and 1 on the bottom.
Once everything is screwed down and the back has gotten a coat of black spray paint, I attached a tooth hanger. I don't think that is actually what they are called but hey, it is descriptive and you knew exactly what I was talking about before you saw the pic didn't you?
Now it is time to first up the hot glue gun. Since this is ultimately going to be hanging on the wall, I didn't want there to be any chance of anything coming loose.
No pics of the actual gluing since that stuff starts to harden so quickly. But I applied a generous bead of glue about 3/4" from the outer edge and then pressed it firmly to the fabric.
I think it turned out great.
Right now it is living on my half stripped mantle. But it still looks pretty darn good. My mother-in-law teared up when she saw the "biscuits" displayed so nicely. D thinks it looks pretty nice but is still not convinced about how the gallery wall is going to look.
I am so happy I was able to share my Sea Biscuit Shadowbox with Arod's readers.
If you would interested in trading posts with us sometime in the future, let us know. D would be thrilled because it might get me working on the million projects I have half finished in the basement!
Check out the places I party!
There is still time to sign up for my Blog-a-Pal-Loosa giveaway for a set of 4 hand stamped travertine coasters, a set of 4 Celtic stamped slate magnets and a set of 4 dragonfly stamped magnets. Click here to enter.
Sunday, March 18, 2012
Turning Childhood Toys to Treasured Art
This project was originally posted as a guest post I did on The NY Melrose Family blog.
Do you have a childhood treasure that just doesn't fit in your home's decor? Something you just can't get rid of but don't want stored in a box forever? If so, this may be the project for you!
When I was sorting through some boxes that had been stored in my parents basement for mumble mumble years, I came across the gorgeous guy you see below. You see, like many women, I had been horse-mad when I was a kid. Of course this meant that I filled my room with galloping horses, just like this one.
Now, since I don't have a horse-mad daughter and am trying not to end up on an episode of Horders, into the donate box he went. There Black Beauty lived for a few weeks until I remembered Remington and his bronze statues of horses and their riders. Ideas on how to accomplish something similar began to bubble and percolate in my brain.
Then I had it, I would turn Black Beauty into my own bronze statue and keep him forever!
Step 1: Gather Materials
Step 3: Attach your horse to your base (Sorry, I don't have any photos of this. Since I don't have 3 hands I couldn't take any photos.) and caulk the seam
Step 4: Attaching the secondary base
Step 5: Painting
Here's a close up. I think it turned out pretty well. You would never know he was just a molded plastic underneath.
Crafting Rebellion, Type A and Better After were kind enough to feature this project on their blogs.

Do you have a childhood treasure that just doesn't fit in your home's decor? Something you just can't get rid of but don't want stored in a box forever? If so, this may be the project for you!
When I was sorting through some boxes that had been stored in my parents basement for mumble mumble years, I came across the gorgeous guy you see below. You see, like many women, I had been horse-mad when I was a kid. Of course this meant that I filled my room with galloping horses, just like this one.
Now, since I don't have a horse-mad daughter and am trying not to end up on an episode of Horders, into the donate box he went. There Black Beauty lived for a few weeks until I remembered Remington and his bronze statues of horses and their riders. Ideas on how to accomplish something similar began to bubble and percolate in my brain.
Then I had it, I would turn Black Beauty into my own bronze statue and keep him forever!
Step 1: Gather Materials
- Horse
- Gorilla Glue (not pictured)
- Drill and bit - bit should be the same size as the shank of the screws
- Primer
- Copper Spray Paint
- Hammered bronze spray paint
- 1x4 piece of wood - cut to the size that fits your horse
- 1x6 piece of wood - cut 2 inches larger that the 1x4
- screws - 1" and 1-1/4"
- caulk
- pencil (not pictured)
- Draw circles around the hooves on the 1x4
- Draw an arrow to mark the centers and then drill the holes
- Drill holes in the bottom of the hooves
Step 3: Attach your horse to your base (Sorry, I don't have any photos of this. Since I don't have 3 hands I couldn't take any photos.) and caulk the seam
- Place a bit of glue in the center of each circle
- Using the 1" screws, screw into your pilot holes until the screws just poke out of the top of the piece of wood
- With the base on its side, place the horse so the holes in the hooves settle on top of the screws
- Finish screwing the horse to the base
- Set aside overnight to let the glue harden completely
Step 4: Attaching the secondary base
- Set the horse and base onto the 1x6 and, measuring to make sure that it is centered, mark the edges so you can make sure to drill inside the lines
- Clamp the pieces of wood together and then lean everything over onto a couple of rags so you can screws the pieces of together.
- Caulk the seam between the two pieces of wood
Step 5: Painting
- Prime and let dry
- Paint with copper spray paint and let dry. It will take a couple of light coats to get complete coverage.
- Paint with bronze spray paint and let dry. It will take a couple of light coats to get complete coverage.
- Display!
Here's a close up. I think it turned out pretty well. You would never know he was just a molded plastic underneath.
This shot shows how the detail really stands out thanks to using light coats of spray paint.
To see where I am linking up, check out the Places I Party.
Crafting Rebellion, Type A and Better After were kind enough to feature this project on their blogs.
Subscribe to:
Posts (Atom)