Pinterest is, as you all know, an amazing amazing place filled with cool stuff. It is also a great place to get inspired. I love looking for possible things I can recreate in an easier way or with my own twist.
This beautiful pillow from Dear Lillie is exactly the type of thing I am looking for.
You see, I love the pillow but don't have a screen printer, or know anyone with a screen printer and I am in no way talented enough to paint it on a piece of fabric. So what is a girl to do?
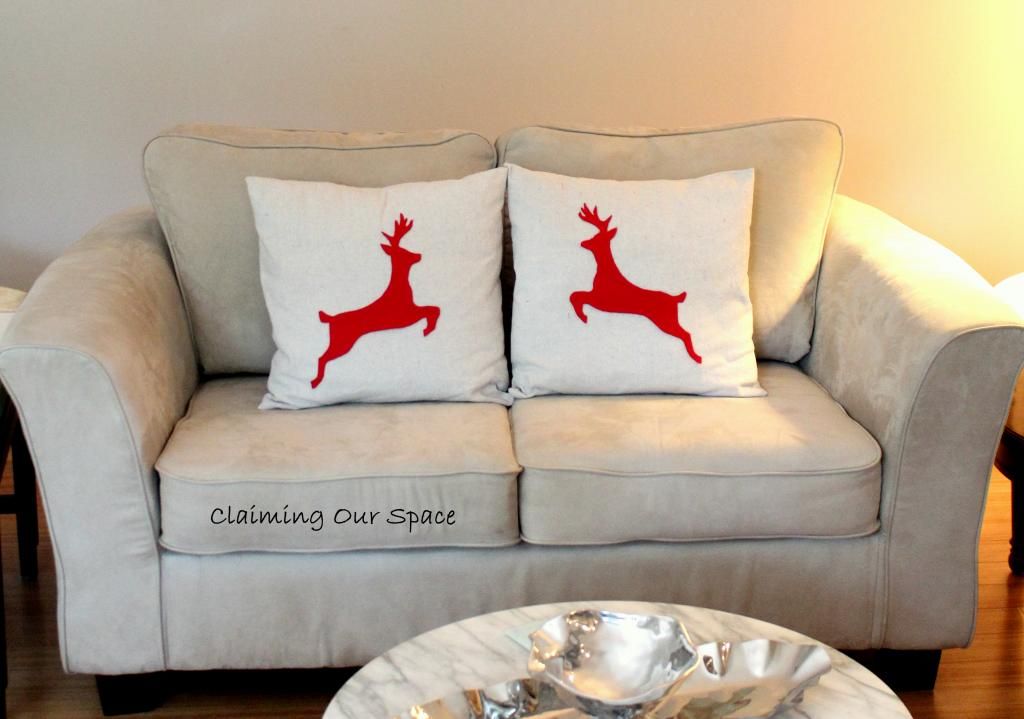
I have three words for you! Felt and Drop Cloth!
With those 2 things and a reindeer silhouette, like this one it is easy to make a pillow.
Want to make one or two or three for yourself? Here's how.
Materials
- Reindeer silhouette printed on a sheet of 11x14 paper (I used Google images to find one that looked good to me)
- Scissors
- Fabric glue
- Laundered drop cloth
- Felt (I used red)
- Straight pins
- Pillow Insert (mine was 18x18)
- If you want to sew, a sewing machine (If you don't, heat-n-bond)
- Cut out your paper silhouette
- Pin silhouette to your felt (you can also use double stick tape)
- Cut out your reindeer
- Make yourself an envelope pillow (I used this tutorial from Teal and Lime, though I cut my fabric 17.5x42) using the drop cloth as your fabric
- Insert your pillow into into the cover
- Lay your reindeer on pillow positioning it exactly as you you wish
- Pin felt reindeer to pillow by inserting the pin trough the felt into the pillow
- Using the fabric glue, glue the reindeer to the pillow
- Done!!
Yes, it is that easy! I am pretty sure that cutting out the reindeer was the lengthiest part.
I think it is a great addition to our holiday decorations.
One quick note, if you live near an IKEA, you can skip the whole make a pillow cover part and pick one up for cheap there, like this one.


Wow! They look fantastic!
ReplyDelete