Wednesday, March 23, 2011

A Work Shop Transformation - From Chaos to Organized (and it didn't cost a dime!)

One usual result of trying to complete several projects at one time is a work shop that becomes a total disaster. At least, that is what happened to us.  We had lived with this situation for several weeks, making it worse as time went along.

As you can see from the pictures below, once we ran out of room on the large workbench, we decided the bottom ledge was perfect for throwing things on. Once that was full, we used the floor. Needless to say, things were going from disorganized to total disaster.

Here is the proof.


Apparently this is where boxes go to die on our house.

Why put break down the boxes when you can pile them in the corner?  And yes, that is a mitre saw sitting on a box of bamboo flooring.  Again, why put it on a table when an extra box of flooring will do.

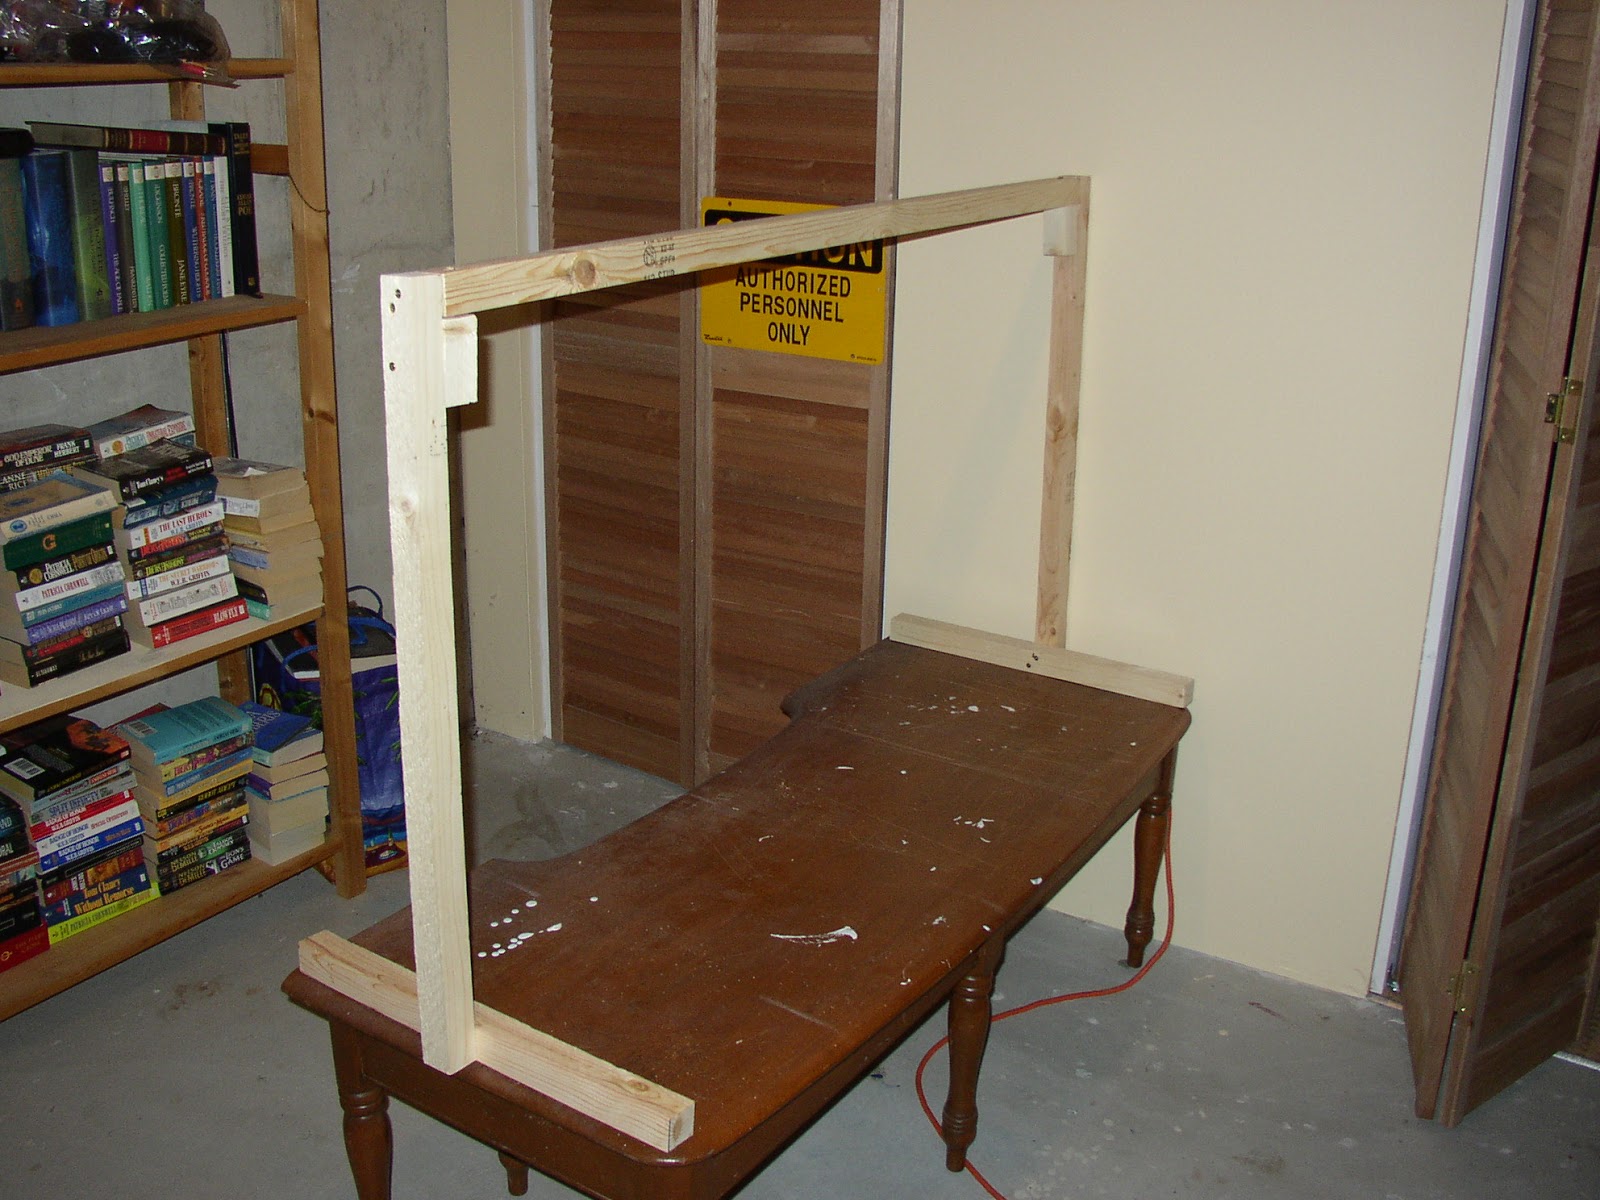
Or, we could just throw everything on the work table.  Why put them in some sort of order when you can throw them on the table?
Or we could just start filling up the bottom shelf of the work table.  Yeah, that's it, fill the bottom shelf so things don't end up on the floor.
Whoops, guess again.  We ran out of room on both the top and bottom shelf on the work table, so the next logical place for them was on the floor.  This is when I knew we had to take charge and get organized.

That and having spent at least 20 minutes looking for a phillips head screwdriver that wasn't only 4 inches long. I knew it was time to get things off the floor, off the work table and into some semblance of order.

The worst part, our workshop in is a huge area of the basement.  And we already had some storage pieces we could utilize that had been left by the previous owner (these are way in the back of the room.)


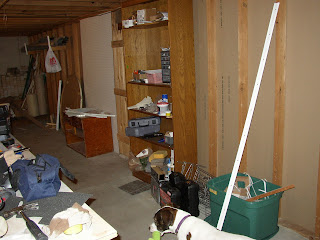
We also had space along the wall to hang our elfa shelves that were formerly in the basement of our old house. (Check out our mess inspector in this picture.)
With an afternoon, the storage pieces leftover storage pieces left by the previous owner and and the elfa shelving along with my label maker, I was going to make order or the mess.

I think I was pretty successful.


The corner where all the boxes were previously stacked haphazardly.  Looking so much tidier.  Once all the stuff in the middle gets added to the weekly trash pick up, it look even better.

The elfa shelves up and organized.  The floor cleaned and not a single tool on the floor. (Yay!)

The work table is empty and ready for the next project. 

A couple of the storage pieces left in our basement have been utilized.  The one on the left is for paint and paint supplies.  The one on the right is our flooring supplies storage. 

Another left-behind piece holds fasteners, tapes, caulks and other small items.  And all the those little white things on the shelves are the labels to help keep us organized.   

An previously unused IKEA storage piece and some baskets I found in the basement hold other small items like tape measures, gloves, screwdrivers and the like.  And we have all our Dremel tools, bits and attachments together in one locations.

So in the course of an afternoon, I was able to create organization out of chaos.  It is so much nicer to head down to the workshop to plan out our next project. 

Next up, cleaning out the garage.  Before gardening and painting season starts, we need to get things cleaned and organized so we know what we already have and what we need to buy to accomplish our plans. 

Sunday, March 20, 2011

Seeds Are Planted!

Two weeks ago, I planted some of my first seeds of the season taking advantage of my new grow light contraption.

Parsley
Tarragon
Thyme
Peas
Lettuce

I already have some teeny sprouts and will keep you updated on things in the coming weeks.

Happy first day of Spring!!

Wednesday, March 9, 2011

A DIY Grow Light Stand


If you live in a northern climate, like I do (Zone 5b), starting your veggies inside is almost a necessity.

But the catch is that you also don't really get enough natural light to ensure that your seedlings won't get leggy, like mine did last year. Or you may have a dog that will eat anything green within her reach. Seedlings growing in front of a slider door on the floor would be like a siren song to our goat dog, Willow.


 The answer to that problem is growing my seedlings on a table using a grow light.

Of course, you can get grow lights and stands from various catalogs and online stores but the cost can get quite expensive. Most of the versions I have seen start at about $60. Being a bit of a cheapskate, I decided to build my own using two 8 ft long 2x2s, twelve 2 1/2" wood screws, a 4' long shop light with two T8 full spectrum daylight flourescent bulbs, about 8 feet of chain and two s-hooks. Total cost? Less than $35 (the full breakdown will be at the end of the post.)

For my table, I am using an oddly shaped, beat-up coffee table with a missing drawer and wobbly legs that was left in our basement by the previous owner of the house. I figure that this is a better use than holding empty boxes and old magazines, which is what I was using it for last week.

Step 1:
Create a plan. I sketched out a rough draft and then created a "cleaner" version of my plan using Word and the Draw functionality.


Step 2:
Double check the measurements of the table or other surface you are planning on putting your light on.
I ended up having to cut my top piece shorter to make the stand fit on my table.

Step 3:
Cut all your pieces of wood. I used my table saw but you could even use a hand saw to make the cuts if needed.

For my stand, I cut my pieces in the following dimensions.
1 top piece (50")
2 side pieces (24" each)
2 corner brace pieces (3" each)
2 base pieces (20" each) I originally cut 4 pieces but only ended up needing 2.

Step 4: Lay out the pieces according to size so that you don't accidently cut your top piece in half and need to go back to get another 2x2 the next day (not that I did that or anything...)

Step 5: Securing the sides to the top.
Clamp the side pieces to the top piece, using a corner clamp, if you have one, or you can just a regular clamp. (On a side note, if you are planning on building garden boxes or raised beds, the corner clamp is an amazing tool that makes putting together boxes a breeze.) Pre-drill 2 holes per end and screw in your screws.


Repeat on the other side. You should now have a large U-shaped piece.

Step 6. Attaching in the corner braces
In the corner, place the brace piece, Predrill straight through the side into the brace and install screw. When predrilling the hole through the top, you will need to drill on an angle so you don't hit the previously installed screws.


Step 7: Attaching the base pieces.
Measure and mark the middle of your base piece. Center that on the side and clamp in place, with enough space showing to pre-drill, then install one screw. Once you have one screw installed, you can move the clamp to expose the other side so you can pre-drill and install the second screw. Repeat on the second side.


You now have your stand for your light.


Step 8: Hanging the light
The light I bought actually was made for hanging so came with short chains and S-hooks. These were not long enough to go over the top of the stand so I needed to get some more chain. I bought a 15-ft length and cut it in half, then in half again with some wire cutters to get my desired length (about 3.5' of chain for each side of the light. Drape the cut chain over the top, use an additional S-hook on each side to connect the light chain and the cut chain together.


Step 9:
Place the stand with light on your table, install the bulbs, plug it in and test it out. If everything is working properly, you are ready to grow.


You can also add a timer so you don't have to remember to turn the lights on and off.

Here is the breakdown of the cost for the DIY grow light and stand.
$20.00 4' shoplight
    7.00 2pk of T8 daylight flourescents
    1.30 3pk of S-hooks (Package was $2 but I am using the 3rd S-hook for another another project)
    3.00 1 pkg of 15 ft of chain (package was $6.00 but I will be using the other half for another project)
    2.60 two 2"x2"x8' furing strips
    0.00 16 - 2.5" screws (already had these in our work shop)
$33.90 Actual Cost of the project

If you already have a grow light and bulbs, the cost is less than $10.

Now all I need to do is get my seeds planted for my cool weather crops.  Any suggestions?

Saturday, March 5, 2011

On this weekend's To Do list

image souce: vcsu.edu

It is the usual busy weekend of keeping up withe usual house stuff but we also have a few house related projects/activities on the list.

I am making a grow light frame so I can start my veggie seeds using 2x2s, a shop light and some regular florescent bulbs.  Total cost is less than $40 or so.  Even better than the price?  I get to use some power tools.

We are also moving some furniture that we were storing in the garage into the basement so we can actually start working on getting them refinished or repainted.  Then that means that we will be able to reorganize the garage.  (Oh, to have a clean-ish garage.)  And the up-side for you readers is having furniture where it can be worked =  projects to post on the blog.  [:)]

Finally, we are heading to our local Home & Garden Show to get some ideas for, whatelse, the home and the garden. 

What plans, house related or not, do you have for this weekend? 

Friday, March 4, 2011

We're Back!


After quite a hiatus, we are back! We have been trying to balance work, school, some family issues, time with our new dog, and work on the house, needless to say something had to give and blogging hads fallen by the wayside. 

But now we are back in on the radar.   We have worked some things out, gotten into a routine and stockpiled information for a number of posts.

We have lots of photos of our projects still to download off the cameras, a list of posts to write but in the coming weeks we will have posts on
  • bamboo flooring
  • slate tile instillation
  • repair of hidden water damage (never fun to find)
  • Organizing our workshop in the basment
  • our completed dining room
  • our completed office
  • beds for the boy's room (plans from http://www.ana-white.com/)
  • along with several other home dec related projects
  • With summer coming, there will be many yard and garden projects, including builing your own grow light stand.
Plus a number of photos of the cute dog that is our Willow, who is right now curled up on Hubs' chest with her snout pressed on his face, even though she weighs 55 pounds.  She is included because she is our un-official building inspector, aways checking out work.

Hubs and I are glad to be back.  We hope you will be too.