Saturday, November 28, 2009

Christmas is Coming!! Christmas is Coming!! And Here's a Contest to to Help You Get Ready!!

With Thanksgiving over, this means that Christmas is right around the corner. Gulp! We are hosting the family Christmas Eve celebration this year. Double Gulp!!


In any case, we could use another Christmas tree, like the one that Balsam Mountain is giving away. Click here to enter the giveaway for a Colorado Mountain Spruce Christmas tree valued at $799.


For more information on Balsam Hill trees and how they are made, click here.

Thursday, November 26, 2009

Happy Thanksgiving!!


Wishing you and your families
a healthy and happy Thanksgiving!!

Wednesday, November 25, 2009

Our First Dinner Party in Our New Home

Before we tore apart our dining room to make way for our ultimate design, we hosted our first dinner party.  My parents, grandmother and great aunt joined Hubs and I for a dinner.  We love to have people over so we can share our favorite recipes and use some of the beautiful dinneware and serveware we recieved for our wedding. 

We had a fall themed table with pumpkins, gourds and the season's warm colors.  (Though I did learn that now that we are able to have the extra leaf in our table all the time, I need to invest in new tablecloths and runners since my current ones are a bit short.)


For dinner, we enjoyedCaesar salad, marinated tri-tip steak cooked on the grill, herbed red potatoes, sweet corn on the cob with fresh fruit tarts for dessert and red and white wines and Prosecco with dessert to toast another wonderful family gathering. 

To see more of our the recipes we have tried, visit our other blog About a Bit of Everything which highlights recipes and other crafty projects.

Sunday, November 22, 2009

Discovery! Why We Have No Squeaky Floors!

When we were laying the new bamboo flooring in the office, we made a discovery.  Not a bad one, like many of our discoveries (the nonfunctioning dishwasher is one that springs to mind), but a pleasant one.


We have 1 inch plus thick plywood for our subfloors.   (We decided to not try to figure out why there was a big hole cut into the floor of the office.  Sometimes it just isn't possible to get into the mind of the previous owner.)

With this discovery, we now know why it was so difficult to get the phone line from the basement to the office (post on this to come in the coming weeks), why the house is so quiet and why we do not have a single squeaky floorboard in the entire house. 

Here's hoping we make more good discoveries as we continue to Claim Our Space.

Thursday, November 19, 2009

How to Tell It's Love

Just check for the smashed fingers.  If they match, it's love.  How do I know?  Just check my and Hubs' hands.  And we even made sure that the smashed fingers match. 


Mine was smashed installing the baseboards in the center bedroom.  Hubs smashed his working on the door trim in the office. 

Ain't love grand?

Tuesday, November 17, 2009

What Do You Do With An Ugly Powder Room?

Demo it, of course.  When we moved in, our powder room looked like this.

Yes, that is wallpaper border running down the walls. That lovely detail was found in evey corner.  As an added bonus, it was put up before the trim was installed.  It was also running along the ceiling.  There was more wallpaper border in this teeny bath than in most bedrooms, a total of 86 feet.   It is at times like this that I have to wonder what the "designer" of this room was thinking.

The tiles also ran up the wall just around the sink and the wall next to it, again another interesting "design" detail.  Add to the mix wall tiles used as floor tiles, some of the tile having been installed over wall paper, and a particularly dingy shade of yellow painted on the walls and ceiling and you know why we scheduled a redo of this room.

After about 5 hours one evening, we ended up with this.


Some of the "fun finds" we discovered were the 1/2" plywood behind the drywall around the sink, the wall tiles had been attached to the wall with what I can only figure was grout (so I was chiseling like mad, which resulted in needing to remove the drywall due to all the damage), the tile was not installed correctly on the floor (there was no underlayment, the mortar wasn't grooved so the tiles were actually just sitting on top so came up with ease) and using fabric softener and water to remove the wallpaper makes your house smell amazing. 

Keep watching for updates as we make progess is putting this room back together.

Monday, November 16, 2009

Goodwill Find Turned Buffet Piece

Previously I haven't gone to Goodwill or Salvation Army often because there was not one close to my old home.  However, now there is a Goodwill right across the street from our local Lowes.  Since we seem to stop there at least one every two weeks (ok, we stop there at least once a week), I have started stopping in regularly.

Like many thrift shops, it is hit or miss.  I have not had many hits (a lamp which will be featured later this month) and the items found in today's post. 

When I saw this platter and ice cream sundae dish, I knew that I had to get them.  Especially since at $1.99 and $0.99, they wouldn't break the bank.


(Note to self:  do not take pics of glass items on my light colored countertop)

You see, we had our housewarming party coming up and I needed something tall and flat to put the plates on for the buffet.  Why tall you ask?  Beause I wanted it able to be placed in the middle of the table with napkins scattered around it.  I was afraid a regular cake plate would not be tall enough to do this. 

These were the perfect solution.

A little glass glue (purchased at the Lowes across the street) and I was ready to go.


To secure the two pieces together, apply the glue according to the package directions to the bottom of the platter.  Mine had three little feet and a circular pattern in the center of the platter so it was easy to see where the glue would need to be applied.


(Another note to self:  See about getting a tripod or
having Hubs to take the pics when I am glueing
since apparently I cannot take pics with one hand)

Place the sundae dish upside down onto the platter and press for 30 seconds to ensure a strong bond.


Once the two pieces are secured, turn right side up and let sit for 24 hours before using.


While I don't have a pic of the piece in use at the actual party (I got distracted with getting the food on the table in time), here is a recreation.


Total cost:
$0.99 Sundae dish
  1.99 Glass serving platter
  1.15 Glass glue (I figure I used about 1/3 of the mini tube)
$3.13 TOTAL

Friday, November 13, 2009

My New Reading Light - From Garage Sale Bargain to a Highlight of the Living Room

**I am linking to Shanty2Chic's Rust-oleum Revamp Link Party.  Check it out to see what others have done with their projects**


Shanty 2 Chic


In a previous post, I alluded to big changes to a garage sale floor lamp that I bought for either $3 or got for free, depending on how you look at it.  You see, I bought this lamp and a wheelbarrow for $15.  The wheelbarrow was priced at $15 and the lamp at $3. Since I bought them both for $15, I am not sure of the "exact" price of the lamp.  Either way, it was a pretty good deal on a lamp with a nice look.

Here is the lamp as purchased.


Nice lines with a slightly water-stained shade and an unattractive aged brass color.  Not exactly screaming out for a place in our home.  But as we all know, a bit of spray paint can make a world of difference.

First, I bagged and taped the cord.  A plastic grocery bag and painters tape work great for this.


I chose Rustoleum Hammered Bronze for this lamp, since we have hammered bronze metal on several of our overhead light fixtures.  I also used the easy-grip handle so that my hand wouldn't get sore and my finger wouldn't get covered in spray paint. 


After several coats, I was left with a lamp with a much more updated look.   I especially love the pointed finials. 


A new $20 lamp shade from Target and we are ready to read.   I like the more antique look of the lamp. It coordinates wonderfully with the antique library table passed down from Hubs' family and works perfectly with our more formal living room.

I am pretty impressed with the transformation that cost less than $25.  Now all we need to do is get a comfy reading chair to put next to the lamp. 

Tip of the Project:  Use painters tape and a plastic grocery bag to protect lamp cords from spray paint overspray.

Tuesday, November 10, 2009

A Room Completed and a Bright Place to Sleep


The first room that we have completed is our center bedroom.  We call it that because it is located between the bedroom in the front of the house and our master bedroom in the rear of the house.  This is my stepdaughter's room when she is with us and a guest room when she is not here. 

The previous owners used this room as a study/office with desks for their two girls and themselves.  With all the desks, bookcases, drapes over both the windows and closet doors and a single window with a northen exposure, it was quite dark and a little drab.  Here is a peek at what we started with. 


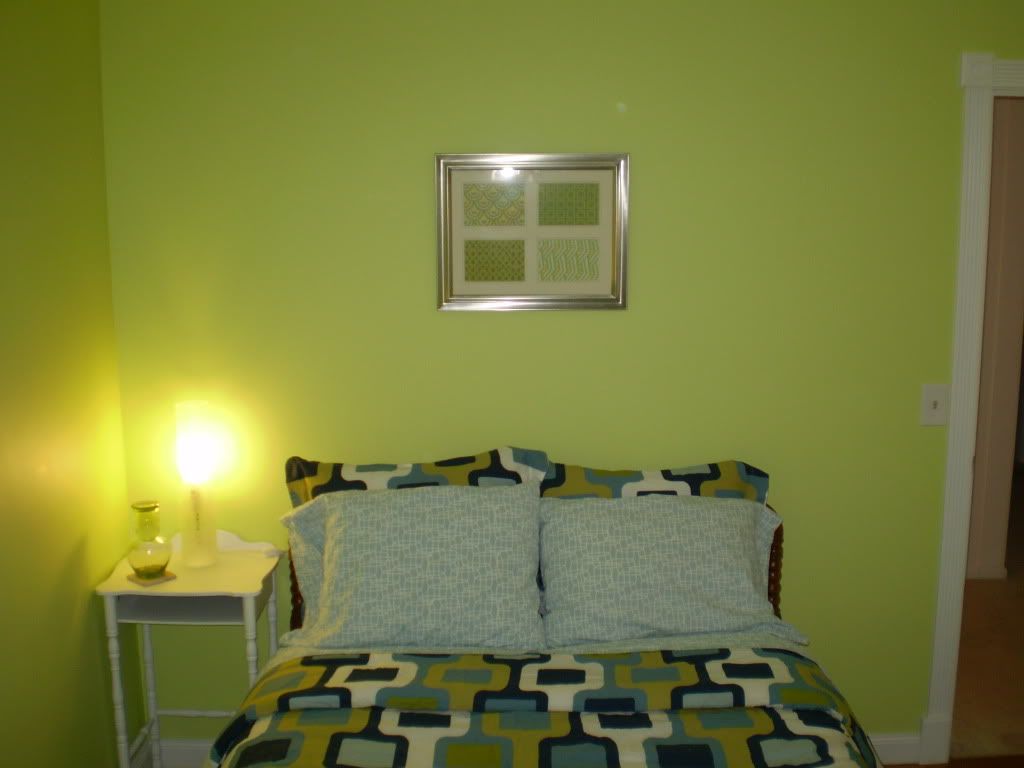
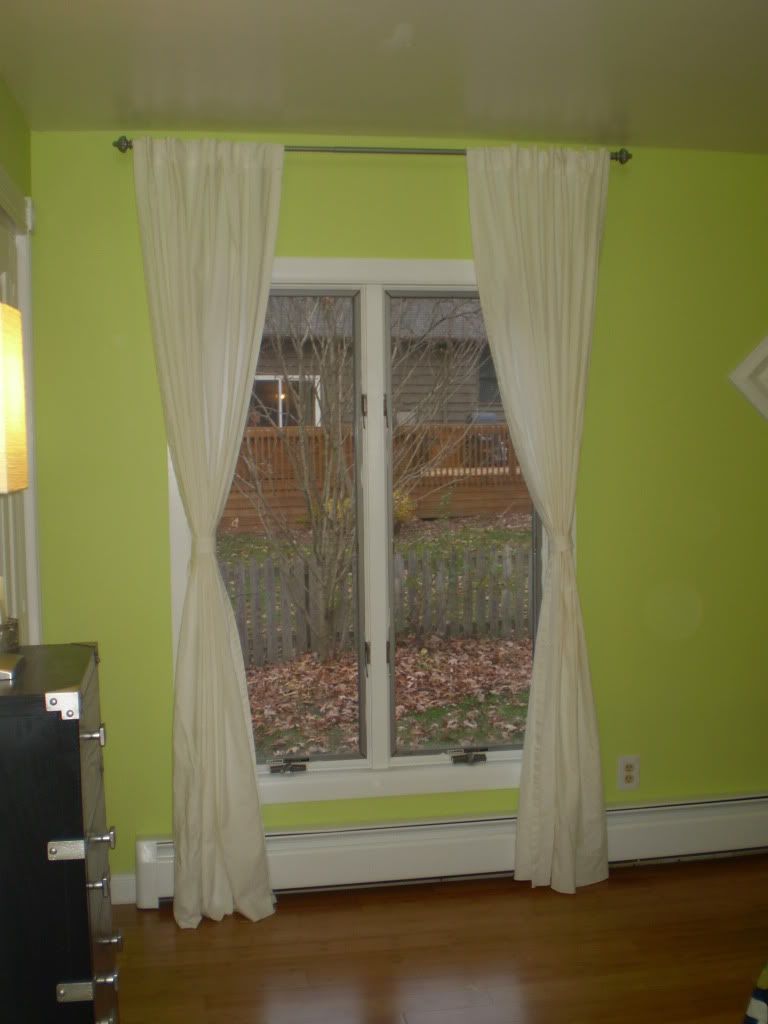
We decided to brighten it up with a bright leaf green and white trim.  The result, a bright and cheery bedroom. 


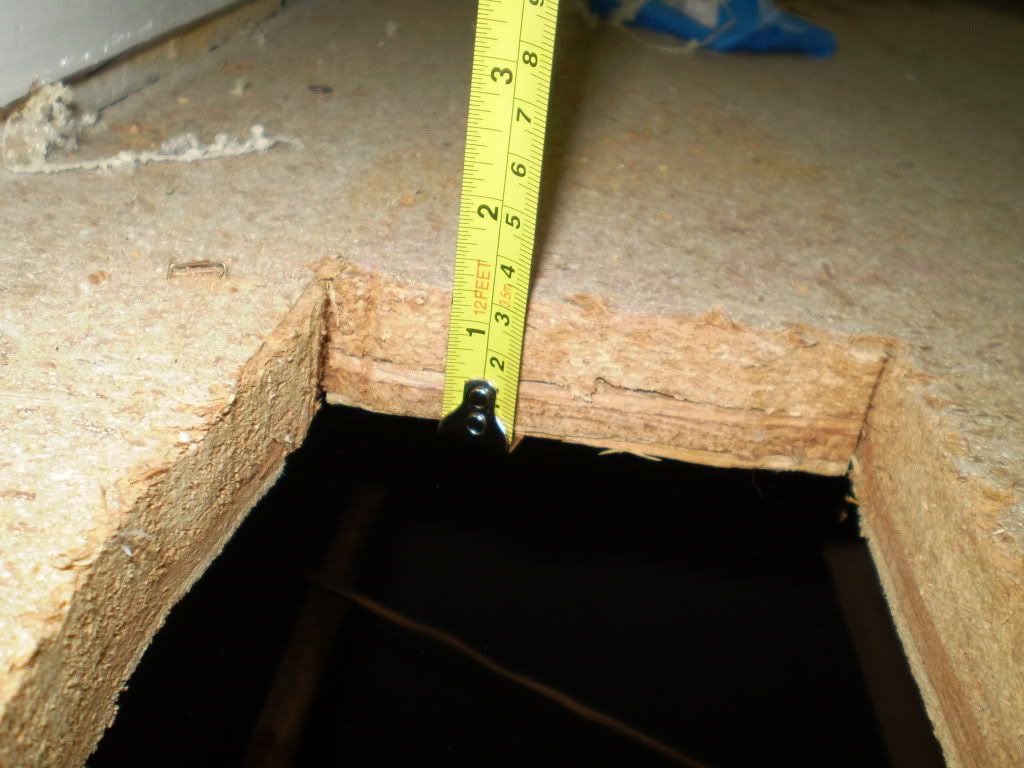
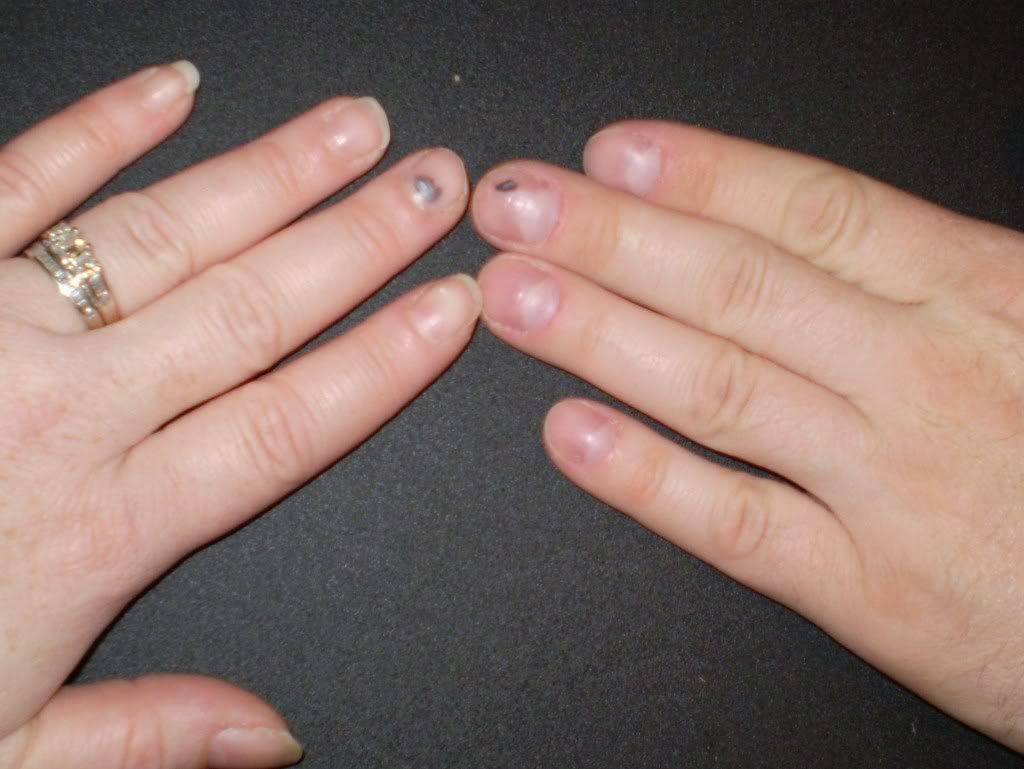
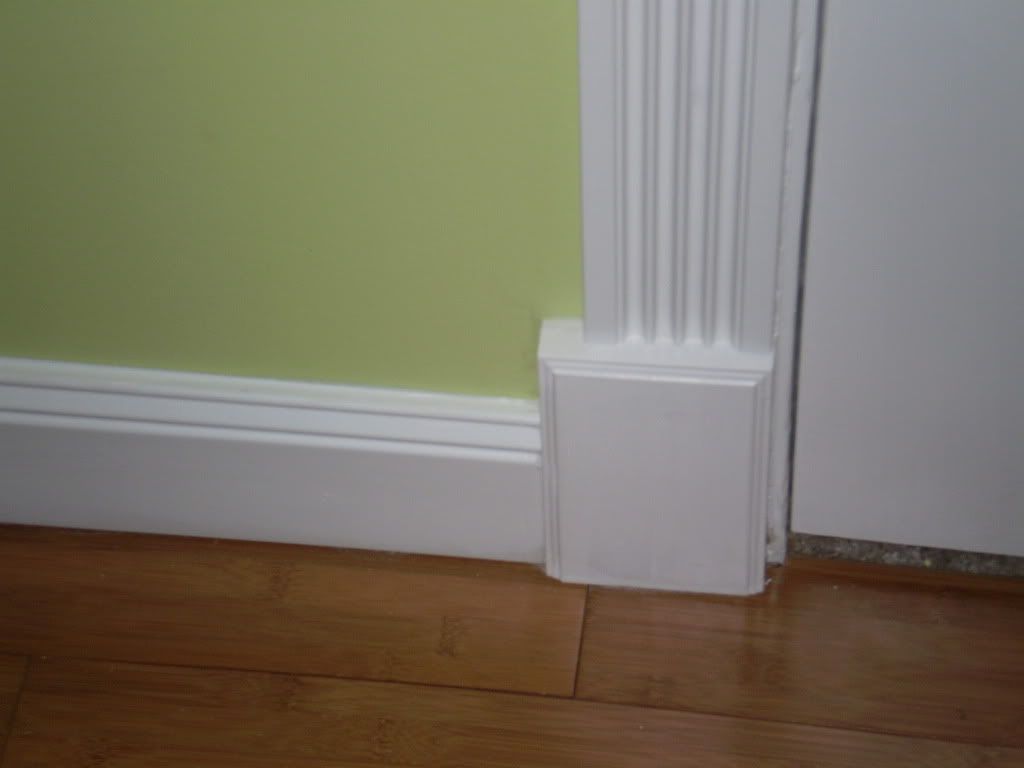
The only thing that didn't change in look was the floor.  Thankfully, the previous owners had installed beautiful engineered bamboo flooring.  However, that meant we needed to do everything else.  We painted the walls and doors (both the closets and door to the room), replaced the baseboards and the trim for the doors and closets.  I can also say that there was only one smashed finger (mine) when I was installing the baseboard trim.

New baseboards and door trim base

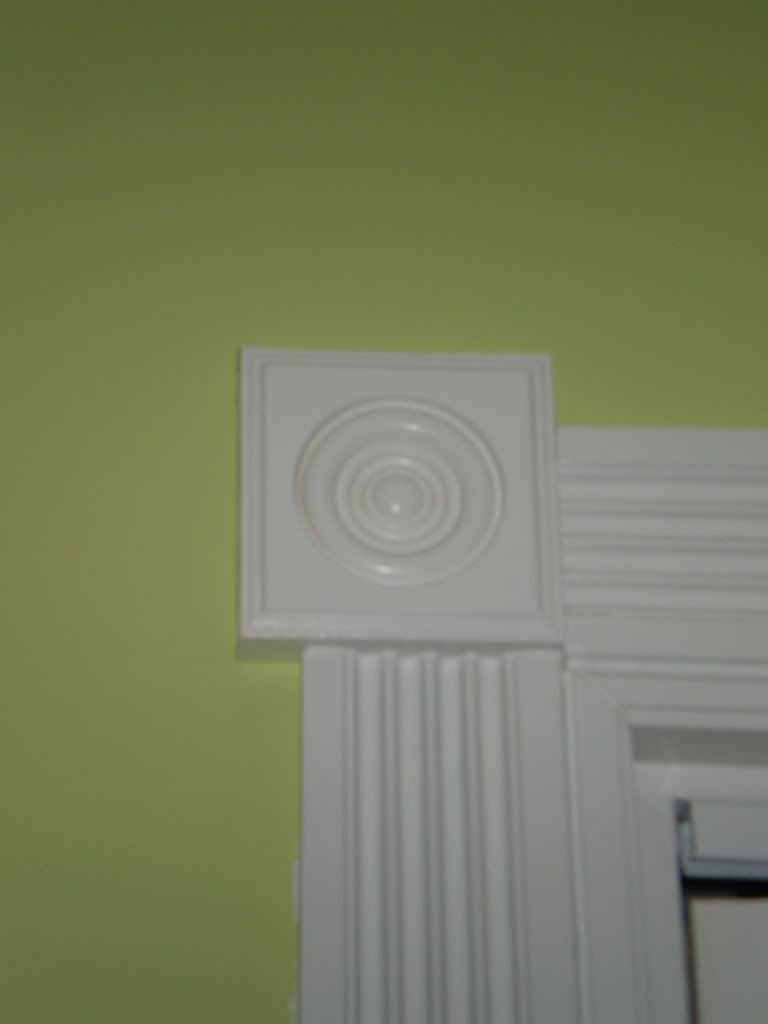
New trim and door topper

Additionally, we changed the location of the curtain rod closer to the ceiling to give a feeling of height to the room.


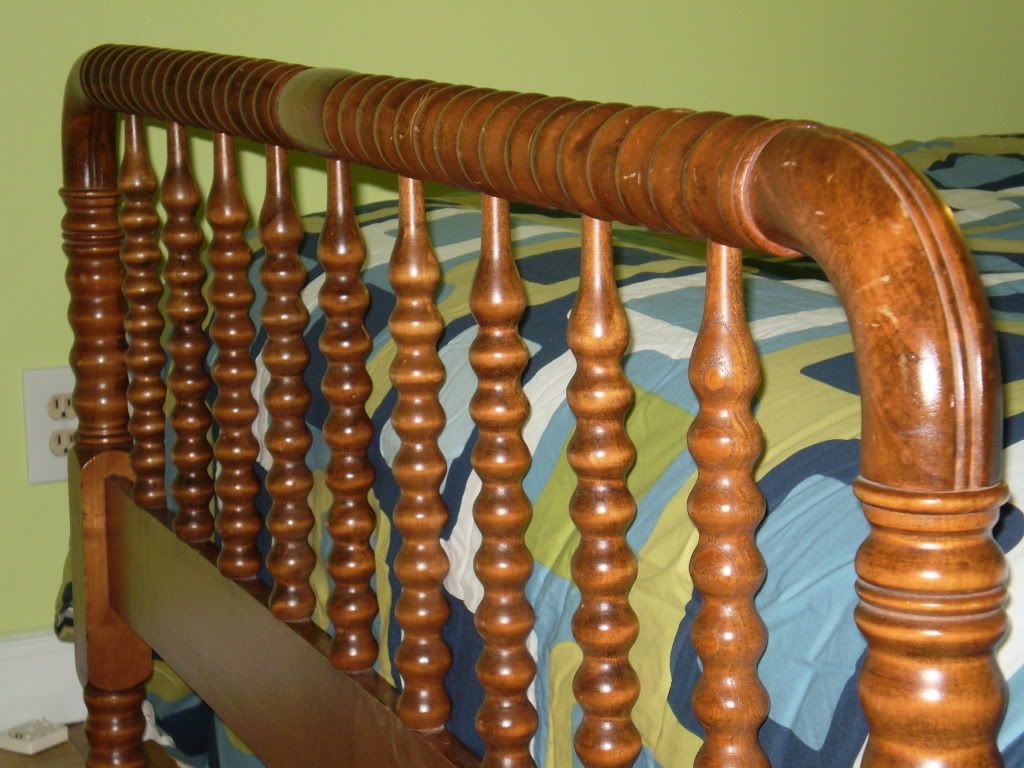
I found the bed and nightstand on Craigslist for $50 and $15 respectively.


I already had the dresser from our previous home in Illinois.


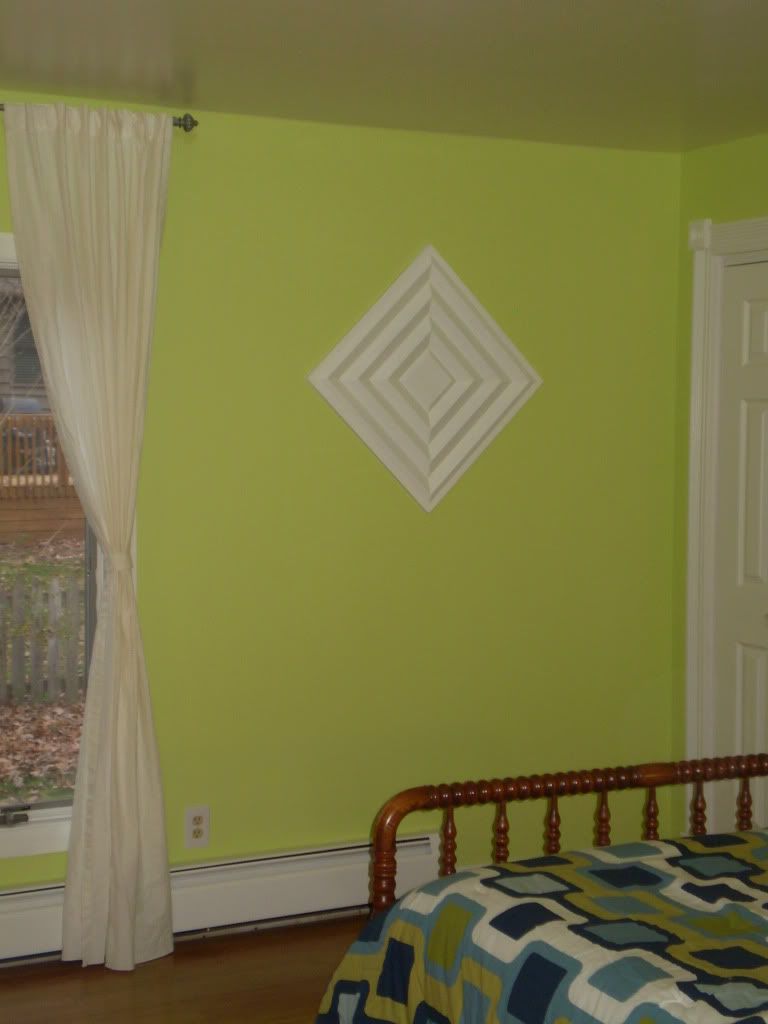
Hang a free ceiling tile sample on the wall for some visual interest


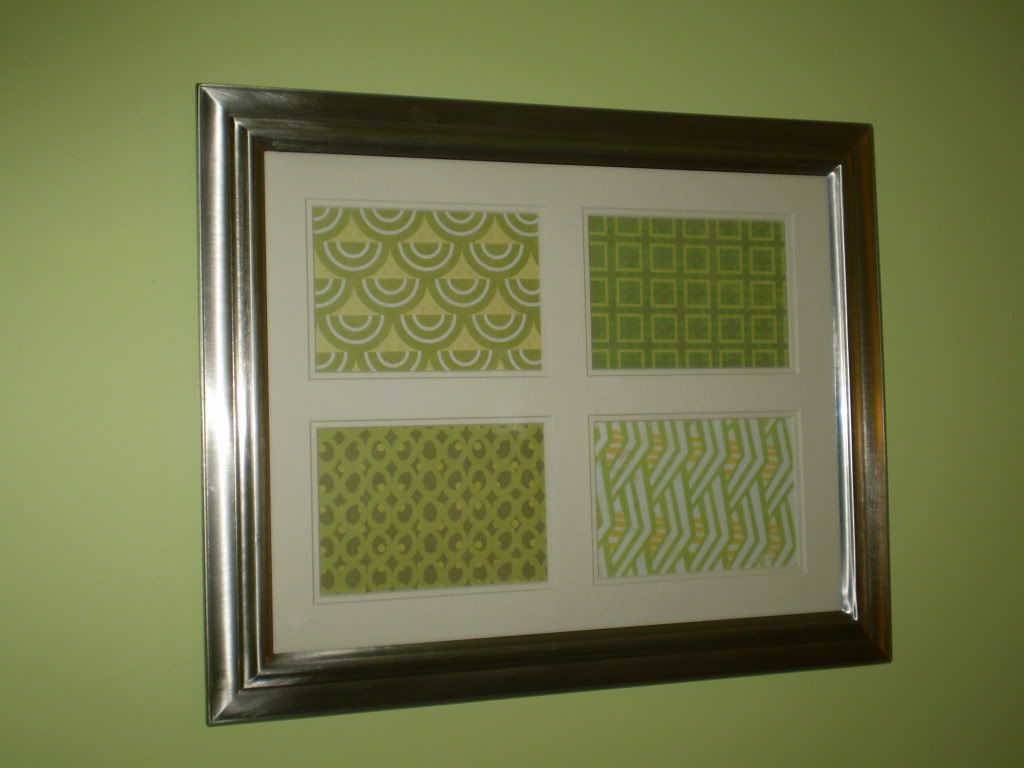
and add some free artwork made with scrapbook paper and a frame given to us as a wedding present to go over the bed and we are all set.


There are a few finishing touches left however.  We plan to install a ceiling fan at some point, new windows are will be installed in about four to six weeks, at that time the window trim will be replaced to match the door trim, we need more artwork in the for the one wall and we want to get another nightstand. 

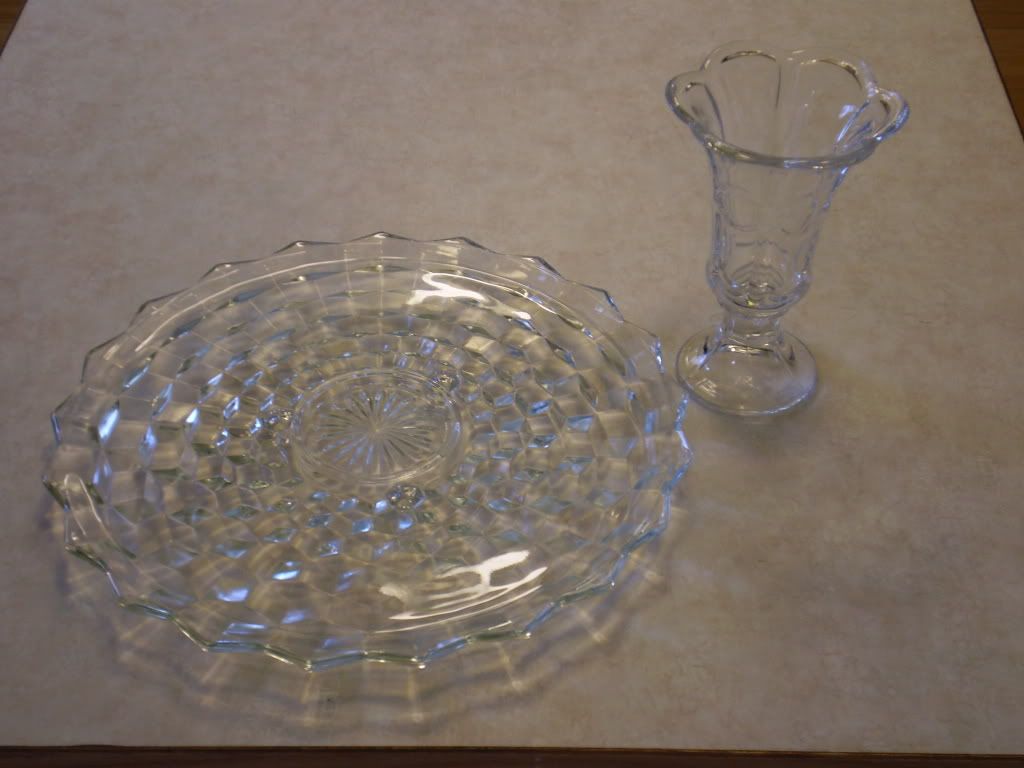
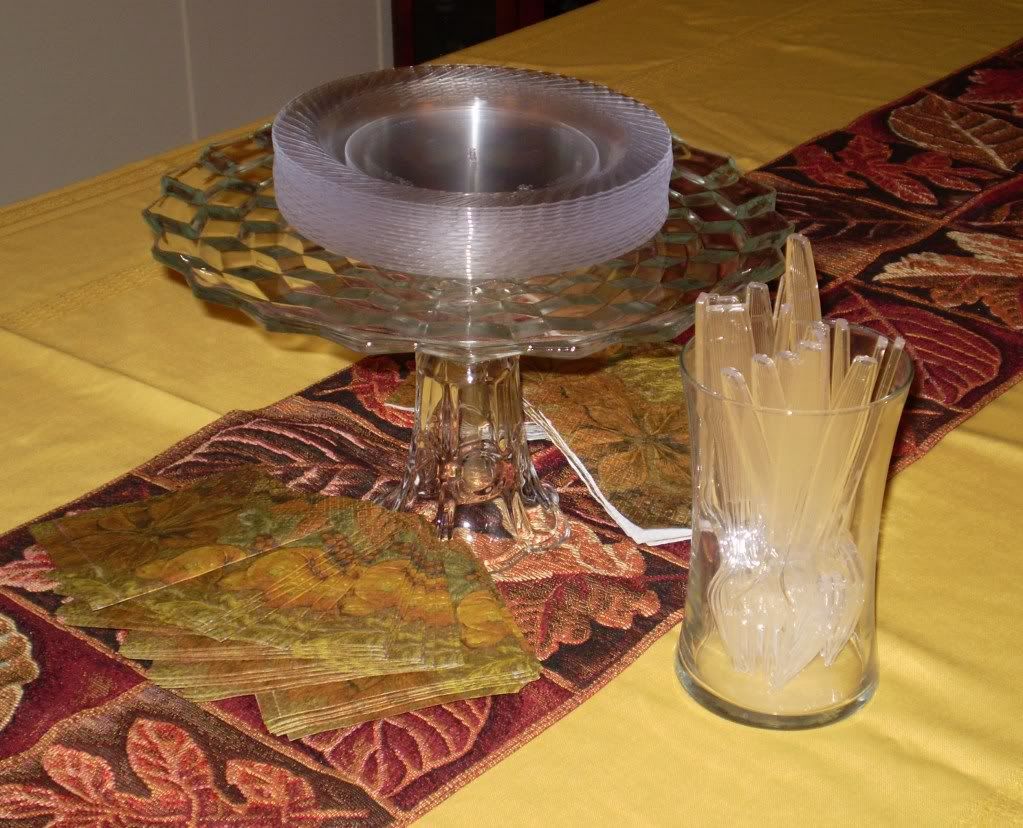
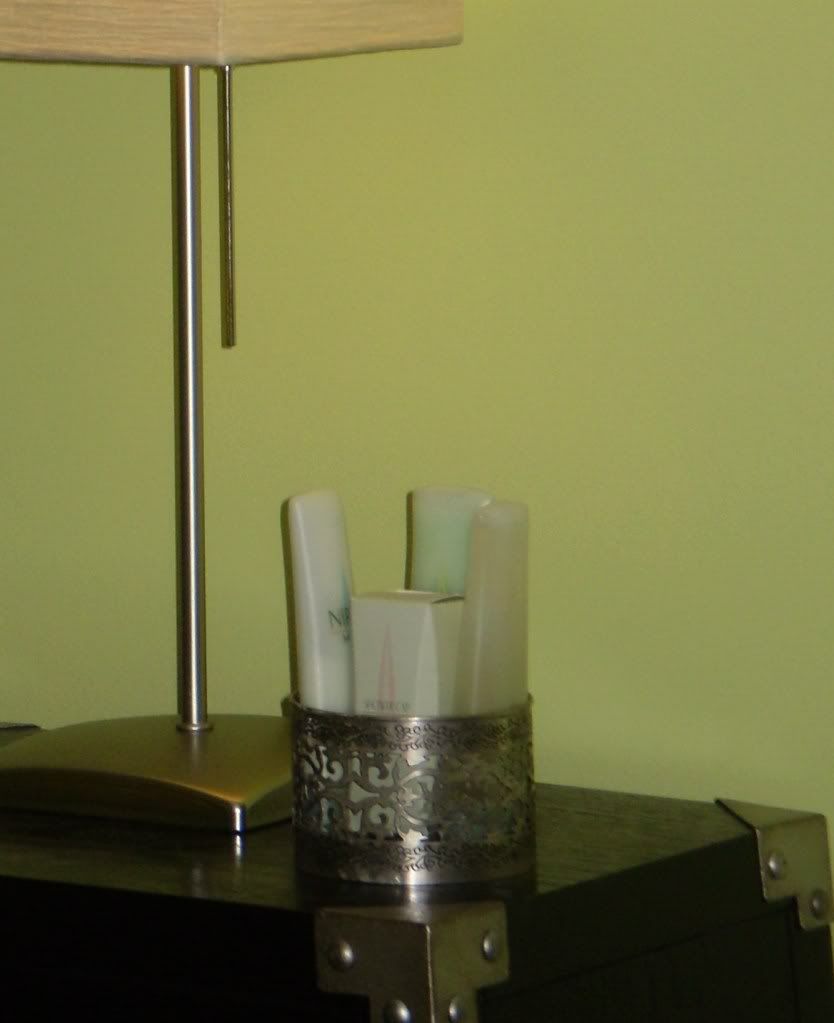
Even without those last details, the room is a pleasant place to rest one's head.  Especially with a bottle and glass for water along with some toiletries in case something got left behind.


Cost Breakdown
$    17.00 Paint - Glidden Spring Leaf in Flat Enamel (colormatched to Behr)
        8.00 Paint - Behr White in Semi Gloss (cost for about 1/3 a can)
      90.00 Door and Closet Trim
      60.00 Baseboard Trim
      50.00 Craigslist bed frame
      20.00 Plywood for bed platform
    290.00 New full mattress purchased from Overstock.com
      95.00 New bedding set purchased from Overstock.com
      30.00 Mattress Pad
        2.00 Pillow inserts for shams
        0.00 Pillows for bedding set
      30.00 Curtains (Ikea Ritva in white)
      70.00 Area Rug (Egeby from IKEA)
      15.00 Nightstand purchased from Craigslist and repainted white
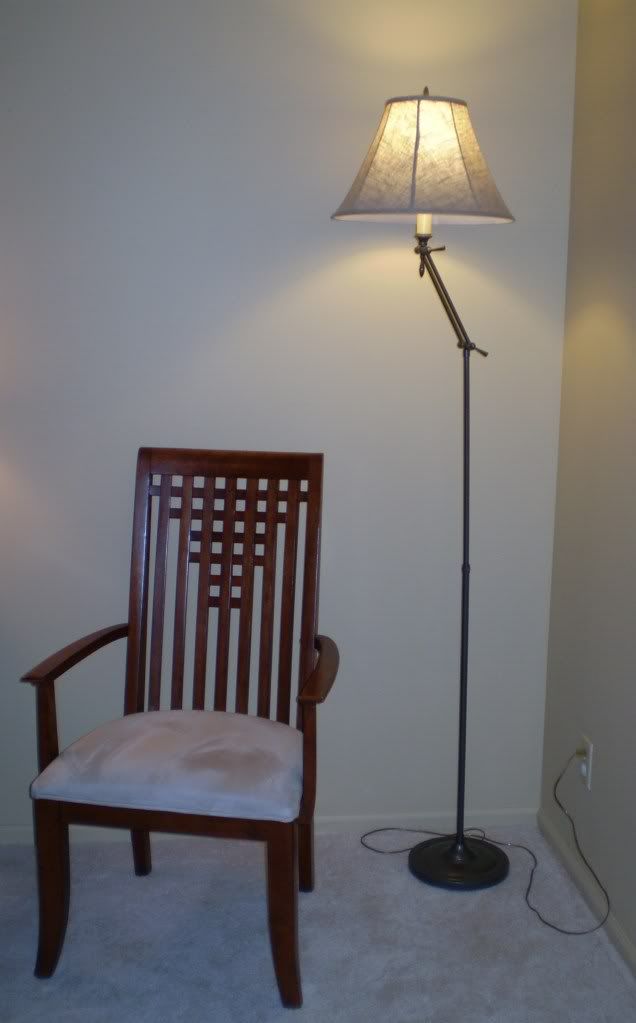
      20.00 Lamp for Nightstand (Smart from IKEA)
      10.00 Lamp for dresser (Orgel from IKEA)
        0.00 Dresser (moved from our old house)
        0.00 Artwork over the bed
        0.00 Artwork for the wall (free ceiling tile sample)
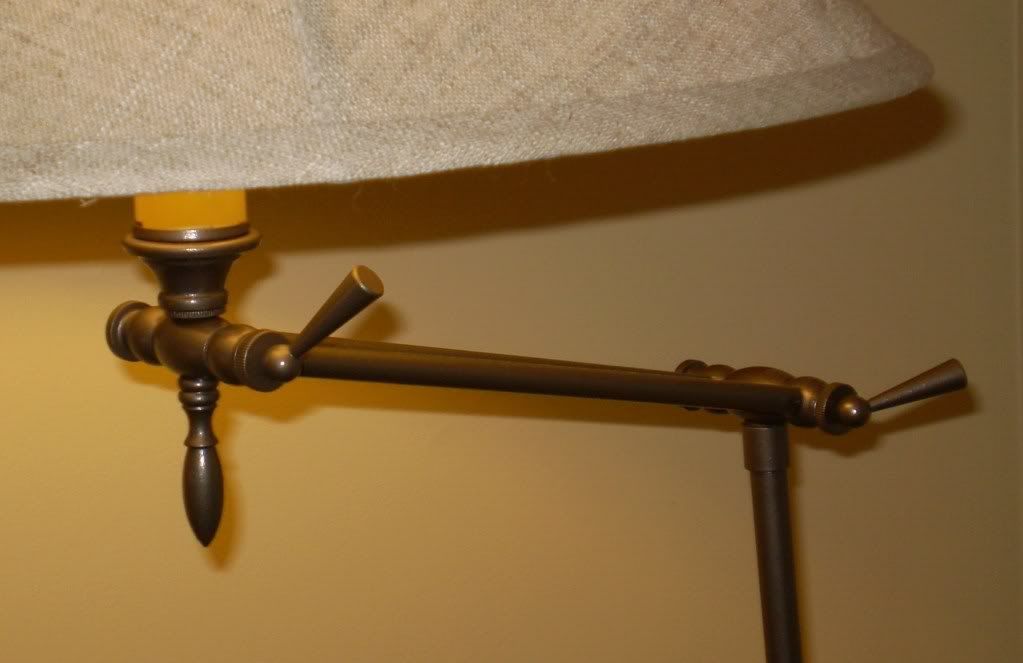
        0.00 Curtain rod and finials (spray painted old curtain hardware hammered silver)
  $807.00 TOTAL for Room Redo