Wednesday, May 30, 2012

Willow Wednesday Plus Info on the Group We Adopted Her From

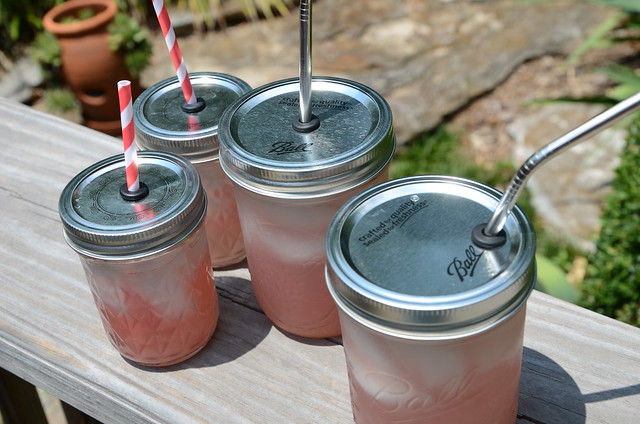
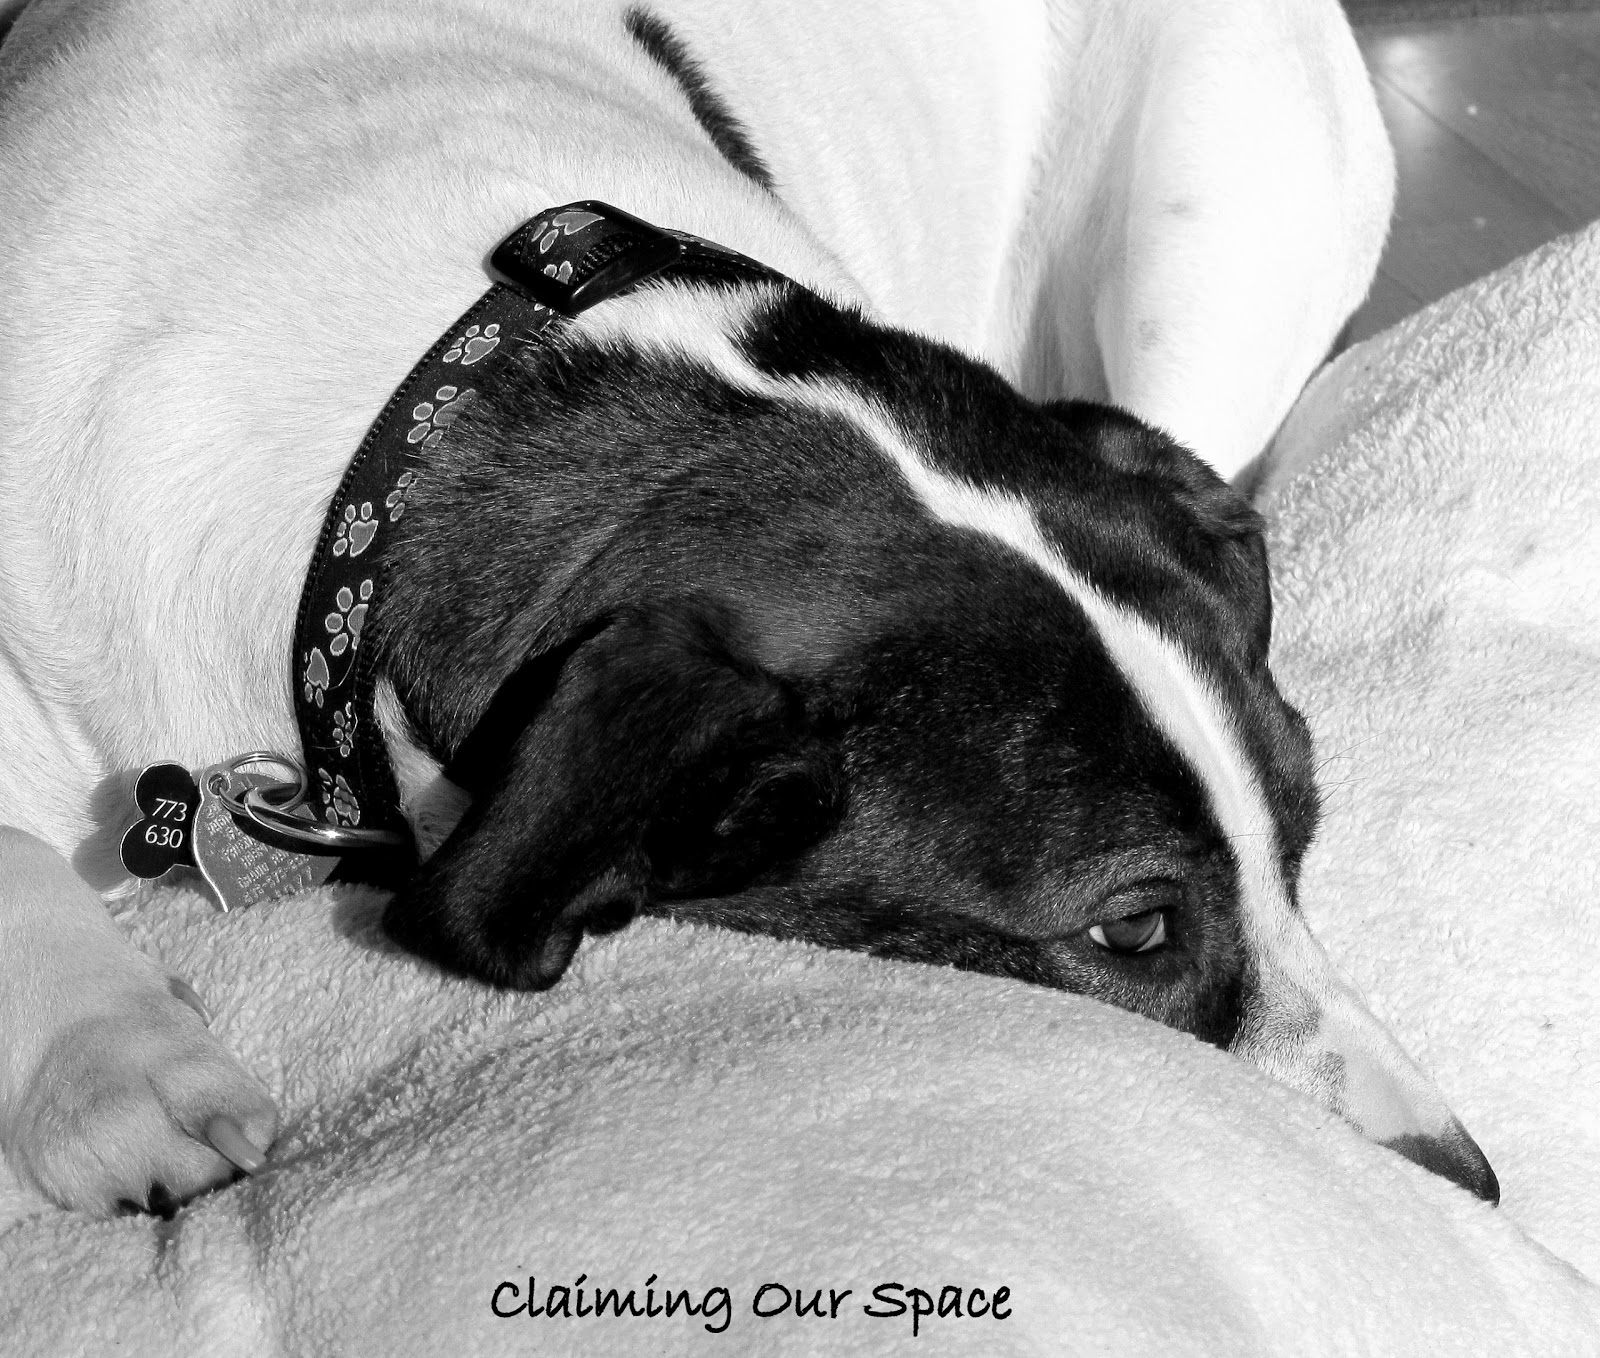
D and me on the day they brought me home.
This week, in addition to the usual photo of our sweet Willow, I thought I would take this opportunity to share a little bit about the group that we adopted her from, Refurbished Pets of Southern Michigan, or RPSM for short.

Before I begin I have to say that we could not have ended up with a better dog for us. Willow is a total sweetie and after less than 2 years of her being a part of our little family, I can't imagine life without her.  Sure, we would probably be farther along in our home renovations and furniture projects but we consider the hours spent with her at the dog park, snuggling on the couch and wrestling on the floor time VERY well spent.  And there is nothing better than coming home after a not-so-great day at work to a wiggling dog who is so happy to see you!

We know much of her amazing personality comes from her sweet and loving nature (unless you are a rodent in her backyard, then all bets are off) but she was also helped by this great group, RPSM, and the training she received while in their care.  Of this I am absolutely convinced.

RPSM takes dogs from shelters and tests them for temperament, trainability, and adoptability. They then put the dogs into a 12-week training program to get them ready for adoption.  Here is the best part, and what makes this group so special, they have partnered with the local prison and it's the inmates who train the dogs getting them ready for their canine good citizen certificate (CGC).  This is why we think this is such a great program.  The inmates help the dogs and the dogs help the inmates.  I think they call that a win/win!

Once we were approved to adopt Willow, we received a series of weekly reports filled out by the trainers so we could get an idea on how her training was going, what she was learning and a bit about her personality.  The reports also included info on how much food she was getting, what kind of food she was being fed, when she was getting her flea and tick treatments, when she got her heartworm pill and if there were any health or behaviour issues that week, etc. This helped us immensely when we brought her home!

When Willow came to us she was house broken, crate trained, knew basic commands and knew a bunch of tricks.  We knew that she was VERY food motivated and eager to please.  Getting these type of reports is unusual from what I can tell but this is just one more way that RPSM shows what an outstanding group they are.

The adoption rates are very reaonable for RPSM dogs, especially considering that they are fully vaccinated, spayed or neutered prior to enrollment in the training program.  They also microchip the all the dogs, which helps with piece of mind in case a fur-kid gets lost.  At our initial visit with our hometown vet clinic, the vet was impressed with Willow's care and condition as well as how she was so well behaved. 

So if you, or someone you know, are looking to adopt a dog and live close to southern Michigan, please refer them to RPSM and their dogs. 

Additionally, the inmates love to knit and crochet.  These items are sold on ebay to raise funds for RPSM and the dogs.  So if you live far away but still would like to support this great organization, this is an opportunity to do so.


**This is not a sponsored post, we are just very passionate about the work the RPSM does both with the dogs and the inmates.  We are just so thankful that Willow was one of the dogs they were able to save.**

Tuesday, May 29, 2012

Tout It Tuesday - #8


Welcome to Tout It Tuesday - #8!

Thanks to everyone who linked up last week! We had 68 link ups - the most to date! How exciting!!

There were so so much great stuff shared last week and here are my favs.

 New Green Mama shared her reusable mason jar to go cups. What a great way to not only reuse your mason jars but also to keep bugs out of your drinks.

Rebecca Watkins from Natural Mothers Network shared a gorgeous and amazing looking Strawberry Cake she made for the Queen's Diamond Jubilee.  I think I need to take a trip over the pond if these are the treats I can expect.

The Space in Between shared how you can use your home printer to make temporary tattoo style transfers that you can use on wood. I love that you don't need a laser jet for this one.

Make sure to grab the Featured Button!
<a href="http://www.claimingourspace.com/" target="_blank"><img src="http://i248.photobucket.com/albums/gg186/gooch100/COSButton-Featured.jpg" /></a>

I can't wait to see what people will be share this week and know that I will be inspired by everyone's projects and recipes.

Just a few rules/guidelines.

1. I would love it if you would follow through GFC or Bloglovin'. You can also follow on Twitter where I will be sharing my favorites throughout the week.

2. Please do not link parties or shops. Everything else is accepted.

3. Linking to Claiming Our Space isn't required but I would appreciate it if you would grab my button and either display it with the post you are linking up or under your list of parties.

<a href="http://www.claimingourspace.com/" target="_blank"><img src="http://i248.photobucket.com/albums/gg186/gooch100/COSButton-ToutItTuesdays.jpg" /></a>

4. Please try to visit at least two posts for each link you submit and leave a comment. Comments make everyone happy! 

With that, lets Tout It! 

Monday, May 28, 2012

CousCous Stuffed Peppers


For lunch the other weekend, D made tasty cooked peppers. He read about a restaurant in Chicago having stuffed tomatoes with spicy couscous. Not being a fan of the tomato, he created his own version utilizing a seasoned feta cheese. Have to love the creative cooking husband.  This is his recipe and he hopes you all like it.
Couscous Stuffed Peppers
Ingredients:
  • ½ teaspoon season salt
  • ½ teaspoon garlic powder
  • ½ teaspoon onion powder
  • ½ teaspoon chipotle Tabasco sauce
  • 1 teaspoon Worcestershire sauce
  • 8 oz ground meat - we used turkey
  • 4 Peppers (Red, Yellow, Orange)
  • 1 tablespoon minced garlic
  • 8 oz. couscous/maftul (cook with broth instead of water)
  • 1 tablespoon parsley
  • ½ teaspoon cumin
  • 4 oz. feta cheese
Directions:
  • Using your hands, knead season salt, garlic powder, onion powder, chipotle Tabasco sauce, Worcestershire sauce and ground meat together insuring thorough mixing. Then brown meat in pan and drain of excess fat.
  • In separate pot sautee minced garlic then cook couscous (maftul) with broth flavored to match meat choice. Add parsley and cumin before boiling.
  • Try to time couscous and meat to finish about the same time. Adding them to feta cheese while hot will help cheese melt and make the next step easier.
  • Before combining couscous and browned meat, drain any excess fluid.
  • Combine cooked meat and couscous in bowl with feta cheese. Stir to coat meat and couscous with cheese.
  • Hollow 4 medium peppers and fill with stuffing. Cook for 20 minutes at 350 degrees, or grill on medium heat wrapped in foil.
  • Works great with brighter colored peppers, yellow or orange or red. For authentic flavor use lamb, but beef and chicken or turkey will work just fine. Just remember to mix seasonings with meat before cooking. I prefer finding a feta cheese that is pre-mixed with Mediterranean flavors but you can always spice up plain cheese.

Sunday, May 27, 2012

Kitchen Update Gone Awry

I had hoped to share with you the reveal of our kitchen update BUT that just isn't happening. We ran into some hiccups, some minor and one major.  Because I don't have a photo of me with a very sad face, this one will have to do.  

Source
First to "The Plan" - we had planned to spend the first two days of the Memorial Day weekend working on our kitchen and then would relax and hang out on Monday as a reward for all our hard work.  The breakdown was to work like this:

Saturday: Layout and install the tile

Sunday:  Grout the tile
              Install the 3 new lights
              Install the new faucet

Monday:  Hang out
                Do a little yard work & plant a few flowers

Sounds like a doable plan right?  We thought so.  We purposefully didn't put too much on the list for any one day, which is our usual M.O.  This conservative approach seemed to work since we got off to a very good start. 

By about 6 pm Saturday night, we had a backsplash that looked like this. 


I was thrilled...beyond happy...over the moon and all around giddy at how things were shaping up. Such an improvement over the painted drywall that used to be there. 

Sunday morning, we work up energized to grout!  Again, we finished things up with out a hitch in a little over an hour.  We were even more thrilled than on Saturday night if that is possible.  Best part, it wasn't even noon so we were totally on schedule to get done by the end of the day.  It was SO exciting!  (We should have known things were running much too smoothly and dark clouds were gathering!)


At this point, things started to go wrong...horribly wrong. See the plug in the photo above? Take a close look. It is beige. Beige does not look good with white tile.  It totally bugged me to have spent all this time and effort to install the tile and have these beige blobs in the middle of the beautiful white tile. 

So we thought we would do a quick swap out of the beige plugs for white ones.  Yup, we got over confident and used the word "quick."  We jinxed ourselves when we added something to the list, something we hadn't planned on and this was exactly the thing that derailed our progress.  Grrr!

Somehow during the removal of the old plugs and the install of the new ones, we loosened a wire or connection or something and every time we tried to turn the breaker back on, it would trip. [insert another sad face here] It was at this point that our quick swap out went quickly out the window.  

So we now have a backsplash that looks like this.


Boo!

Everything we tried had the same result. Popped breaker. Blargh!!  Dirt kicking!! Saying every swear I know in my head several times in a row!!

The worst part?  All this testing and trying and more testing and trying took over two hours, a bunch of trips up and down the steps to the breaker box, and another trip to the hardware store. Blech! All this extra rig-a-ma-roll put us behind, way behind. 

So...while we have the backsplash installed we have

No new faucet install.  We still have this beauty gracing our sink.  (at least the backsplash looks good, right?)


One set of lights did get installed (a bright shining moment - no pun intended - after the whole plug debacle).


Of course since nothing is accomplished is without another issue cropping up - the ceiling needs touching up.


The over-the-sink light is back in the box and needs to get returned.  It hung down too low so right now this is what we have over our sink until I can figure something out.  Isn't it lovely?


I think we can all agree it is quite pitiful.

So tomorrow, instead of relaxing, we will be rewiring the "pigtails" for each wire in each of the outlets, which according to the Big Book of Electricity will most likely fix the problem.  (OK, it isn't really the Big Book of Electricity, it is a book all about wiring, but I think it is much more fun to call it the BBofE).  If the "pigtail" fix doesn't work, we need to call an electrician since the issue is most likely with our fusebox.  Please send good thoughts that isn't the case. 

Wish us luck tomorrow! 

Hopefully I will be able to update soon with the total reveal and the white, working, plugs! 

Saturday, May 26, 2012

Weekend To Dos 5/26-28 & Menu Plan 5/27-6/1

While it is the holiday weekend, all that means in our house is that there is more time to work on our projects.

We have plans to start the mini-update in the kitchen this weekend so there are new lights, a new faucet and a backsplash in our near future. Yay!! I have already gotten a jump on the painting so we just need to finish some touch ups before moving onto the other pieces.

So here is our weekend To Do list:
  1. Clear counters and move stuff to dining room or basement
  2. Clean walls under the cabinets so they can dry before installation of tile
  3. Work on touching up paint on walls
  4. Install our window AC units
  5. Farmer's Market
  6. Lowe's and/or HD to buy materials (if I don't get there on Friday night) & flowers for planters & pots
  7. Dry fit on the tile
  8. Install tile
  9. Clean up grout joints
  10. Grout tile and clean up
  11. Install lights
  12. Install faucet
  13. Grocery, Cleaning, Laundry, Bank
  14. Do test area by oven on the counter top paint
  15. Fire up the grill
  16. Order more bark (yeah, I can't believe we need more either, but we didn't have enough left over to finish in the garden.)
  17. Plant flowers
  18. Patio furniture from basement
  19. Apply teak oil to the Adirondack chairs
  20. Blog posts - photos and write ups
OK, now that I have it all written down, I am wondering if we will get to do any relaxing this weekend! 


Sunday:  FITF
Monday:  Brats
Tuesday:  Salmon Dinner Salad
Wednesday:  BBQ chicken
Thursday:  Steaks
Friday:  FITF
Saturday:  Orange Chicken

Thursday, May 24, 2012

And the Winner Is....


I want to thank everyone who entered my Blog-a-Pal-Loosa giveaway!  

And I am pleased to announce that the winner is...Alberta Bogan!

Congratulations!!

Look for an email in your inbox shortly so I can get these shipped out to you.

I think I may have to do another giveaway soon! I am thinking that I will when I reach 100 followers on GFC...

Wednesday, May 23, 2012

Willow Wednesday

Doesn't Mom know I am brown and white, not black and white?

Tuesday, May 22, 2012

Tout It Tuesday - #7


Welcome to Tout It Tuesday - #7!

Thanks to everyone who linked up last week! 
There were so so much great stuff shared last week and here are my favs.

NZEcochick shared her recipe for making Lemon Curd!  I love love love lemon curd on fresh baked scones but have never dared to make my own.  This recipe makes me think I can actually do it.

Creative Raisins shared DIY Garden Tool Boxes as party favors.  I can see myself making a larger version so I can use it in my garden. 

Kathe with an E shared her garden and all about the #growsomething initiative.  I loved the photos of her garden and it makes me realize I need to get cracking on sprucing up my garden!

Make sure to grab the Featured Button!
<a href="http://www.claimingourspace.com/" target="_blank"><img src="http://i248.photobucket.com/albums/gg186/gooch100/COSButton-Featured.jpg" /></a>

I can't wait to see what people will be share this week and know that I will be inspired by everyone's projects and recipes.

Just a few rules/guidelines.

1. I would love it if you would follow through GFC or Bloglovin'. You can also follow on Twitter where I will be sharing my favorites throughout the week.

2. Please do not link parties or shops. Everything else is accepted.

3. Linking to Claiming Our Space isn't required but I would appreciate it if you would grab my button and either display it with the post you are linking up or under your list of parties.

<a href="http://www.claimingourspace.com/" target="_blank"><img src="http://i248.photobucket.com/albums/gg186/gooch100/COSButton-ToutItTuesdays.jpg" /></a>

4. Please try to visit at least two posts for each link you submit and leave a comment. Comments make everyone happy! 

One non-Tout It related thing.  Today is the last day to enter my Blog-a-Pal-Loosa giveaway. I hope you will take a minute to enter!

With that, lets Tout It!

Monday, May 21, 2012

Balsamic Potatoes


I have said before, I love potatoes.  I think it is in my DNA (being part Irish and all).  So when I saw this recipe for Balsamic Roasted Potatoes, I just knew I had to try it.  You see, along with my love of the tuber, I have  developed a deep abiding love for balsamic vinegar. 

Just one more reason why this blogging about recipes business is a great thing, it exposes me to flavors and spices I may not have experienced before.  Balsamic vinegar falls into this category.  I don't think I had ever had it before four years ago.  But then again, four years ago, I only had four recipes in my cooking repertoire (and one of those was for Tollhouse cookies). A big shout out to D for opening my eyes to the big wide world of spices, marinades and, well, flavor.

Back to the potatoes, I liked them...ALOT!  D...not as much.  I do think that next time we make them, I will add some fresh minced rosemary to the mix and up the amount of thyme.  I felt like the 2 teaspoons of thyme just didn't have enough punch to hold up against the balsamic.

Balsamic Roasted Potatoes
(Source:  Proceed with Caution)
Ingredients
1.5 lbs Yukon gold potatoes, cut into small pieces
3/4 C chicken broth
1/4 C balsamic vinegar
2 tsp dried thyme
Salt and fresh ground pepper

Directions
Preheat oven to 425 degrees.
In an 8-inch square baking dish, combine potatoes, broth, vinegar, garlic, thyme; season with salt and pepper.
Bake until potatoes are tender and liquid is reduced to a glaze, about 1 1/4 hours, tossing twice.

Sunday, May 20, 2012

Gallery Wall Pt 2 - Sea Biscuit Shadowbox

I was so happy to do this project a guest posting over at Makin My Apt a Home as part of the Trading Blogs party hosted by Serendipity & Spice.


I finally whipped up another piece for our gallery wall.


It all started a couple of months ago my mother-in-law showed up with a tin.  When D opened it up, he found two sea biscuits that his grandmother had brought him from Florida over 30 years ago.  MIL had been toting it from place to place since he was a kid.  (Sea Biscuits are similar to sand dollars but are more puffy looking)

I knew that I had to come up with something special to display them so they wouldn't live in another 35 years in that tin. Plus, it was a cool old Coca-Cola Santa tin that I wanted to be able to use in my decorating next Christmas!

First, I had to bleach them.  I added some bleach to warm water and soaked them for 10 minutes.  Once they dried, they were nice and white.


Then it was time to make the box.  Mine was about 7.5 by 10.5.  I cut down some scrap and nailed it together with some brads.


A quick sand then onto priming and painting.

Once everything was dry, I needed to find a backing board.  Luckily I found another scrap piece that would work.

A quick trim and it was starting to look like a shadowbox.  Well, an upside-down shadowbox.

Then it was onto fabric.  First I spray painted the edges of the backer and let it dry.  Using spray adhesive, I applied the fabric to the backing piece.   Since I wanted to make sure that no fabric could be seen sticking out between the side and back, I trimmed the fabric just a bit, then let it dry for about an hour.

Now it was time to attach the back.  I predrilled the holes for the screws. 2 holes on each side, 1 on the top and 1 on the bottom.

Once everything is screwed down and the back has gotten a coat of black spray paint, I attached a tooth hanger. I don't think that is actually what they are called but hey, it is descriptive and you knew exactly what I was talking about before you saw the pic didn't you?

Now it is time to first up the hot glue gun.  Since this is ultimately going to be hanging on the wall, I didn't want there to be any chance of anything coming loose.

No pics of the actual gluing since that stuff starts to harden so quickly.  But I applied a generous bead of glue about 3/4" from the outer edge and then pressed it firmly to the fabric.

I think it turned out great.


Right now it is living on my half stripped mantle.  But it still looks pretty darn good.  My mother-in-law teared up when she saw the "biscuits" displayed so nicely.  D thinks it looks pretty nice but is still not convinced about how the gallery wall is going to look. 

I am so happy I was able to share my Sea Biscuit Shadowbox with Arod's readers.

If you would interested in trading posts with us sometime in the future, let us know.  D would be thrilled because it might get me working on the million projects I have half finished in the basement!

Check out the places I party!

There is still time to sign up for my Blog-a-Pal-Loosa giveaway for a set of 4 hand stamped travertine coasters, a set of 4 Celtic stamped slate magnets and a set of 4 dragonfly stamped magnets.  Click here to enter.

Saturday, May 19, 2012

Blog-a-Pal-Loosa Day 14 - Atir Inspired Decor

Today's giveaway is from Atir Inspired Decor!

This was my thrift store find, a new wallet~
Add some bling with these~
Ball of Lip Gloss~
I believe in the written word, Note Cards~
Craft Paint & Decorative Ribbon to get your creative grove on~
Decorative Serving Dish~

So come on over to 

Thank You & Many Blessings

 Nina

 To see the other Blog-a-Pal-Loosa giveaways, click here.

Friday, May 18, 2012

Blog-a-Pal-Loosa Day 13 - Inside My Present

Today's giveaway is from Inside My Present!

The winner of my giveaway will receive a $20 gift certificate to UUPP Prints Etsy shop! UUPP has fresh, inspirational prints displaying anything from a Julia Child or Jane Austen quote to an endearing message for your sweetheart! Here is one of my favorites: 
You'll find this giveaway at Inside My Present on May 18th! See you then!

And here is my button for my blog:

Photobucket


Check out all the previous Blog-a-Pal-Loosa giveaways here.