Wednesday, December 23, 2009

A Desk for the Kid's Computer - Another Craigslist Find


A short time after we moved in, we realized that with all our extra space, we needed quite a bit more furniture. One piece that we needed was a desk for the extra computer that the kids will use for their games to be placed in the basment rec room which also houses the television.

I searched my local Craigslist for an inexpensive desk and found just what I needed for $15.  She wasn't pretty, but she was just what we needed for the space.  And the seller even threw in a couch table and a glass topped end table for free.  Watch for redos of those pieces in the future.


It is amazing what a good sanding, my favorite oil based primer Kilz and a can of paint will do to dress up a piece of furniture.

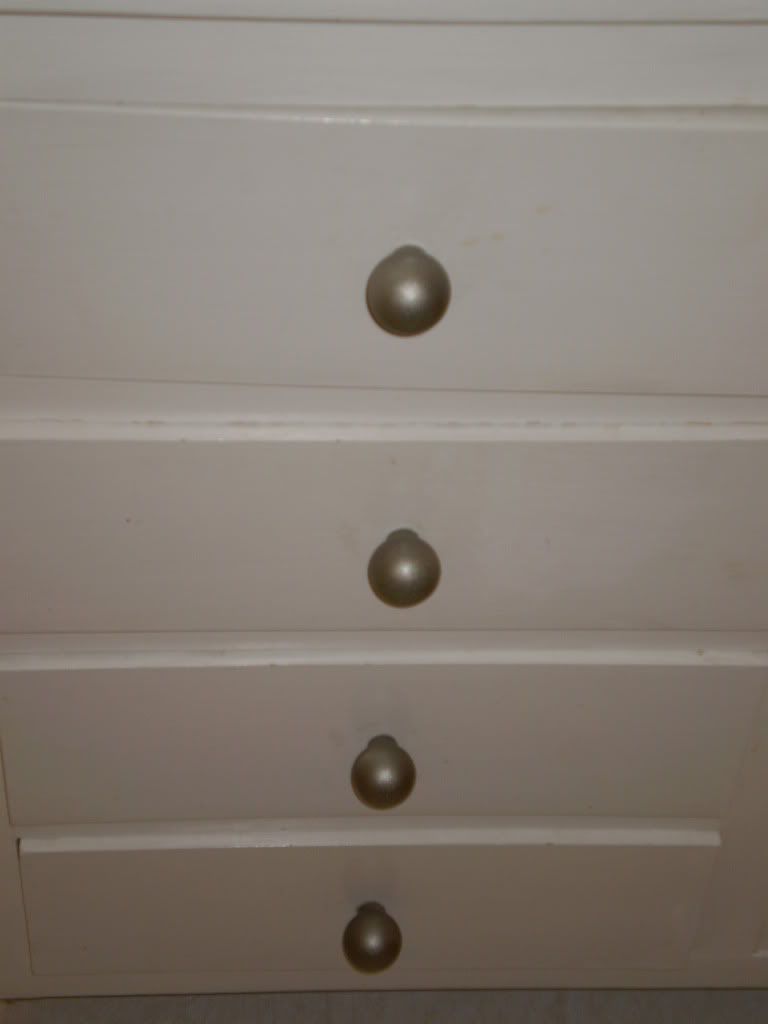
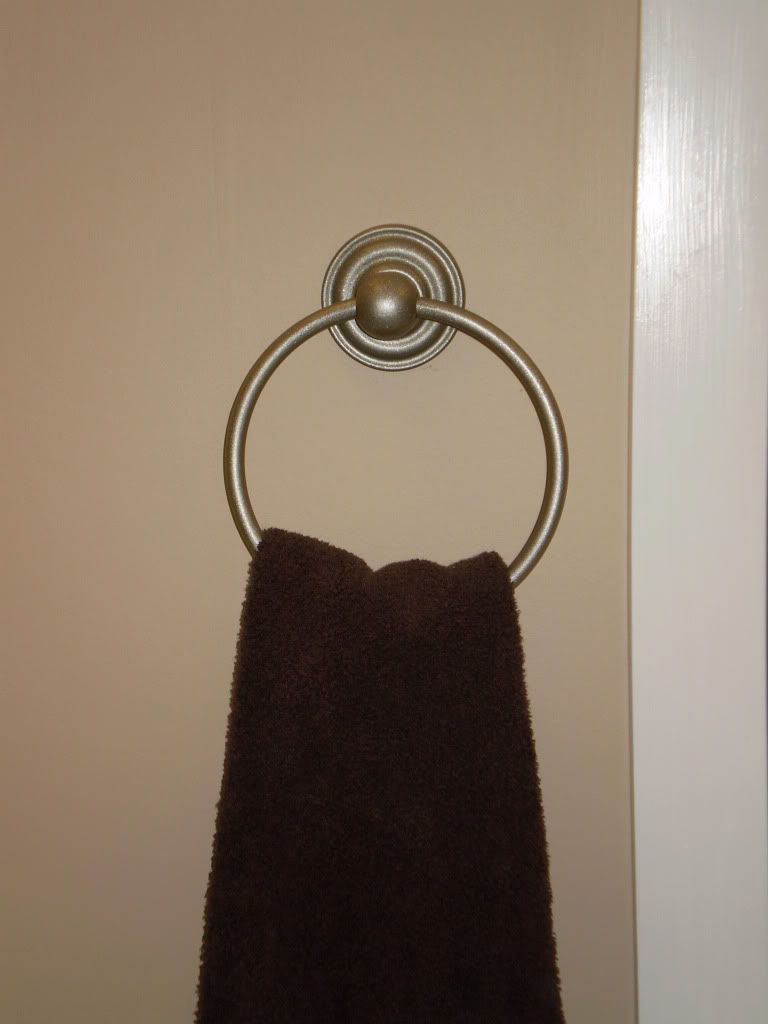
The hardware which I thought was a lost cause, cleaned up quite nicely with Brasso and a lot of elbow grease.  While I wouldn't normally put brass hardware back on a piece of furniture, since I don't like brass, the basement has golden walls and carpet so the hardware just seems to work. 


I love the rope detail on the edge of the desk.

The total cost for the piece was less than $30.00.
$ 15.00 for the desk
     0.00 for the brown paint (I used paint left over from our previous home)
     2.50 for the part of the gallon of Kilz
     2.50 for a 1/2 can of poly spray to protect the surfaces
     1.00  for the amount of Brasso used to clean the hardware
     7.00 for the brush I didn't clean well enough where the bristles turned hard as a rock (figured that it should be counted in the cost of the project). 
$28.00 Total Cost for the desk redo

I think it looks quite nice in its new home.


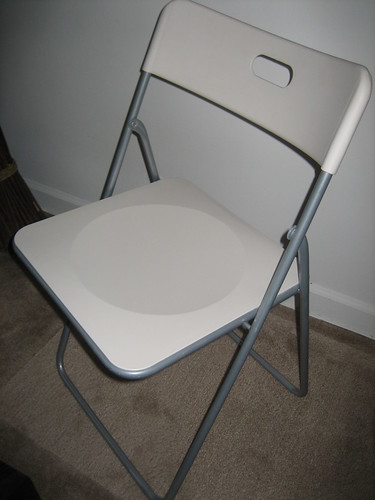
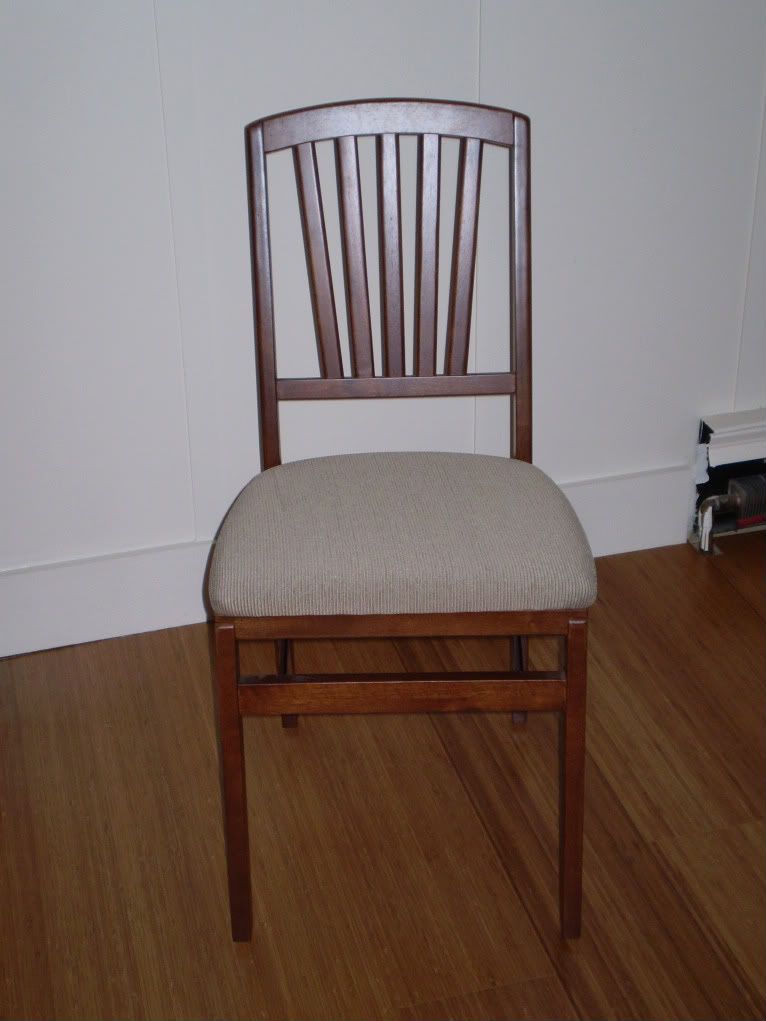
Please note:  The chair next to the desk is NOT the chair that will ultimately be used with the desk.  That chair is in my garage waiting to be repainted the same brown and recovered with a coordinating fabric.  The chair pictured next to the desk is Hubs' old office chair.  Lovely isn't it?

I am linking this post to The DIY Show Off:  Fabulous Furniture Show & Tell.  Check to see what others have linked up. 

Tuesday, December 22, 2009

We Have a Toilet! And a Sink! And a Locking Doorknob!

More progress on the powder room.  We now have a sink, toilet, baseboards, trim and a new doorknob (with a lock!). 


The trim still needs to be caulked and painted, the mirror needs to go up, along with the TP holder, towel ring and some sort of cabinet for extra storage needs to be found.  Lastly, we need to sand just a bit off the bottom of the door since the new floor is a hair higher than the old floor. 

I also need to find some artwork.  I have some ideas but not sure if they will work in the space. 

Stay tuned for more updates as more things get finished in the powder room.

Monday, December 21, 2009

Extra Chairs Anyone?

The holidays mean that families will be gathering around dining tables across the country to share a meal and raise a glass.  The holidays also mean that people are also looking for extra chairs so all these family members have a place to sit for the meals and toasts. 

Extra chairs can come in a variety of shapes and sizes and costs.

From this

Source:  Flickr
to this


to this.

Not the most attractive options.

What if you could get a solid wood chair with a padded seat for less than $30?  With clean lines and a nice height?  One that looked like this?


Quite lovely isn't it?  And available at Costco for $29.99 each.  Another bonus is that while the seats are a great height, they are not oversized so you can fit several in with your existing chairs.   I was able to fit six of these beauties in with my existing six chairs, which will allow 12 people to sit around the table come Christmas Eve.  Until then, they are stored in the corner of the dining room. 


Saturday, December 19, 2009

More (Powder Room) Progress! Paint!

The lastest step in the progress on the powder room was paint.


Glidden Dapper Tan, colormatched to Behr Flat Enamel. 
You may recognize this color.  It is the same one we used in our center bathroom.  I love the warmth to the color and how is makes a room seem cozy.  Additionally, it coordinates wonderfully with the grout color we selected.


Next up, installing baseboards and door trim.  Keep checking back on our progress.

Thursday, December 17, 2009

My "Free" Stool - A Quick and Easy Revamp

One of the items the sellers of our home left us is this stool. Isn't is lovely?


The one thing it had going for it was the hammered bronze finish on the metal.

So with a couple of spare hours (avoiding my really long to do list), I decided to do a quick redo. After removing the woven cover, which took longer than I thought since I had to remove several dozen staples and about a hundred little nails since each strip was held in place by a small nail on either end.


 Looks like the stool was originally $99.00 purchased for $39.99


Check out all the nail holes.  Each one is a nail I had to remove.  Boy was my hand tired.

I added two layers of batting for a bit more comfort for the tushy and a layer of upholstery fabric.


The result, I had what looks like a whole new stool.


Please disregard the gross carpet.  We hope to replace the flooring after in the new year.

Project Cost:
$0.00 stool
  0.00 fabric leftovers from the $5 chair project
  0.00 batting leftovers from the $5 chair project and other crafty crafts
$0.00 Total cost (my favorite price!)

Added bonus, we now have another seat in the living room for our big Christmas Eve party which means one less person will have to sit on the floor.

I have included this stool in The DIY Show Off Surpirse Party hightlighting Home Accents.  Want inspiration?  Make sure to visit the site.


Wednesday, December 16, 2009

A Great Giveaway from High-Heeled Foot in the Door

If you all are anything like me, you need another gallon or two (or in our case 6) of paint to transform your rooms.   I have plans this week to paint our powder room and kitchen.  Still to go are the hallways, living room, master bedroom and bath. 


To help us all out in our plans to create magic with paint, High-Heeled Foot in the Door has a great giveaway.  Stop by her site to enter for a chance to win the following from Mythic Paint.

One color deck
Two gallons of paint
Two rolls of Frog Tape

Definitely enough to get started on your next project. 

Tuesday, December 15, 2009

We Have a Floor!

There is more progress in the powder room.  We have moved onto the next important step in our powder room redo. 

We have a floor and a quite nice one if I say so myself. 


We went with an octagon and dot tile, in an off-white color with a parchment (think light tan) colored grout.  Now, I have to say that the store called the tile color white, however, it is not a stark white.  So it will work perfectly with our bisque colored toilet and sink. 

Stay tuned for more progress.  Next up?  Paint.

Saturday, December 12, 2009

Making Progress on Our Center Bathroom

We have two full baths in our house.  One off the master bedroom and one that the office and other two bedrooms share.  We call the latter, the center bathroom. 

When we bought the house, it was a blank slate.  All in white with little color.  Check it out below in the listing photo.


Along with all the white, we were also "blessed" with a total of 5 different colors/types of knobs, towel bars, towel rings, towel hooks and a TP holder.  We had white ceramic, chrome, brushed nickel, brass and a  white rubber coating.  Pretty much a bland mismatched mess.

First order of business, paint.   I chose Dapper Tan by Glidden.  I had it matched to Behr flat enamel.  It is a nice tan with just a slightest teeniest tiniest hint of pink.  Everyone says they love how their complection looks in that bathroom.  A perfect color pick for a bathroom in my book.   


To make the fixtures cohesive, I painted them all satin nickel using Rustoleum paint.  The towel ring was brass, the knobs were white ceramic and the towel bar and hooks were chrome. 

I think they look much better all the same, don't you? 


Next on the list, replacing the vinyl tile floor.

I already have the tile picked out.


So stay tuned for as we make more progress in this room.

Friday, December 11, 2009

Blog Post Featured in The DIY Showoff

Roeshel recently highlighted one of my DIY projects on her blog, The DIY ShowoffMy Goodwill Find Turned Buffet Piece was featured on December 4.


A big thank you to Roeshel for showing off one of my projects. 

If you want to be inspired and get a list of ideas you may want to try yourself make sure to stop by and visit The DIY Showoff.

Thursday, December 10, 2009

Winter Has Arrived!

A week ago today I woke up to these views out my windows. Looks like winter has finally arrived.  Just in time for the holidays.  Too bad it has pretty much been snowing since these photos were taken with at least 5 inches falling in the last 24 hours, with possibly another 5 coming in the next day or two.


From the office


From the dining room


The backyard

The best view, I think, is the one from the front that I took after shoveling the walk and driveway.  I am leaning toward using this photo for our Christmas card next year.


Sunday, December 6, 2009

What is Green, Orange, White and Rag Painted All Over?

Why our powder room, that is what.


We replaced the drywall that needed removing once I took down the tile with moisture/mold resistant greenboard.  It took a bit of doing to get the right cuts around the pipes but after about four or five little modifications we got it to fit just right.  Though it probably did not help that we did not start measuring and cuting until 9 pm.  Yeah, we got distracted and sidtracked during the day.  Whoops. 

With the greenboard up, we mudded and taped the seams.  Once they get sanded and remudded, I will move onto painting the room to remove the awful pinky tan on yellow rag painting currently on the walls.  I have already painted the ceiling a nice bright white. 

We laid the Ditra underlayment to prepare for laying the tile. We first saw this product on Holmes on Homes on HGTV.  Mike Holmes helps people who have been taken for a ride by their contractors. Hubs and I love the show, mainly because because Mike, and his teams, do gorgeous work.  Also, he highlights tips and products that help him do this wonderful work.

So far, the Ditra has been easy to cut and lay.  The next step is laying the tile.

Keep checking back to see the next steps.

Saturday, November 28, 2009

Christmas is Coming!! Christmas is Coming!! And Here's a Contest to to Help You Get Ready!!

With Thanksgiving over, this means that Christmas is right around the corner. Gulp! We are hosting the family Christmas Eve celebration this year. Double Gulp!!


In any case, we could use another Christmas tree, like the one that Balsam Mountain is giving away. Click here to enter the giveaway for a Colorado Mountain Spruce Christmas tree valued at $799.


For more information on Balsam Hill trees and how they are made, click here.

Thursday, November 26, 2009

Happy Thanksgiving!!


Wishing you and your families
a healthy and happy Thanksgiving!!

Wednesday, November 25, 2009

Our First Dinner Party in Our New Home

Before we tore apart our dining room to make way for our ultimate design, we hosted our first dinner party.  My parents, grandmother and great aunt joined Hubs and I for a dinner.  We love to have people over so we can share our favorite recipes and use some of the beautiful dinneware and serveware we recieved for our wedding. 

We had a fall themed table with pumpkins, gourds and the season's warm colors.  (Though I did learn that now that we are able to have the extra leaf in our table all the time, I need to invest in new tablecloths and runners since my current ones are a bit short.)


For dinner, we enjoyedCaesar salad, marinated tri-tip steak cooked on the grill, herbed red potatoes, sweet corn on the cob with fresh fruit tarts for dessert and red and white wines and Prosecco with dessert to toast another wonderful family gathering. 

To see more of our the recipes we have tried, visit our other blog About a Bit of Everything which highlights recipes and other crafty projects.

Sunday, November 22, 2009

Discovery! Why We Have No Squeaky Floors!

When we were laying the new bamboo flooring in the office, we made a discovery.  Not a bad one, like many of our discoveries (the nonfunctioning dishwasher is one that springs to mind), but a pleasant one.


We have 1 inch plus thick plywood for our subfloors.   (We decided to not try to figure out why there was a big hole cut into the floor of the office.  Sometimes it just isn't possible to get into the mind of the previous owner.)

With this discovery, we now know why it was so difficult to get the phone line from the basement to the office (post on this to come in the coming weeks), why the house is so quiet and why we do not have a single squeaky floorboard in the entire house. 

Here's hoping we make more good discoveries as we continue to Claim Our Space.

Thursday, November 19, 2009

How to Tell It's Love

Just check for the smashed fingers.  If they match, it's love.  How do I know?  Just check my and Hubs' hands.  And we even made sure that the smashed fingers match. 


Mine was smashed installing the baseboards in the center bedroom.  Hubs smashed his working on the door trim in the office. 

Ain't love grand?

Tuesday, November 17, 2009

What Do You Do With An Ugly Powder Room?

Demo it, of course.  When we moved in, our powder room looked like this.

Yes, that is wallpaper border running down the walls. That lovely detail was found in evey corner.  As an added bonus, it was put up before the trim was installed.  It was also running along the ceiling.  There was more wallpaper border in this teeny bath than in most bedrooms, a total of 86 feet.   It is at times like this that I have to wonder what the "designer" of this room was thinking.

The tiles also ran up the wall just around the sink and the wall next to it, again another interesting "design" detail.  Add to the mix wall tiles used as floor tiles, some of the tile having been installed over wall paper, and a particularly dingy shade of yellow painted on the walls and ceiling and you know why we scheduled a redo of this room.

After about 5 hours one evening, we ended up with this.


Some of the "fun finds" we discovered were the 1/2" plywood behind the drywall around the sink, the wall tiles had been attached to the wall with what I can only figure was grout (so I was chiseling like mad, which resulted in needing to remove the drywall due to all the damage), the tile was not installed correctly on the floor (there was no underlayment, the mortar wasn't grooved so the tiles were actually just sitting on top so came up with ease) and using fabric softener and water to remove the wallpaper makes your house smell amazing. 

Keep watching for updates as we make progess is putting this room back together.

Monday, November 16, 2009

Goodwill Find Turned Buffet Piece

Previously I haven't gone to Goodwill or Salvation Army often because there was not one close to my old home.  However, now there is a Goodwill right across the street from our local Lowes.  Since we seem to stop there at least one every two weeks (ok, we stop there at least once a week), I have started stopping in regularly.

Like many thrift shops, it is hit or miss.  I have not had many hits (a lamp which will be featured later this month) and the items found in today's post. 

When I saw this platter and ice cream sundae dish, I knew that I had to get them.  Especially since at $1.99 and $0.99, they wouldn't break the bank.


(Note to self:  do not take pics of glass items on my light colored countertop)

You see, we had our housewarming party coming up and I needed something tall and flat to put the plates on for the buffet.  Why tall you ask?  Beause I wanted it able to be placed in the middle of the table with napkins scattered around it.  I was afraid a regular cake plate would not be tall enough to do this. 

These were the perfect solution.

A little glass glue (purchased at the Lowes across the street) and I was ready to go.


To secure the two pieces together, apply the glue according to the package directions to the bottom of the platter.  Mine had three little feet and a circular pattern in the center of the platter so it was easy to see where the glue would need to be applied.


(Another note to self:  See about getting a tripod or
having Hubs to take the pics when I am glueing
since apparently I cannot take pics with one hand)

Place the sundae dish upside down onto the platter and press for 30 seconds to ensure a strong bond.


Once the two pieces are secured, turn right side up and let sit for 24 hours before using.


While I don't have a pic of the piece in use at the actual party (I got distracted with getting the food on the table in time), here is a recreation.


Total cost:
$0.99 Sundae dish
  1.99 Glass serving platter
  1.15 Glass glue (I figure I used about 1/3 of the mini tube)
$3.13 TOTAL