
If you live in a northern climate, like I do (Zone 5b), starting your veggies inside is almost a necessity.
But the catch is that you also don't really get enough natural light to ensure that your seedlings won't get leggy, like mine did last year. Or you may have a dog that will eat anything green within her reach. Seedlings growing in front of a slider door on the floor would be like a siren song to our goat dog, Willow.

Of course, you can get grow lights and stands from various catalogs and online stores but the cost can get quite expensive. Most of the versions I have seen start at about $60. Being a bit of a cheapskate, I decided to build my own using two 8 ft long 2x2s, twelve 2 1/2" wood screws, a 4' long shop light with two T8 full spectrum daylight flourescent bulbs, about 8 feet of chain and two s-hooks. Total cost? Less than $35 (the full breakdown will be at the end of the post.)
For my table, I am using an oddly shaped, beat-up coffee table with a missing drawer and wobbly legs that was left in our basement by the previous owner of the house. I figure that this is a better use than holding empty boxes and old magazines, which is what I was using it for last week.
Step 1:
Create a plan. I sketched out a rough draft and then created a "cleaner" version of my plan using Word and the Draw functionality.

Step 2:
Double check the measurements of the table or other surface you are planning on putting your light on.
I ended up having to cut my top piece shorter to make the stand fit on my table.
Step 3:
Cut all your pieces of wood. I used my table saw but you could even use a hand saw to make the cuts if needed.

1 top piece (50")
2 side pieces (24" each)
2 corner brace pieces (3" each)
2 base pieces (20" each) I originally cut 4 pieces but only ended up needing 2.
Step 4: Lay out the pieces according to size so that you don't accidently cut your top piece in half and need to go back to get another 2x2 the next day (not that I did that or anything...)
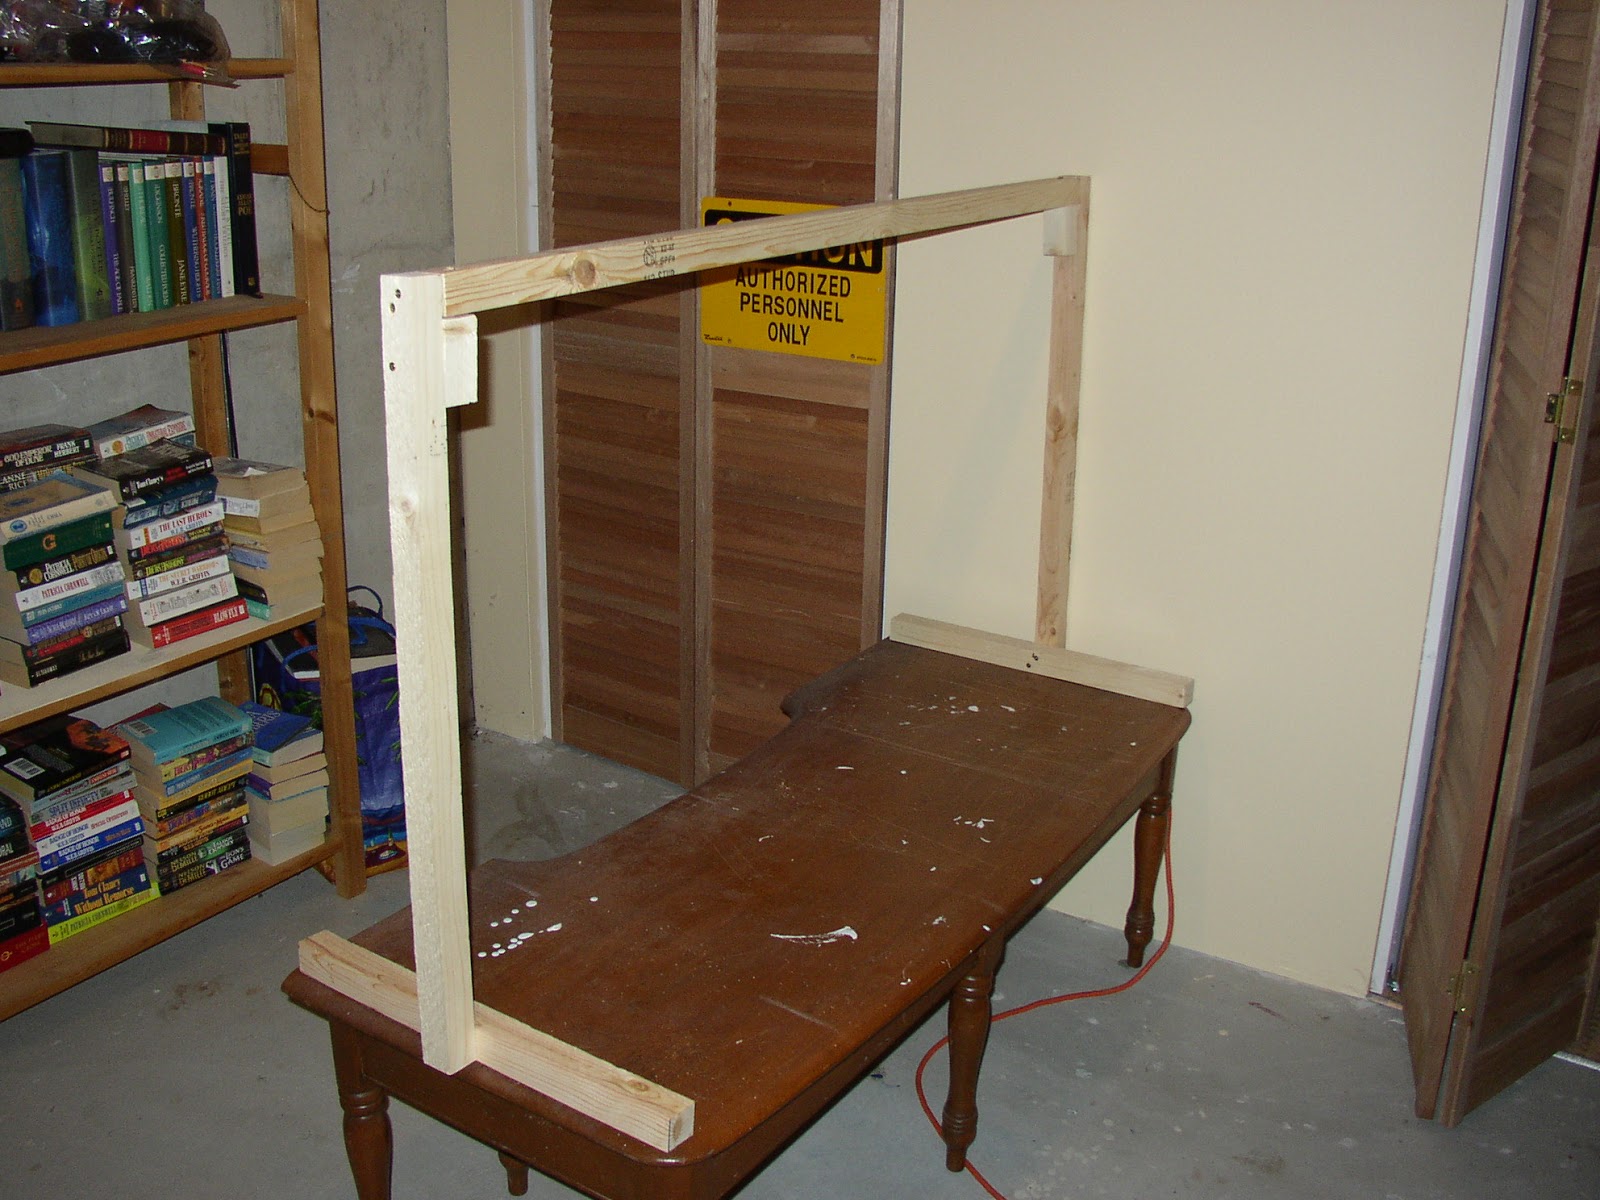
Step 5: Securing the sides to the top.
Clamp the side pieces to the top piece, using a corner clamp, if you have one, or you can just a regular clamp. (On a side note, if you are planning on building garden boxes or raised beds, the corner clamp is an amazing tool that makes putting together boxes a breeze.) Pre-drill 2 holes per end and screw in your screws.

Repeat on the other side. You should now have a large U-shaped piece.
Step 6. Attaching in the corner braces
In the corner, place the brace piece, Predrill straight through the side into the brace and install screw. When predrilling the hole through the top, you will need to drill on an angle so you don't hit the previously installed screws.


Step 7: Attaching the base pieces.
Measure and mark the middle of your base piece. Center that on the side and clamp in place, with enough space showing to pre-drill, then install one screw. Once you have one screw installed, you can move the clamp to expose the other side so you can pre-drill and install the second screw. Repeat on the second side.

You now have your stand for your light.
Step 8: Hanging the light
The light I bought actually was made for hanging so came with short chains and S-hooks. These were not long enough to go over the top of the stand so I needed to get some more chain. I bought a 15-ft length and cut it in half, then in half again with some wire cutters to get my desired length (about 3.5' of chain for each side of the light. Drape the cut chain over the top, use an additional S-hook on each side to connect the light chain and the cut chain together.

Step 9:
Place the stand with light on your table, install the bulbs, plug it in and test it out. If everything is working properly, you are ready to grow.

Here is the breakdown of the cost for the DIY grow light and stand.
$20.00 4' shoplight
7.00 2pk of T8 daylight flourescents
1.30 3pk of S-hooks (Package was $2 but I am using the 3rd S-hook for another another project)
3.00 1 pkg of 15 ft of chain (package was $6.00 but I will be using the other half for another project)
2.60 two 2"x2"x8' furing strips
0.00 16 - 2.5" screws (already had these in our work shop)
$33.90 Actual Cost of the project
If you already have a grow light and bulbs, the cost is less than $10.
Now all I need to do is get my seeds planted for my cool weather crops. Any suggestions?


No comments:
Post a Comment
Thanks for your comments. We always love to hear from our readers!