Thursday, December 17, 2009

My "Free" Stool - A Quick and Easy Revamp

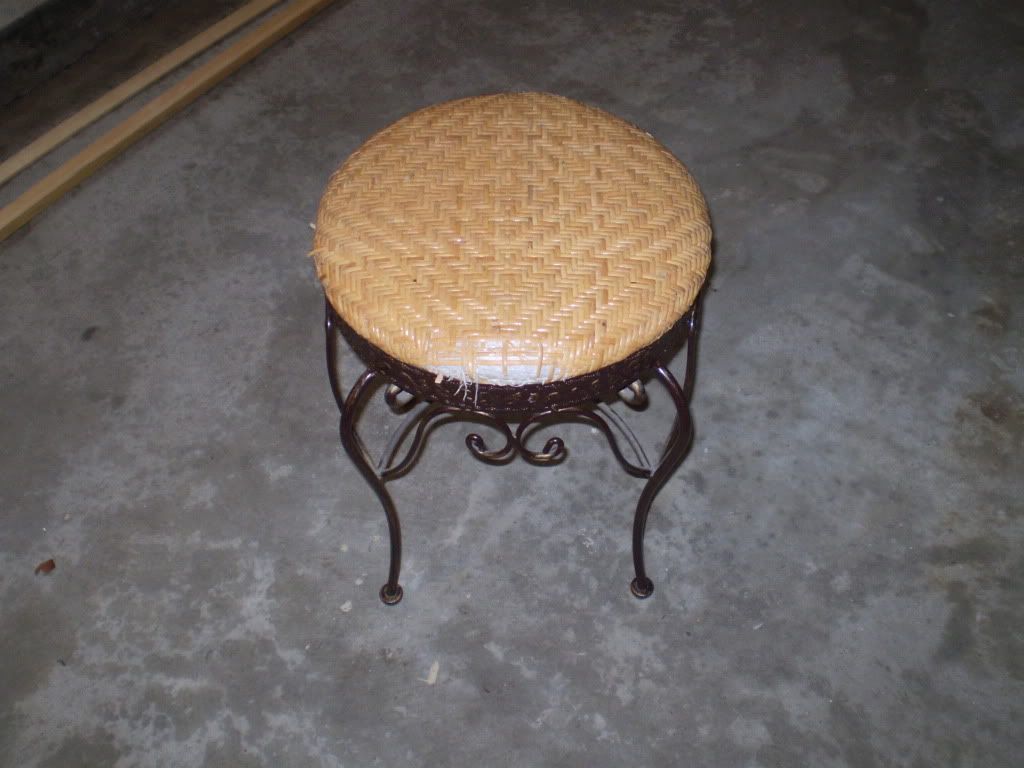
One of the items the sellers of our home left us is this stool. Isn't is lovely?


The one thing it had going for it was the hammered bronze finish on the metal.

So with a couple of spare hours (avoiding my really long to do list), I decided to do a quick redo. After removing the woven cover, which took longer than I thought since I had to remove several dozen staples and about a hundred little nails since each strip was held in place by a small nail on either end.
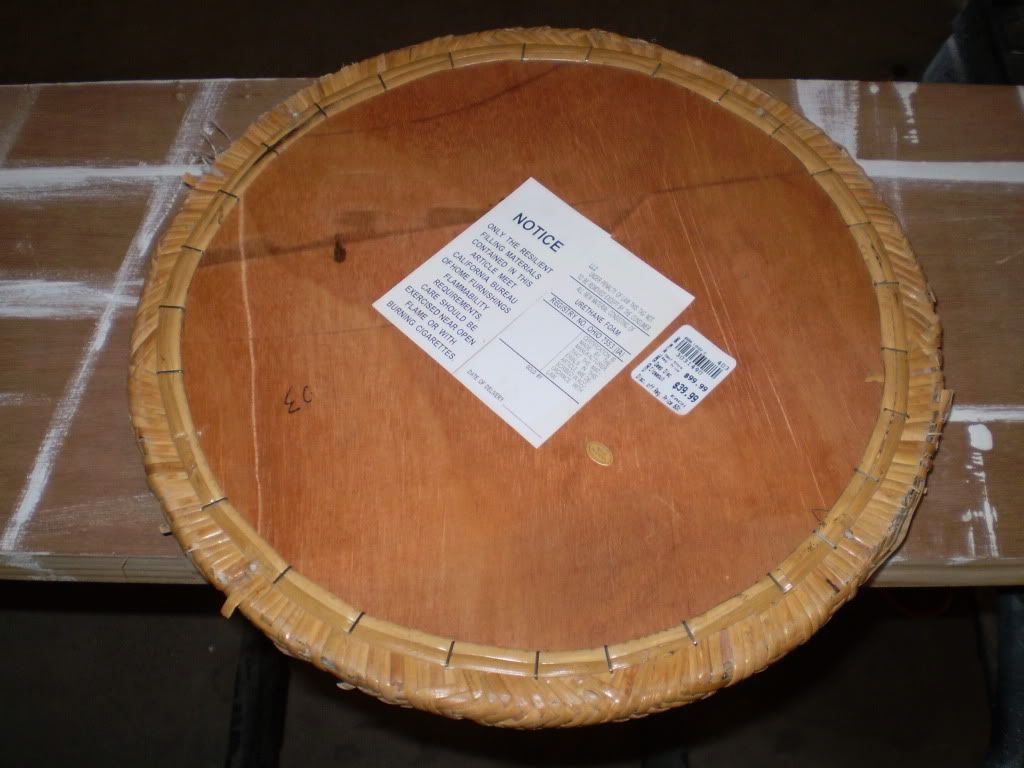

 Looks like the stool was originally $99.00 purchased for $39.99
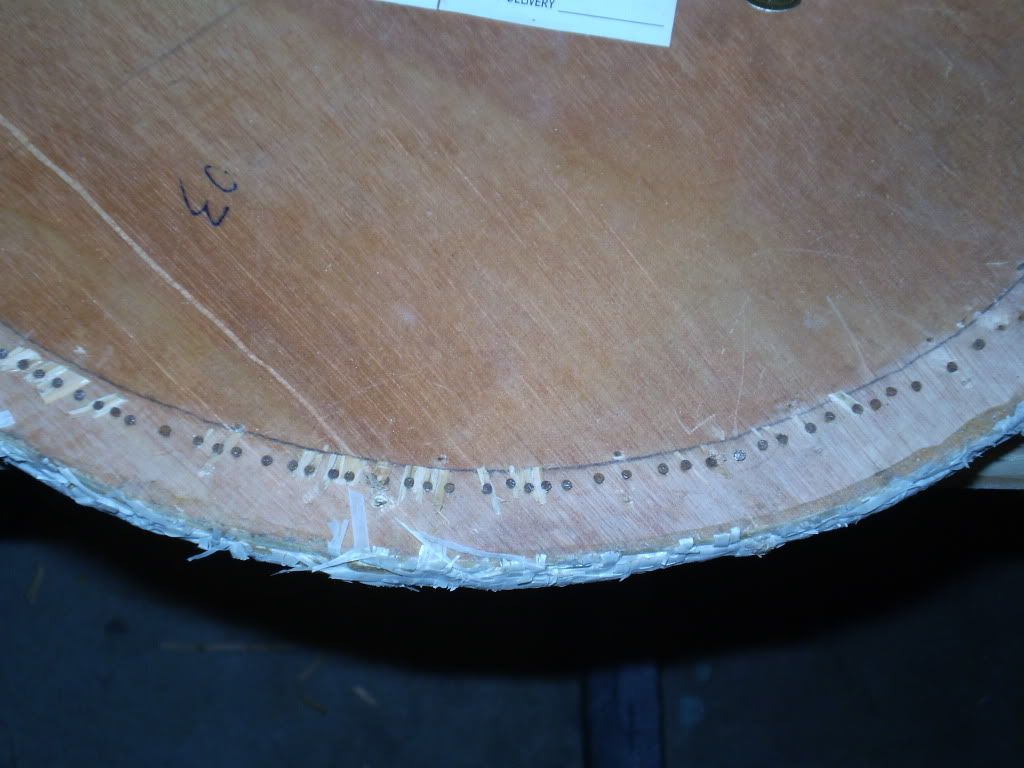

Check out all the nail holes.  Each one is a nail I had to remove.  Boy was my hand tired.

I added two layers of batting for a bit more comfort for the tushy and a layer of upholstery fabric.
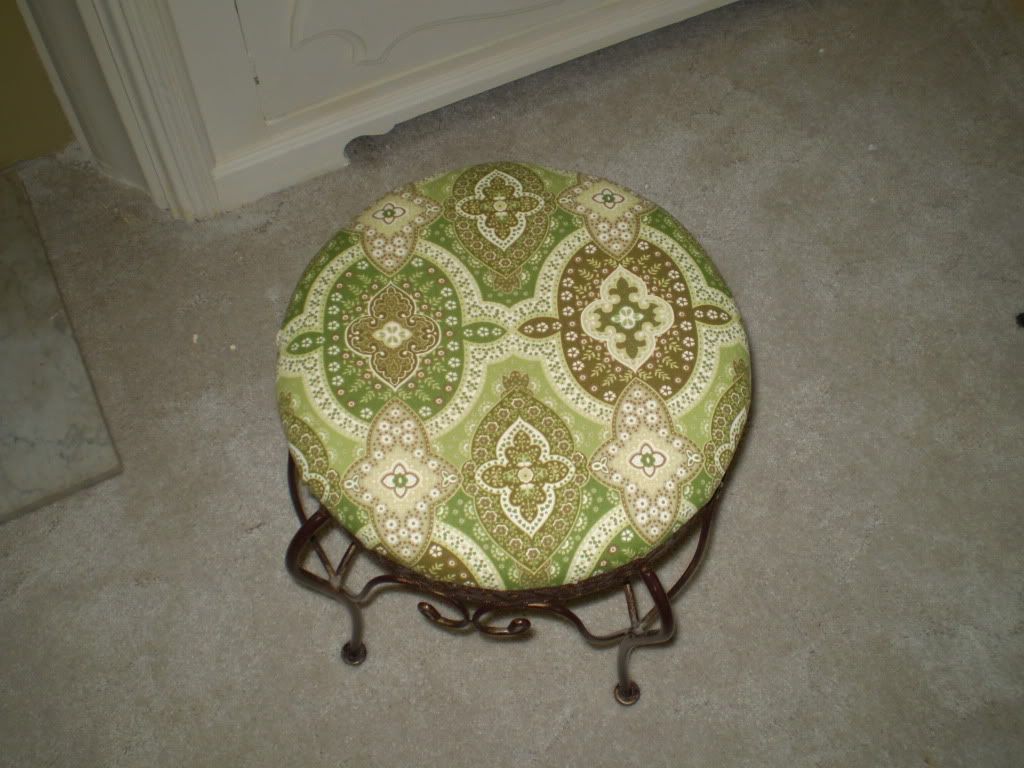


The result, I had what looks like a whole new stool.
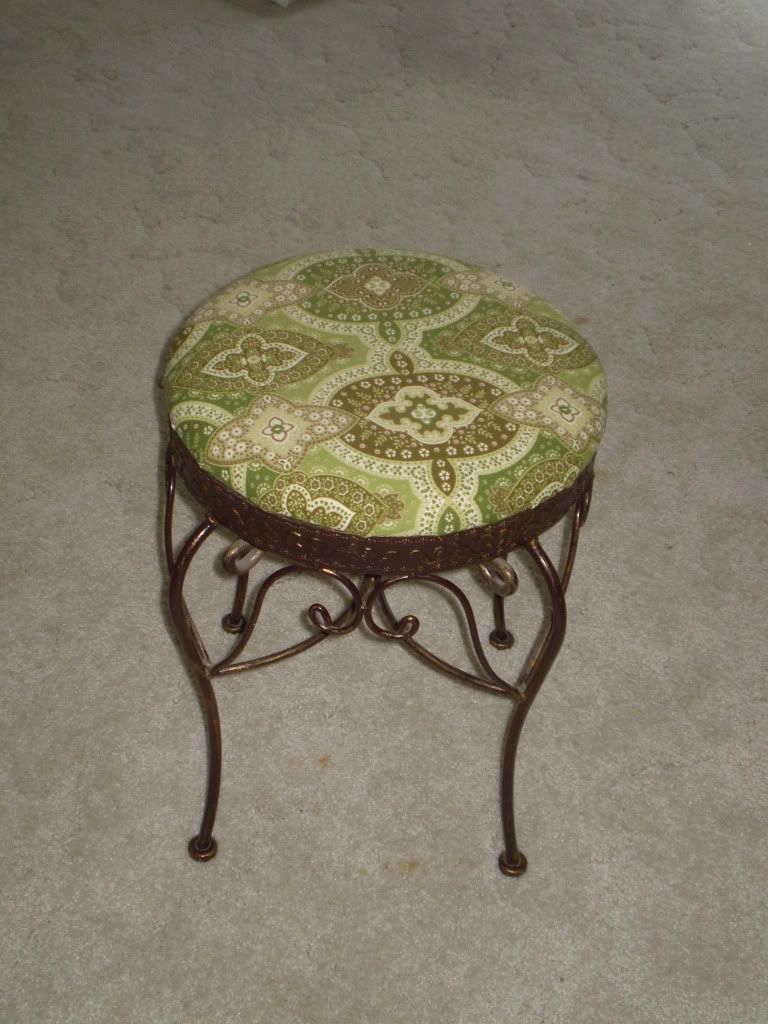

Please disregard the gross carpet.  We hope to replace the flooring after in the new year.

Project Cost:
$0.00 stool
  0.00 fabric leftovers from the $5 chair project
  0.00 batting leftovers from the $5 chair project and other crafty crafts
$0.00 Total cost (my favorite price!)

Added bonus, we now have another seat in the living room for our big Christmas Eve party which means one less person will have to sit on the floor.

I have included this stool in The DIY Show Off Surpirse Party hightlighting Home Accents.  Want inspiration?  Make sure to visit the site.


Wednesday, December 16, 2009

A Great Giveaway from High-Heeled Foot in the Door

If you all are anything like me, you need another gallon or two (or in our case 6) of paint to transform your rooms.   I have plans this week to paint our powder room and kitchen.  Still to go are the hallways, living room, master bedroom and bath. 


To help us all out in our plans to create magic with paint, High-Heeled Foot in the Door has a great giveaway.  Stop by her site to enter for a chance to win the following from Mythic Paint.

One color deck
Two gallons of paint
Two rolls of Frog Tape

Definitely enough to get started on your next project. 

Tuesday, December 15, 2009

We Have a Floor!

There is more progress in the powder room.  We have moved onto the next important step in our powder room redo. 

We have a floor and a quite nice one if I say so myself. 


We went with an octagon and dot tile, in an off-white color with a parchment (think light tan) colored grout.  Now, I have to say that the store called the tile color white, however, it is not a stark white.  So it will work perfectly with our bisque colored toilet and sink. 

Stay tuned for more progress.  Next up?  Paint.

Saturday, December 12, 2009

Making Progress on Our Center Bathroom

We have two full baths in our house.  One off the master bedroom and one that the office and other two bedrooms share.  We call the latter, the center bathroom. 

When we bought the house, it was a blank slate.  All in white with little color.  Check it out below in the listing photo.


Along with all the white, we were also "blessed" with a total of 5 different colors/types of knobs, towel bars, towel rings, towel hooks and a TP holder.  We had white ceramic, chrome, brushed nickel, brass and a  white rubber coating.  Pretty much a bland mismatched mess.

First order of business, paint.   I chose Dapper Tan by Glidden.  I had it matched to Behr flat enamel.  It is a nice tan with just a slightest teeniest tiniest hint of pink.  Everyone says they love how their complection looks in that bathroom.  A perfect color pick for a bathroom in my book.   


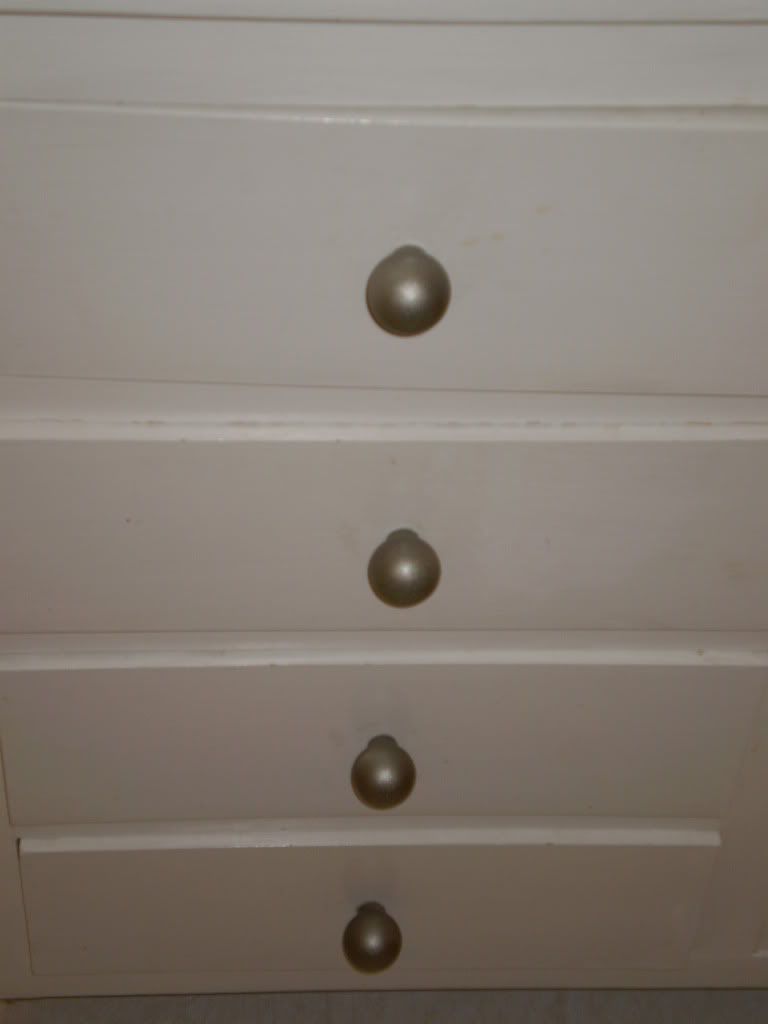
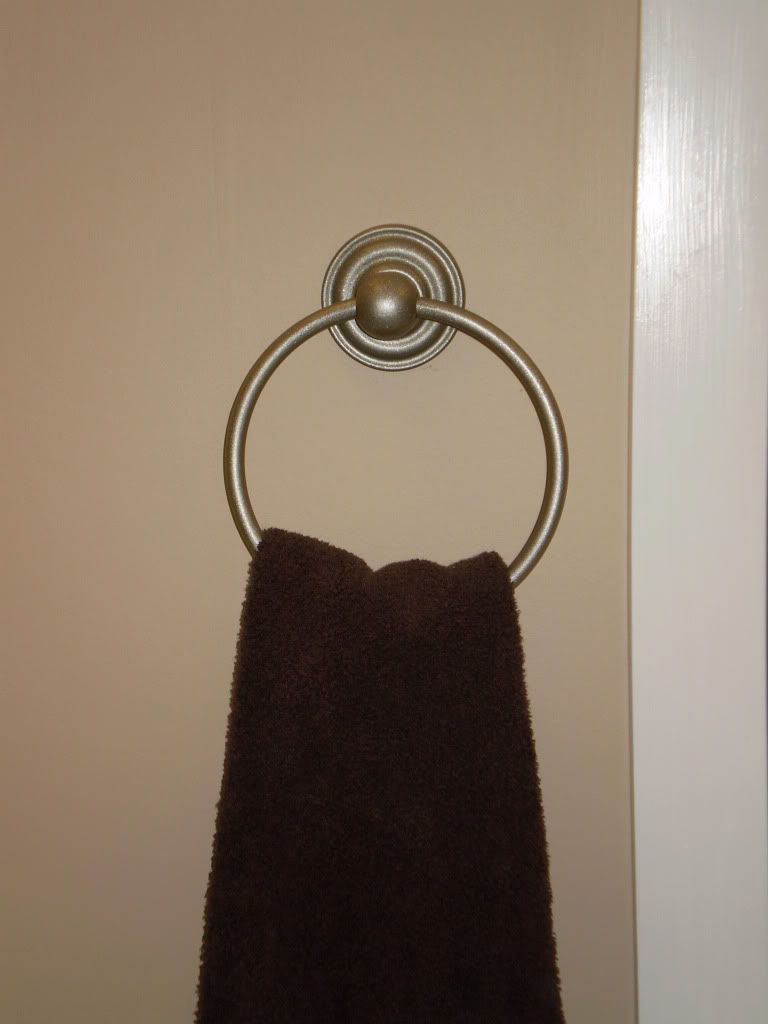
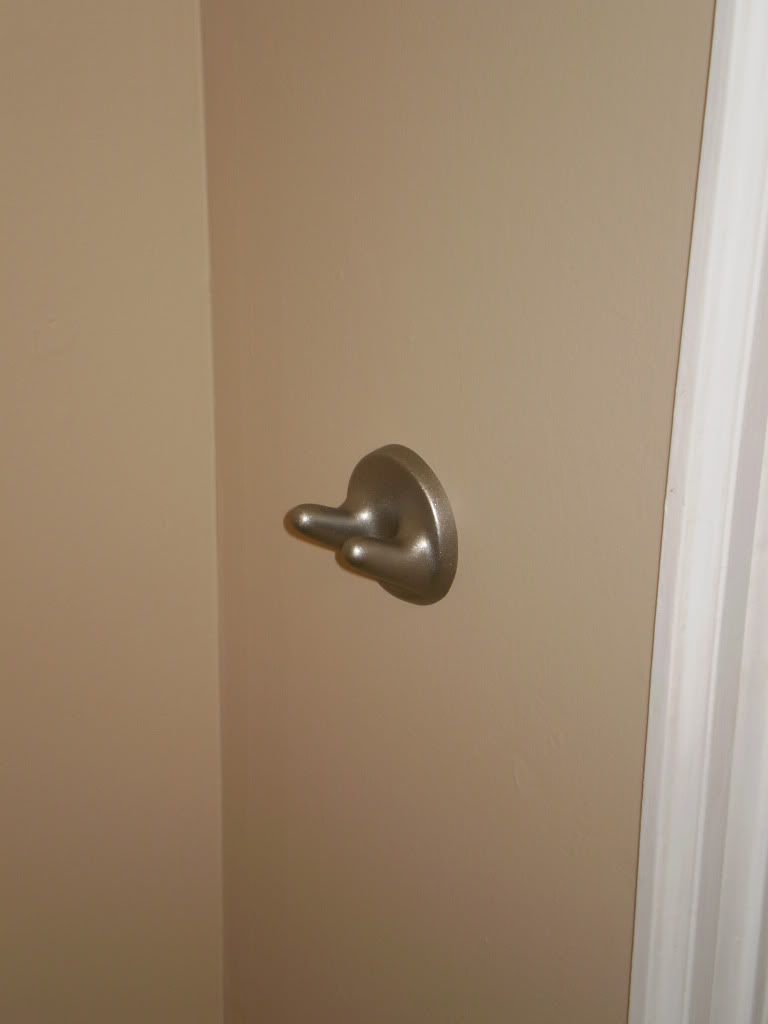
To make the fixtures cohesive, I painted them all satin nickel using Rustoleum paint.  The towel ring was brass, the knobs were white ceramic and the towel bar and hooks were chrome. 

I think they look much better all the same, don't you? 


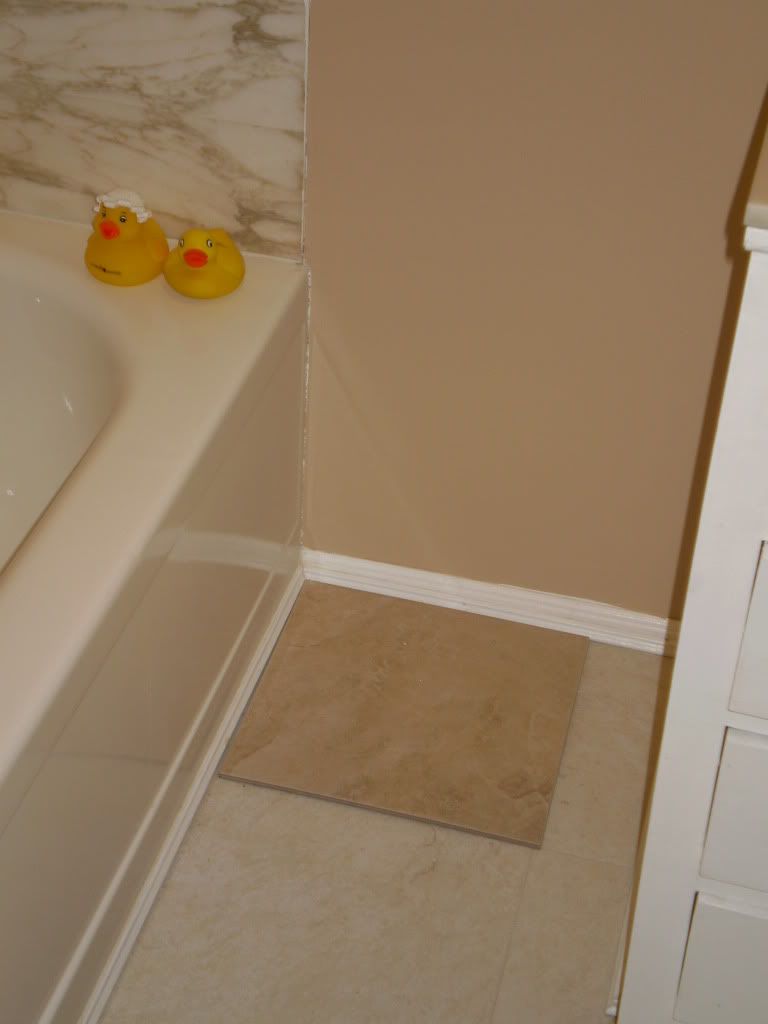
Next on the list, replacing the vinyl tile floor.

I already have the tile picked out.


So stay tuned for as we make more progress in this room.

Friday, December 11, 2009

Blog Post Featured in The DIY Showoff

Roeshel recently highlighted one of my DIY projects on her blog, The DIY ShowoffMy Goodwill Find Turned Buffet Piece was featured on December 4.


A big thank you to Roeshel for showing off one of my projects. 

If you want to be inspired and get a list of ideas you may want to try yourself make sure to stop by and visit The DIY Showoff.

Thursday, December 10, 2009

Winter Has Arrived!

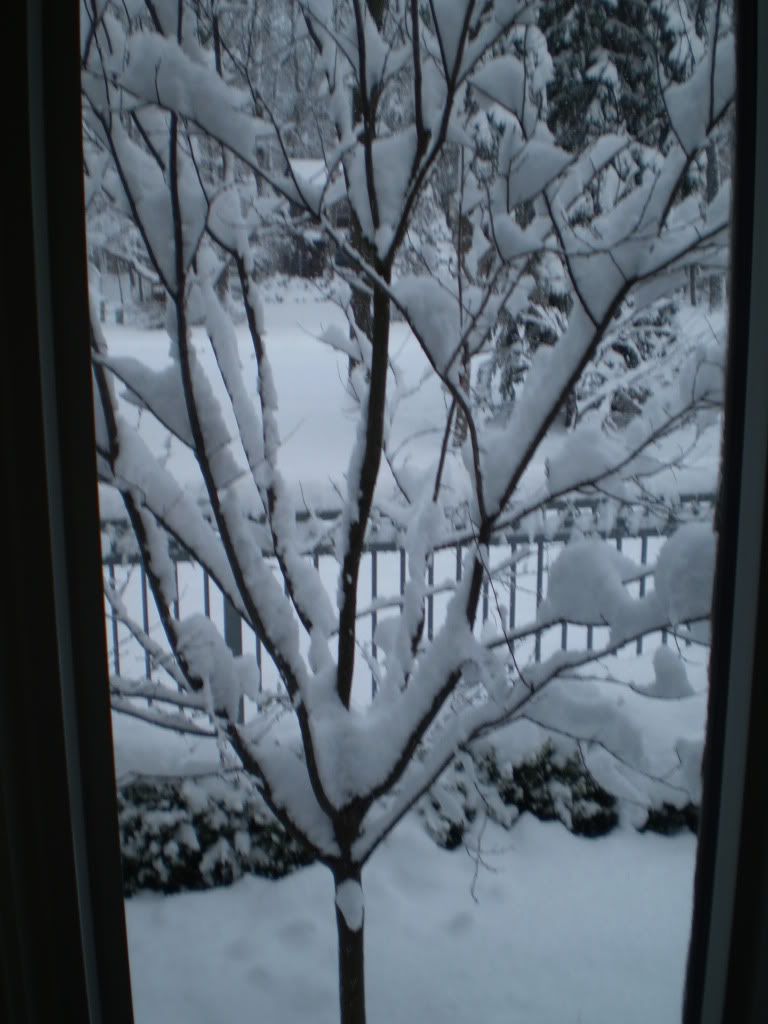
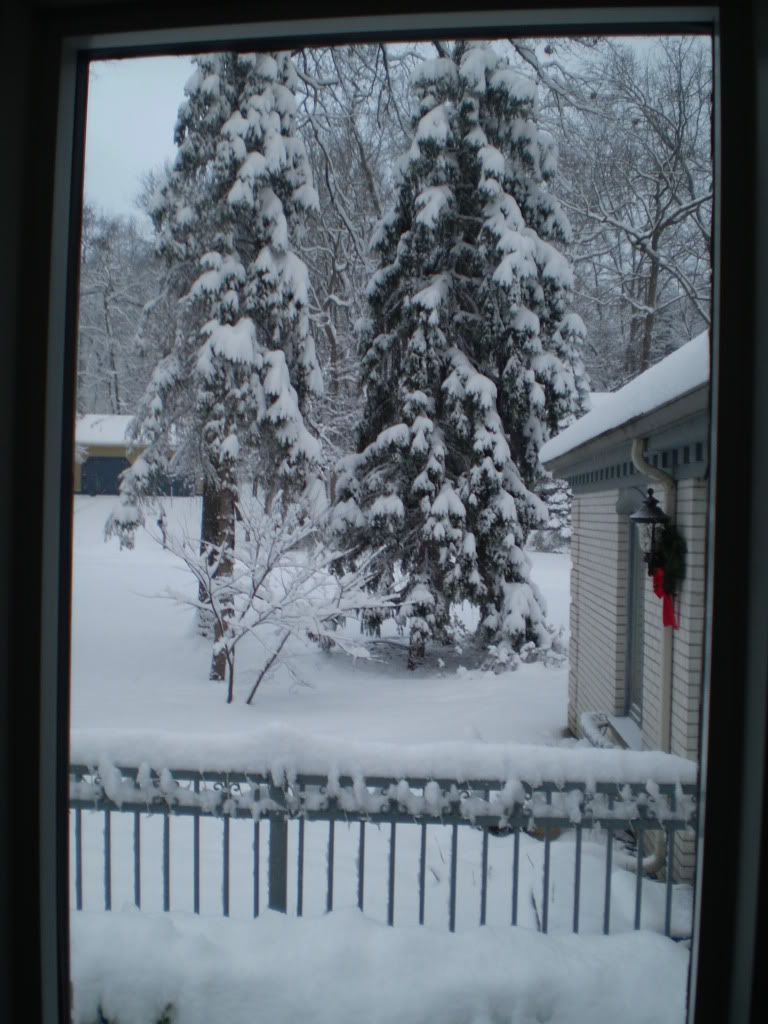
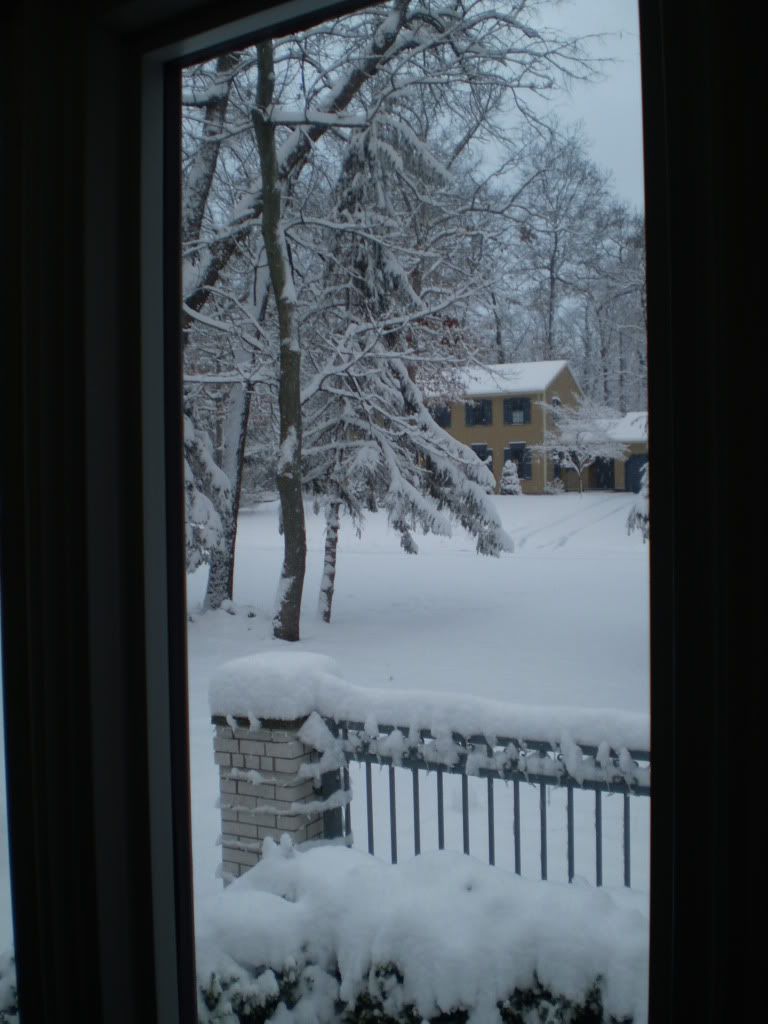
A week ago today I woke up to these views out my windows. Looks like winter has finally arrived.  Just in time for the holidays.  Too bad it has pretty much been snowing since these photos were taken with at least 5 inches falling in the last 24 hours, with possibly another 5 coming in the next day or two.


From the office


From the dining room


The backyard

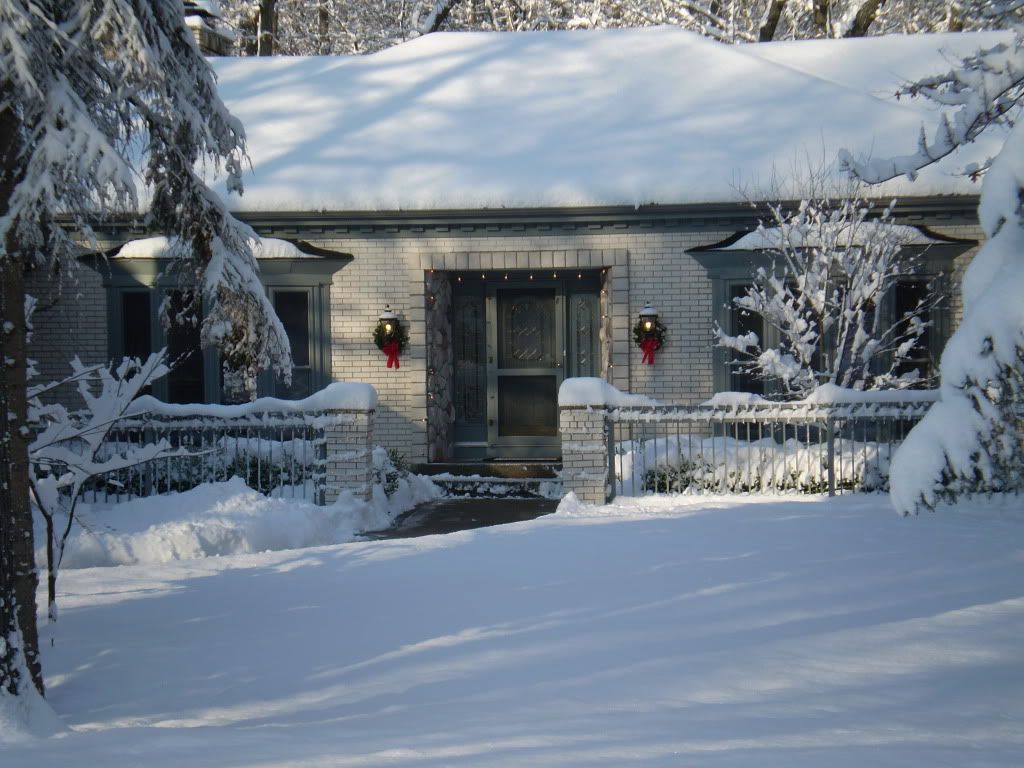
The best view, I think, is the one from the front that I took after shoveling the walk and driveway.  I am leaning toward using this photo for our Christmas card next year.


Sunday, December 6, 2009

What is Green, Orange, White and Rag Painted All Over?

Why our powder room, that is what.


We replaced the drywall that needed removing once I took down the tile with moisture/mold resistant greenboard.  It took a bit of doing to get the right cuts around the pipes but after about four or five little modifications we got it to fit just right.  Though it probably did not help that we did not start measuring and cuting until 9 pm.  Yeah, we got distracted and sidtracked during the day.  Whoops. 

With the greenboard up, we mudded and taped the seams.  Once they get sanded and remudded, I will move onto painting the room to remove the awful pinky tan on yellow rag painting currently on the walls.  I have already painted the ceiling a nice bright white. 

We laid the Ditra underlayment to prepare for laying the tile. We first saw this product on Holmes on Homes on HGTV.  Mike Holmes helps people who have been taken for a ride by their contractors. Hubs and I love the show, mainly because because Mike, and his teams, do gorgeous work.  Also, he highlights tips and products that help him do this wonderful work.

So far, the Ditra has been easy to cut and lay.  The next step is laying the tile.

Keep checking back to see the next steps.