
Solution? Create a counter (of sorts). Or rather cobble together a cover for the cooktop to act like a counter.
With Hubs out of town, it was up to me to create our "counter" and that made it the perfect project for the Shanty2Chic Link Party.

Using 2 leftover pieces of plywood, lattice scraps and a few 1x2 pieces left over from the dining room redo along with several purchased pieces of 12"x12" pieces of cork and super duty spray adhesive, I was able to create a cover for the cooktop and turn the island into a fabulous buffet.
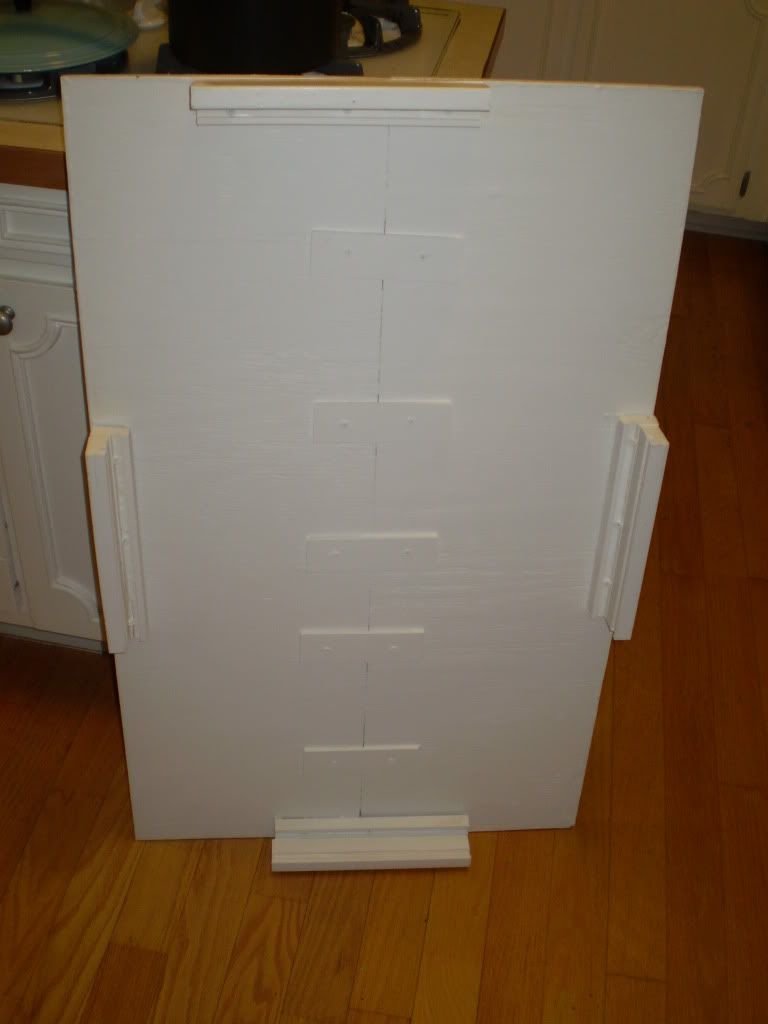
Here is a view of the underside of the cover. I painted it white to match our cabinets. You can see how the lattice pieces were used to join the two smaller plywood pieces. Since the screws went through to the other side, I used our Dremel with the cutting wheel to cut the screw ends off. I also used wood screws to join the 1"x2" pieces to create an "L" shape bracket of sorts for each side of the cover. Then even more screws to join the brackets to the plywood.
The entire piece rests on top of the burner grates and the brackets on the edges keep the top from shifting since they "lock" on the edge of the cooktop.
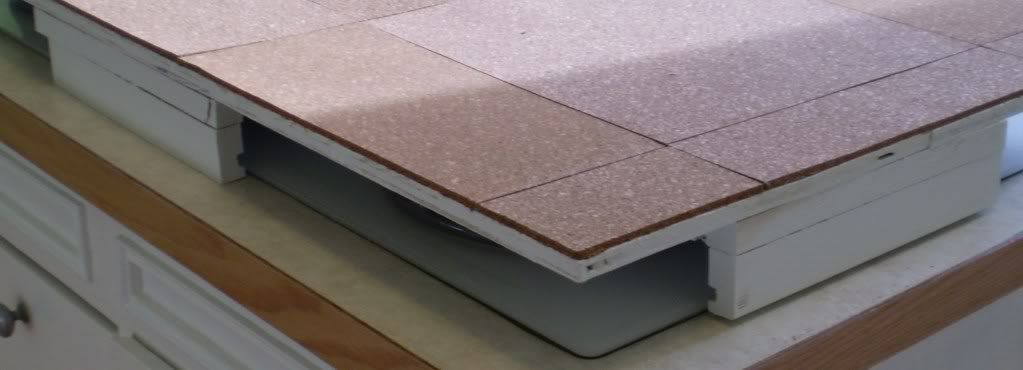
The cork on the top means no hot pads need to be used for dishes. And any spills just add to the patina of the material.
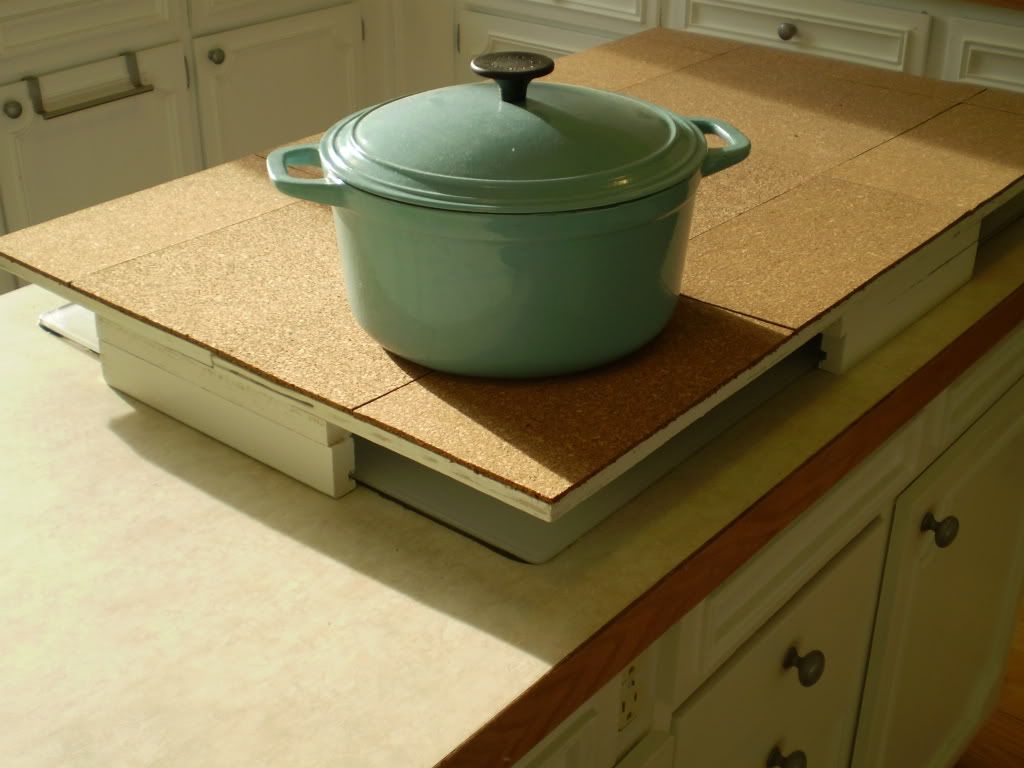
Now our kitchen looks like this when we have parties. Much better for serving our guests.

Total cost of the piece was approximately $21.00 or so.
$ 0.00 Plywood (leftover from center bedroom revamp)
0.00 Lattice scraps to hold plywood together (leftover from dining room redo)
0.00 1x2 scraps (leftover from dining room redo)
17.50 5-12"x12" pieces of cork
2.50 part of gallon of semi-gloss white paint
1.00 approximate cost for the wood screws used (I ended up using about 30 give or take)
$21.00 Total cost for the project
And in the background of the bottom pic, you can see a sneak peak of another upcoming project on the far wall.
Make sure to check out Shanty2Chic to see what other projects are being linked.


That is so clever! Great job, thanks for sharing!
ReplyDeleteGreat idea! So much extra space now.
ReplyDeletevery creative :)
ReplyDeleteOne of my parent's friends have one of these – and I think it's the coolest thing. I'm definitely going to have to make one at some point.
ReplyDeleteVery clever!
ReplyDelete:o) Trish