


Photo Sources: 1. Domino Mag 2, 3 and 4: Pottery Barn
As part of the ongoing (never-ending) overhaul of the living room, I want a gallery wall. We have the perfect space for it - a 12 foot expanse with nothing on it - and once I am done, it will look fabulous. Or so I hope.

Over the next few weeks and months, I will be highlighting some of the art projects that will be hanging on our wall. Starting with the framed coins.

I was sorting through boxes that were stored in my parents' basement when I came across coins I had brought home from some of my travels.


I didn't want to put them back in the bottom of a box but wasn't sure how to display them until I saw an episode of Sarah 101 where the amazing Sarah Richardson used buttons to create some art for a laundry room. It was then that I thought, "I could do something similar with my coins." So after a bit of searching for frames and fabric for backing, I was off and putting together my famed coins.
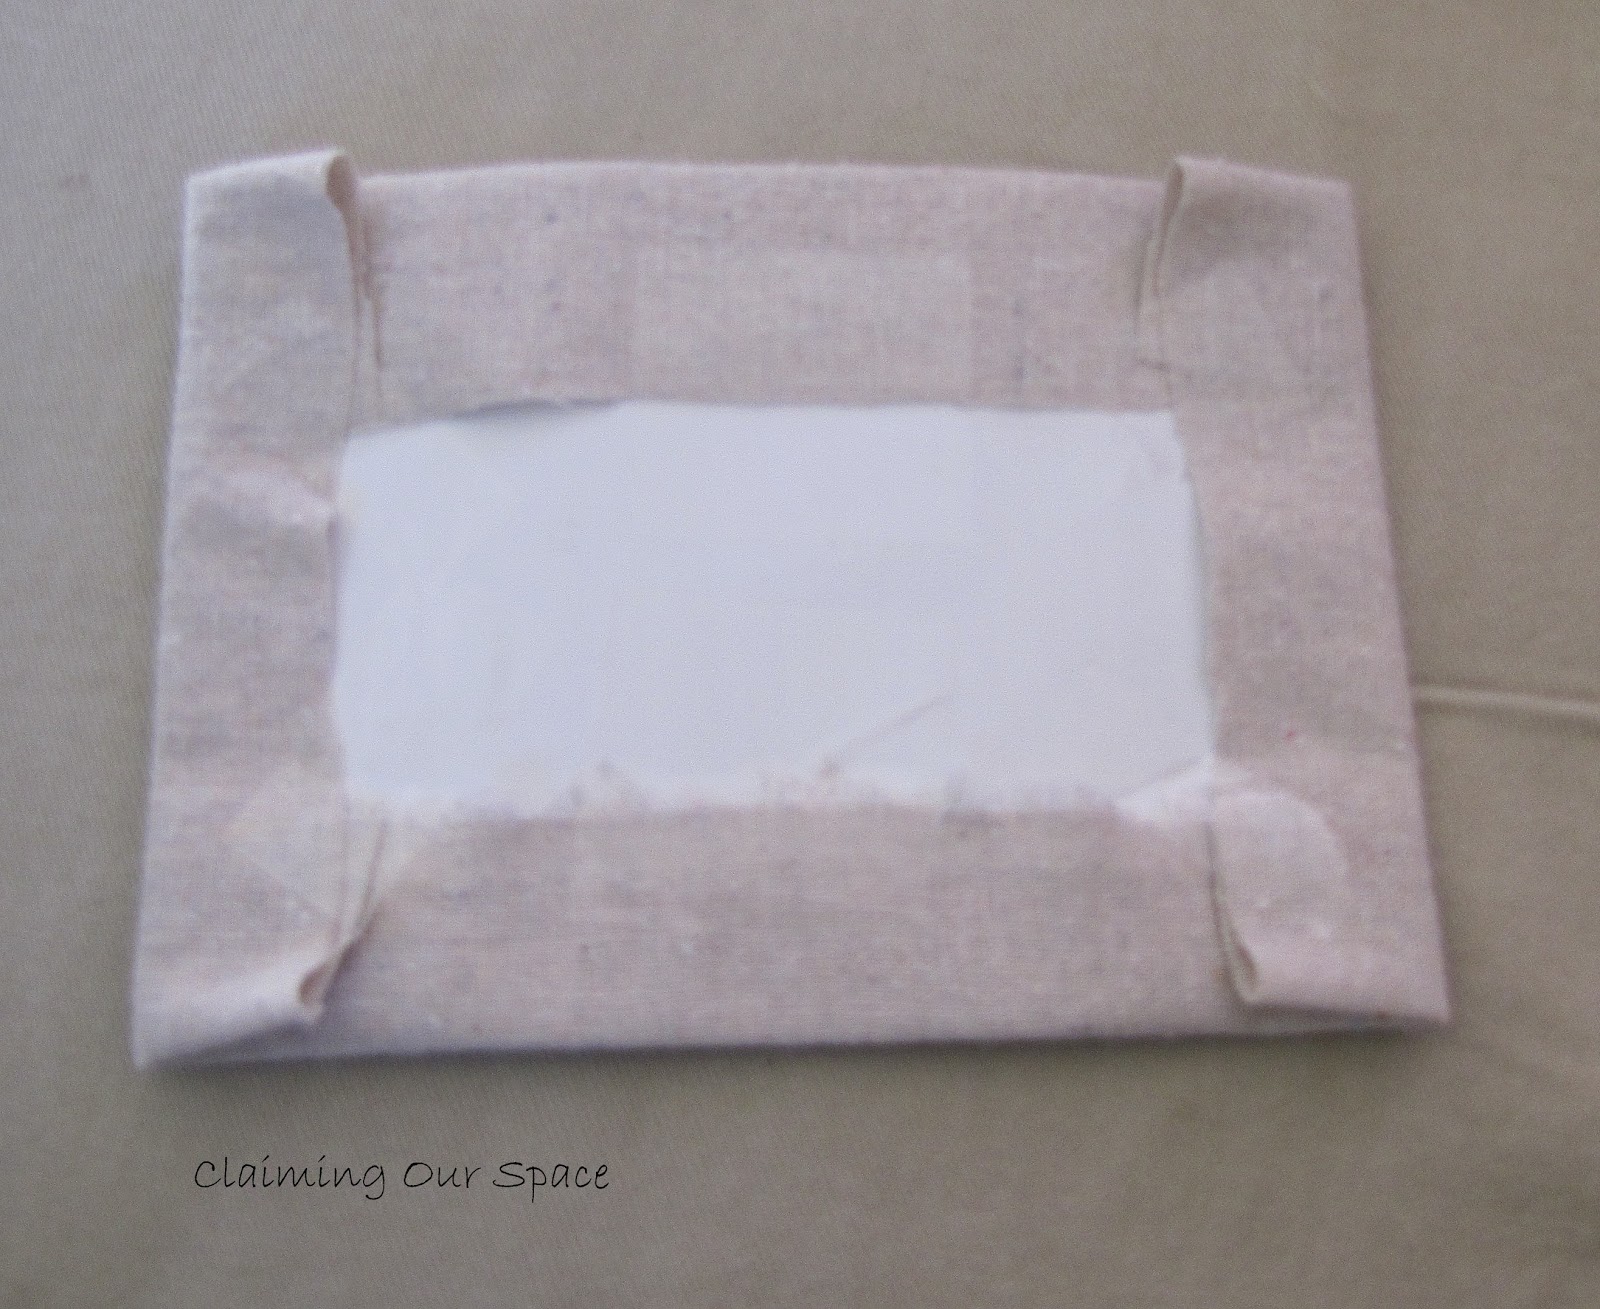
Step 1: Gather Materials
- Coins (Having a variety of sizes and colors works best, I think)
- Fabric
- Frames (I used 1-5x7 and 1-4x6 frames)
- Tape (I used packing tape since that was all I could find)
- Glue (I used Aleene's Original Tacky Glue)

- I used the paper "picture" that comes with the frame as my guide
- I used a linen-look muslin I got a Joann Fabrics several months ago. This will be the background for several of the pieces on the wall to help build a more cohesive look
Step 4: Arrange your coins and glue
- Create a pattern of design that looks best to you.


- I used just a small bead of glue since I thought I may want to remove them at some point in the future.
- Let dry for at least an hour

Step 6: Place into frame

I think this will be a great way to remember some of my travels.
Cost of the Project:
$0.00*
This was another "free" project for us since we had all the items.
*Assuming you had your coins, glue and tape already and only had to buy the frames and fabric, I would think this could be done for no more than $5 a piece. Less if you could find frames at the dollar store or thrift shop.
Linking to:
Making the Word Cuter, DIY Home Sweet Home, A Round Tuit,The Girl Creative, Mad in Crafts, Keeping it Simple,Sumo's Sweet Stuff, Singing Three Little Birds, Skip to My Lou, C.R.A.F.T., Craftomaniac, Marvelously Messy, Coastal Charm, Northern Cottage, Hope Studios, Tip Junkie, A Bowl Full of Lemons, Sugar Bee Crafts, Homework, Today's Creative Blog, Confessions of a Stay at Home Mommy, The Thrifty Home, Blue Cricket Design, Passionately Artistic, Not Just a Housewife, Type A, Crafty, Scrappy, Happy, Brassy Apple, Homemaker on a Dime, Sisters of the Wild West, Tutus and Tea Parties,Dwell on Joy,


Fun idea! I think I'll have to try something like that with my coins too. So much better than sitting around in a box :)
ReplyDeleteLet me know if you frame some of your own coins. I would love to see how yours look. Thanks for stopping by.
DeleteWhat a great idea for displaying those coins!
ReplyDeleteThanks for linking to a Round Tuit!
Hope you have a fabulous week!
Jill @ Creating my way to Success
http://www.jembellish.blogspot.com/
Oh, I LOVE this...makes me wish I held onto all my coins from my travels. What a great idea, thanks for sharing. :)
ReplyDeleteKarah
Sound like you need to plan some more trips so you can frame the coins. :-) Thanks for stopping by.
DeleteThis is great!! I actually have a tupperware of all the random coins I've collected in our travels! This would be a great way to share them and reminisce! I'm your newest follower! :)
ReplyDeleteThanks for stopping by and thanks for following. If you frame some of your own coins, I would love to see them.
ReplyDeleteLove the look of the framed coins! Would love for you to stop by and link up to the Tuesday To Do Party if you haven't already!
ReplyDeleteSmiles!
Jami
www.blackberryvine.blogspot.com
http://blackberryvine.blogspot.com/2012/02/tuesday-to-do-part-49-and-48-list.html
Thanks for stopping by. I just posted on your party and am your newest follower.
ReplyDeleteThat is such a cute idea. I love the gallery wall look also, but I haven't actually started to work on it yet. Love that lamp on the table, BTW.
ReplyDeleteThanks for stopping by. Glad you like the lamp, it will be highlighted in an upcoming post.
DeleteI love your gallery wall inspiration photos! I've been working on a gallery wall for our living room as well; can't wait to see how yours turns out. Following you!
ReplyDeleteThanks for stopping by and thanks for following!
Delete