
When we moved in the previous owners left all the window treatments. However, none were our style. Including the heavy velvet ones in the living room.
You can see them here. Not that attractive.

But, like a good aspiring pack rat, I took them down and packed them away in a closet since I was sure that I would be able to use them sometime in the future.
Well, the future is now!
Willow, who is just the sweetest dog ever, got two new beds last Christmas. She loves those beds since they are fluffy and she sinks right in.
 |
| See what I mean? |
The bad part is that they didn't have an inside liner so when they needed washing, we had to put all the stuffing in a garbage bag and then restuff it afterwards (aka a giant pain in my rear), and you know that we never could get all of the fluff out of the cover or into the bag. This meant that we ended up with fluff "bunnies" each and every time.
After dealing with fluff bunnies in the family room, the bedroom, the laundry room and the dryer, it was time for another plan. I thought immediately of the thick velvet curtains that I had stored in one of the bedroom closets. The tag said "dry clean only," but I thought that was because of the damask imprint so I ran them through the washer and dryer to see what happened. Well, they washed up perfectly and got amazingly soft.
Since Willow's beds are like a big pillow, making the cover couldn't have been easier. To make things even easier, I skipped the zipper and used velcro/hook & loop tape as a closure. I will get to a zipper eventually, I promise.
Materials
- Fabric
- Poly-Fil/Extra Stuffing
- Velcro/hook & loop tape
- Sewing machine
- Matching thread
- Open bed and add stuffing. I used a 20 oz bag of Poly-Fil.
- Lay your bed on the fabric and figure out how big you need to cut your two pieces of fabric. This is where I lucked out. My curtain panel was the exact length I needed so I needed to only make 1 cut, the width.
- Cut your fabric with approx 1 inch seam allowance around 3 sides and a 2 inch allowance on the 4th side (this should be a short side). The reason for this is so you will sew the velco on "nice side" of the fabric.
- Fold one short edge over 1 inch, press with iron. Fold over again 1 inch and press. Sew a straight stitch along the folded edge farthest from the outside (I hope that made sense). Repeat on the 2nd piece of fabric. This will give you the finished edge to sew the velcro to. **In my case, I was able to use a finished edge and skip this step.
- Place fabric right sides together.
- Pin around the two long sides and one short side.

- Sew along the two long sides and one short side using a straight stitch and a 1/2 inch seam allowance. You now have what amounts to an inside out pocket. So far so good.

- Leaving the "pocket" inside out, it is time for the Velcro.
- To sew on the Velcro, measure the opening and cut 1 piece hook tape and 1 piece loop tape just a bit shorter than the measurement. I tried pinning the velcro but gave up since I kept bending my pins and not wasn't able to get it centered right. So I ended up just free handing/eyeballing it.
- I took my piece of hook tape attached it with a zig zag stitch down the middle of the tape.

- I did the same with the loop tape on the other side.
- That is the last of the sewing! Not too hard, just straight stitches. Perfect for my novice abilities.
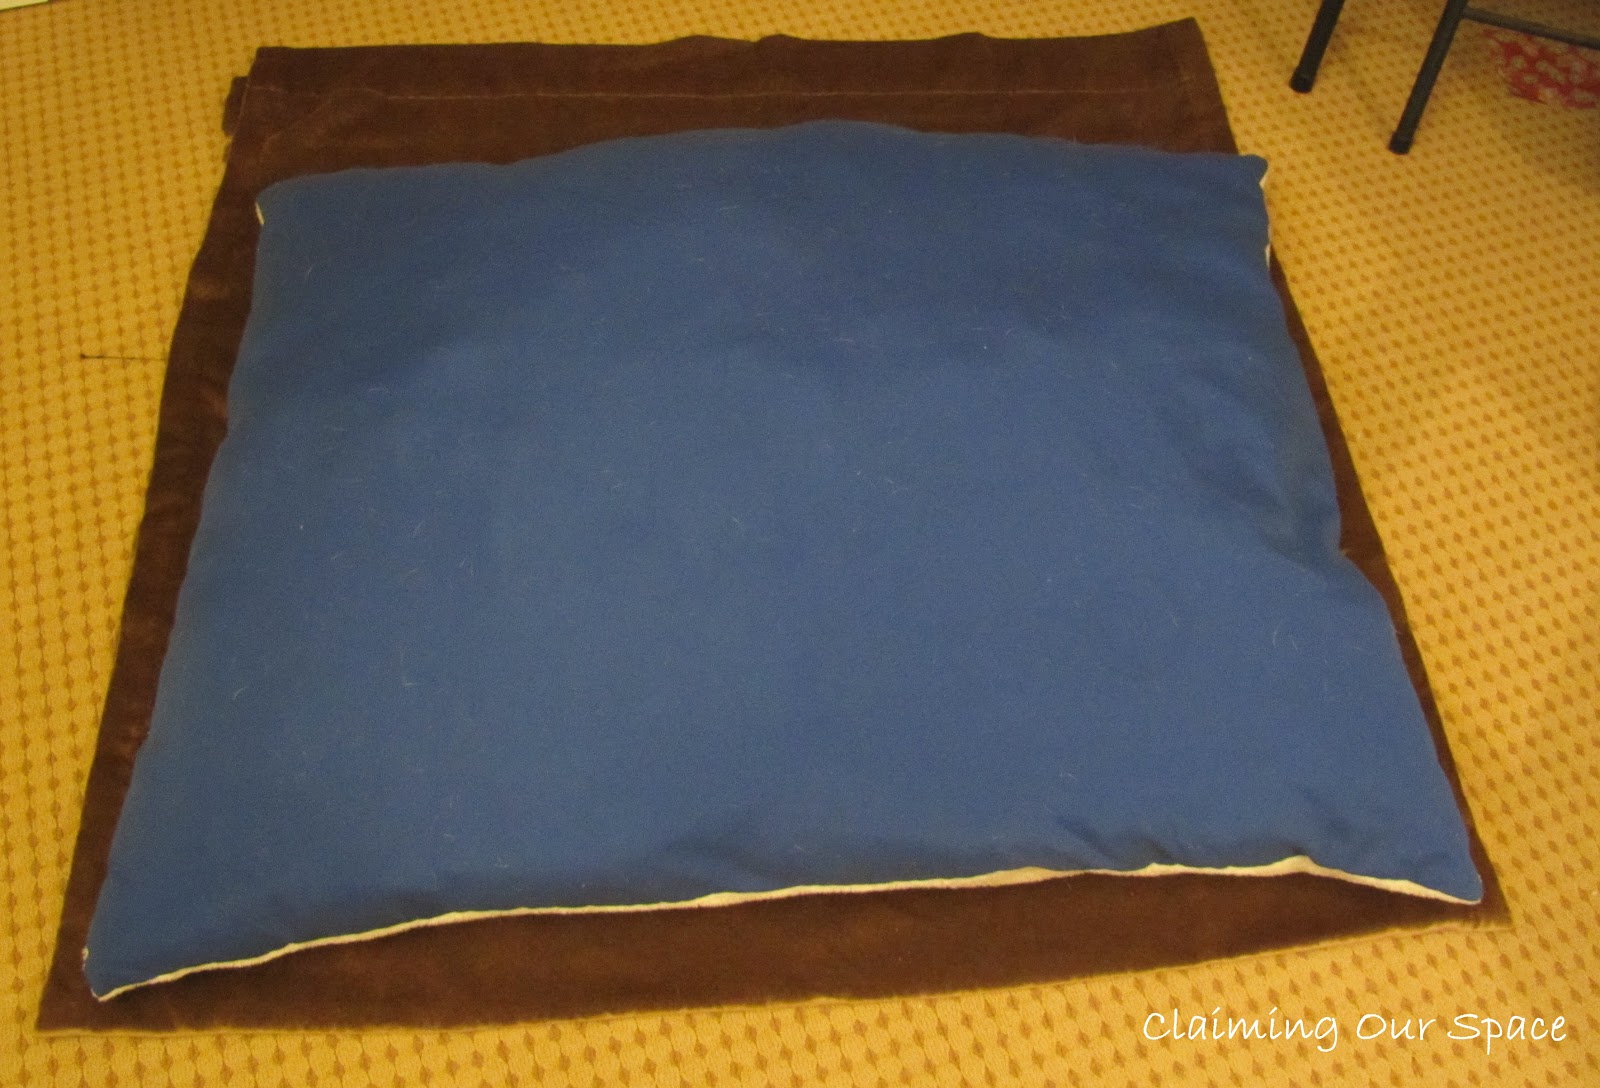
- Turn it right-side out and there you go...a new dog bed cover.

- Just put the old bed inside and Viola! A super fluffy bed for your furry friend.
 |
| I need to figure out a way to craft during the day while I am at work so I don't end up taking photo like this in my basement. |
Willow loves it so much she is falling asleep already.
I made this cover over a week ago and Willow loves it so much she hasn't "begged" to sleep in our bed at all. At bedtime she goes right to her bed, lays down and waits for us to put the blanket on her. (Yes, she is spoiled rotten!)
Linking up to these parties.


Thanks so much for stopping by and linking up your project to Mauvin' Monday! When you get a chance, don't forget to stop by and share your Twitter account on the new Tweet Leap!
ReplyDeletehttp://www.vintagemauve.com/2012/05/01/its-a-tweet-leap-and-referral-love-too/
Cheers,
Jessica
What a great way to recycle/upcycle - Love it!
ReplyDeleteWillow is so cute. How could you not spoil her.
ReplyDeleteDiane @ MamalDiane.com
I know, right? We lucked out when we got her. Plus, she is reasonably patient when I keep taking her photo for Willow Wednesdays. thanks for stopping by.
DeleteOh so cute! Thanks so much for sharing at Mix it up Monday :)
ReplyDelete